How to Apply Screen Adhesive in Your Microsoft Surface Pro 11
ID: 181634
Description: Follow this guide to apple new screen adhesive...
Steps:
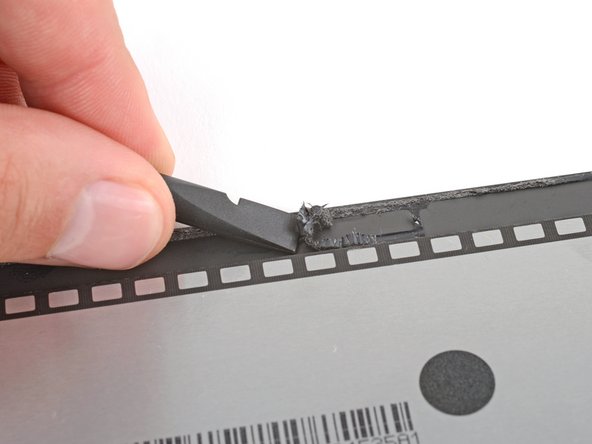
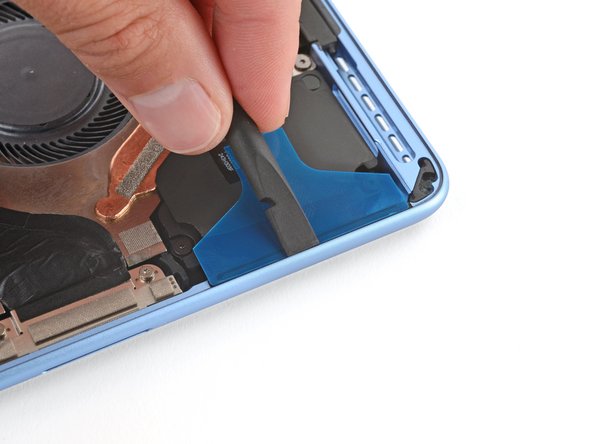
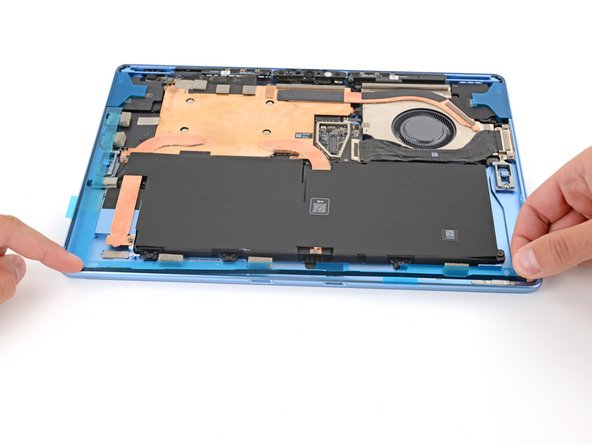
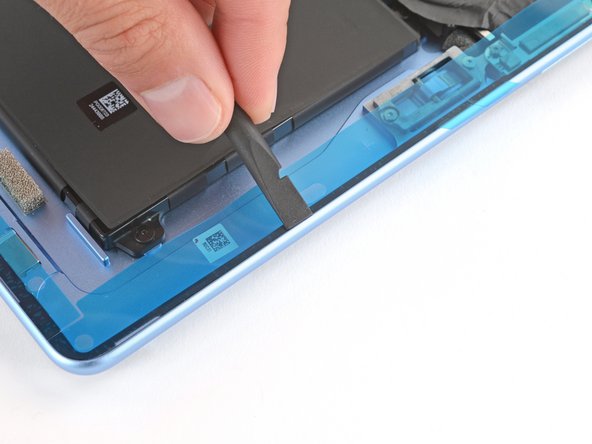
- Use a spudger and your fingers (or tweezers) to scrape up and remove all the old screen adhesive from the perimeter of the frame.
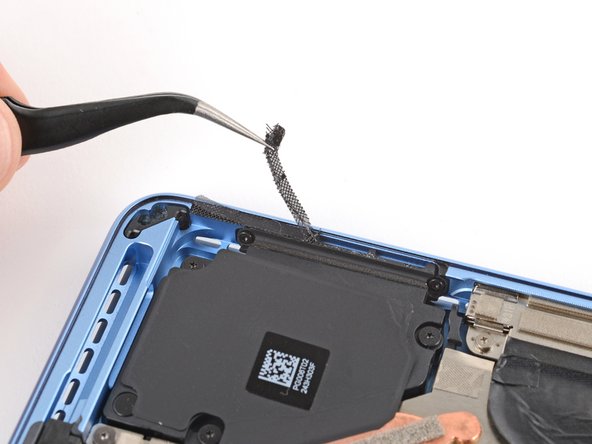
- Use tweezers and a spudger to remove both speaker meshes from the frame.
- If you're reusing your screen, repeat the process to remove any of the old screen adhesive from the perimeter.
- To prevent damaging your screen, press gently with the spudger and make sure nothing is under the screen while you work.
- Take your time and be very thorough during this step. A clean frame allows replacement adhesive to lay evenly, ensuring a better bond.
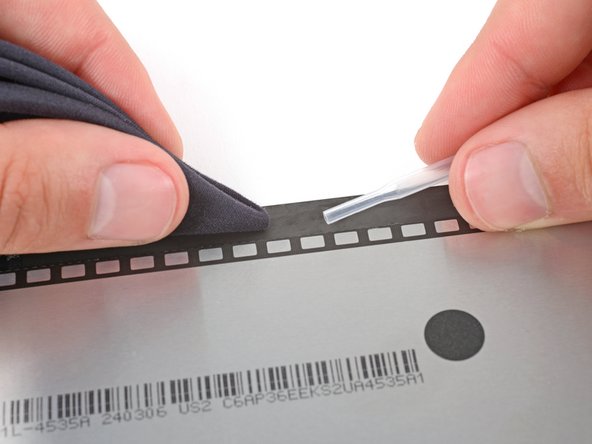
- Use a lint‑free cloth (or coffee filter) and some high‑concentration (>90%) isopropyl alcohol to thoroughly clean the frame where you removed the old screen adhesive.
- If you're reusing the screen, repeat the process to clean its perimeter.
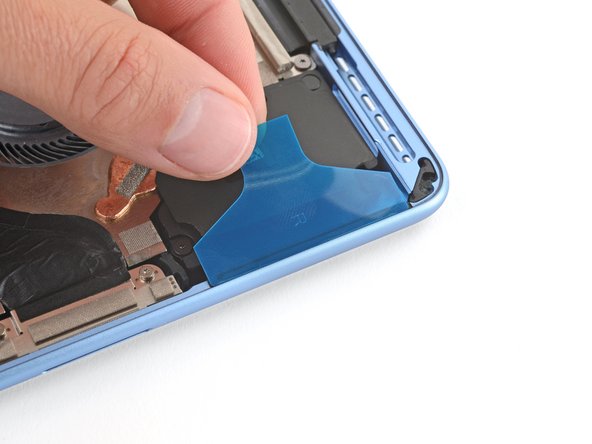
- The speaker meshes are labelled L and R. When applying them, make sure they're on the correct side and that the colored, thicker liner is facing inward.
- Remove the larger, clear liner from one of the speaker meshes and carefully put it into place on the frame.
- Use the flat end of a spudger to firmly push down on the adhesive, securing it to the frame.
- Leave the remaining colored liner in place for now—it will be removed in a later step.
- Repeat the process to apply the other speaker mesh.
- Before applying any screen adhesives, find their proper orientation on the frame—the larger, clear liner should be facing down and the colored liners should face inward. Use cutouts and notches in the adhesive to match each strip to its spot on the perimeter.
- The top strip has lots of cutouts for the cameras and sensors.
- Be very careful during this step! Once the adhesive sticks to the frame, it can't be repositioned—you'll need to start over with a new strip.
- Remove the larger, clear liner from one of the adhesive strips.
- Line up the strip and use your finger to secure one end to the frame.
- With one end secured, gently lay the strip onto the frame using your finger to lightly press down on the strip as you go.
- Use the flat end of a spudger to firmly push down on the strip, securing it to the frame.
- Do not remove the remaining colored liner yet—it'll be removed in a later step.
- Repeat the process to apply the remaining adhesive strips.
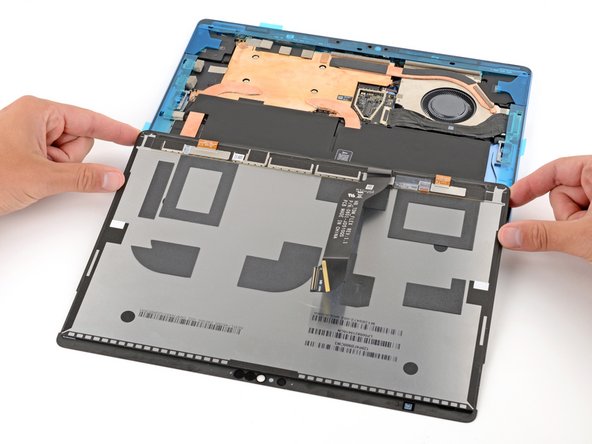
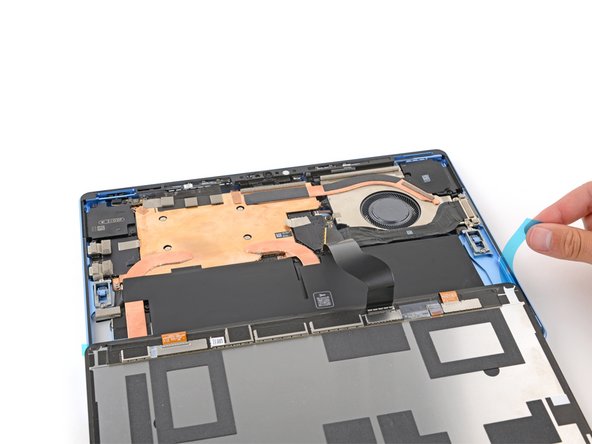
- With the screen facing down, lay the edge of the screen with the cable over the bottom edge of the device frame.
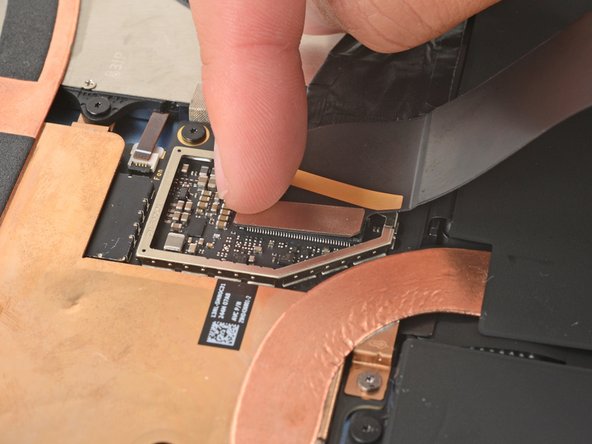
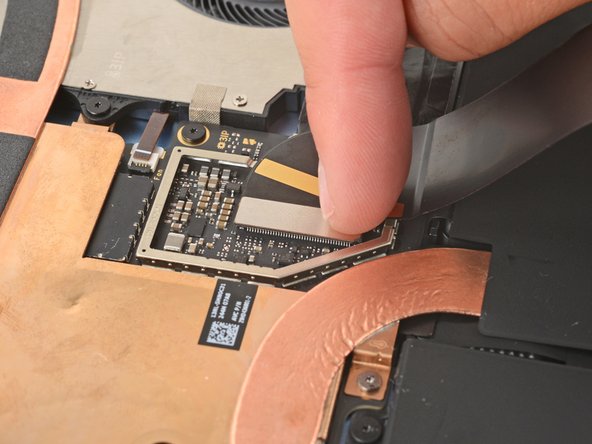
- Align the screen cable press connector over its socket and press down with your fingertip—first on one of the short sides, then the other—until it clicks into place.
- Don't try to force the connector into place. If you're having trouble, reposition it and try again.
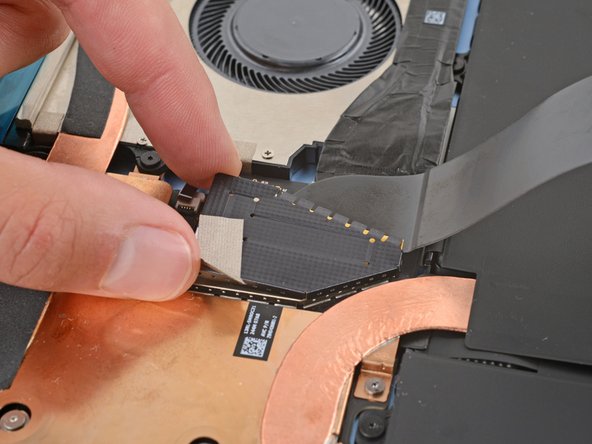
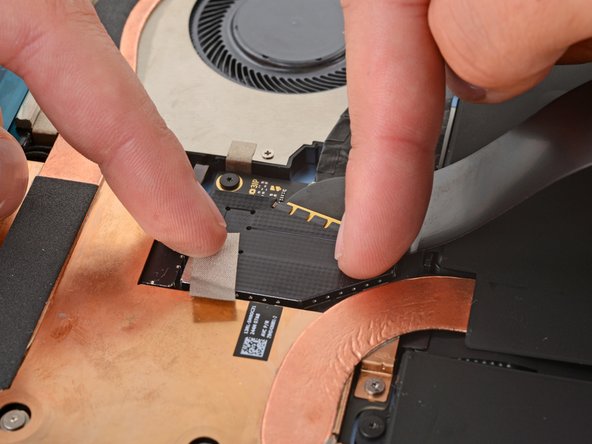
- Lay the screen cable shield into place and press down firmly around the entire perimeter to secure it—you should feel the shield snap into place.
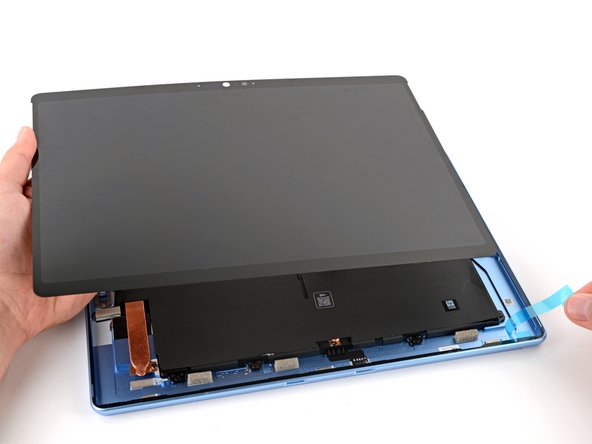
- Remove all the remaining adhesive liners, carefully holding the screen above your device as necessary.
- Align the bottom edge of the screen, using the frame's lip to properly orient it.
- Once the bottom edge is properly aligned, lay the screen onto the frame.
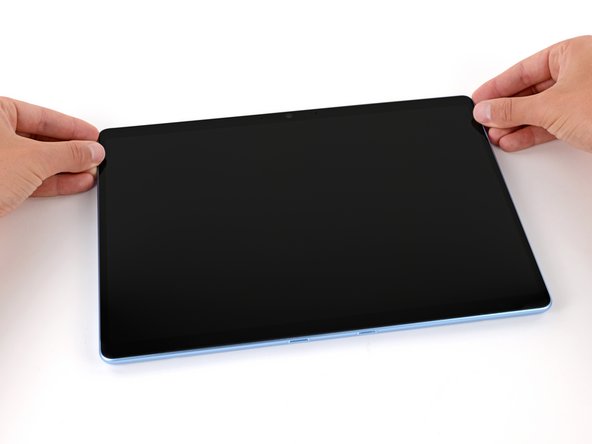
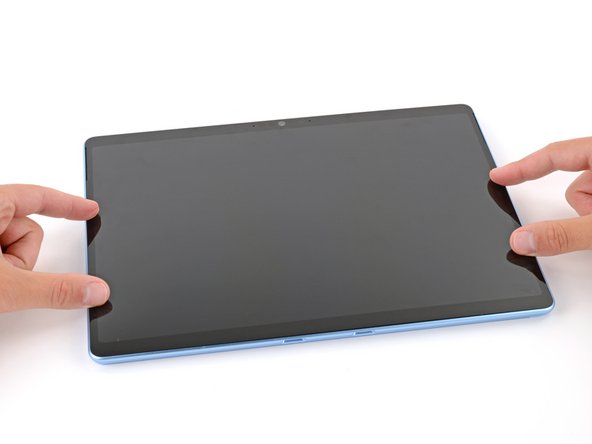
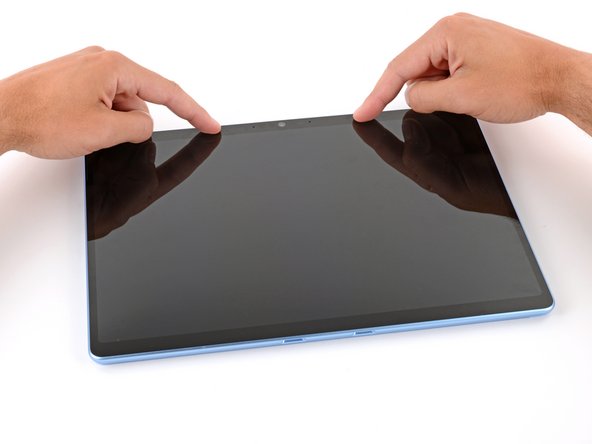
- Use your fingers to press down on the entire perimeter of the screen to secure it in the frame.
- Check the edges of the screen and make sure they're sitting flush in the frame—there should be no gaps.
- Lay your Surface Pro screen down on a clean, flat surface.
- If you're using a display bonding frame, lay the device down with the screen facing up.
- Place 4–5 heavy books squarely on top of your device.
- Leave the books in place for at least thirty minutes. The lighter the books, the longer they should be left. Ideally, leave them stacked overnight.
- The pressure will help activate the adhesive, creating a stronger bond.