Asus ROG Claymore II Battery Replacement
ID: 181741
Description: This guide will teach how to replace the...
Steps:
- Start by using the Key cap remover to remove all keys from their key slots, be extremely careful because the keys are only put in place by 4 tiny plastic pins. Any bending will break them. Always pull the keys perpendicular to the keyboard.
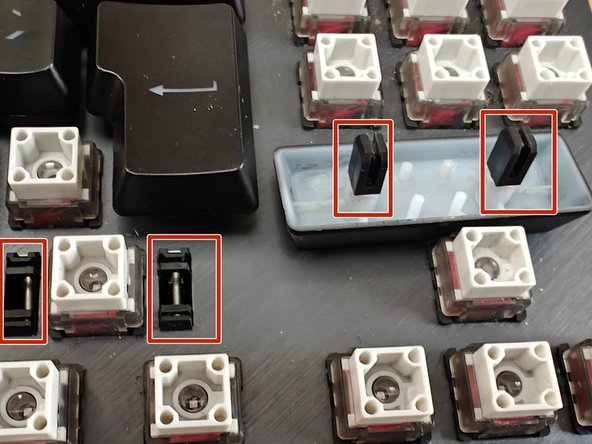
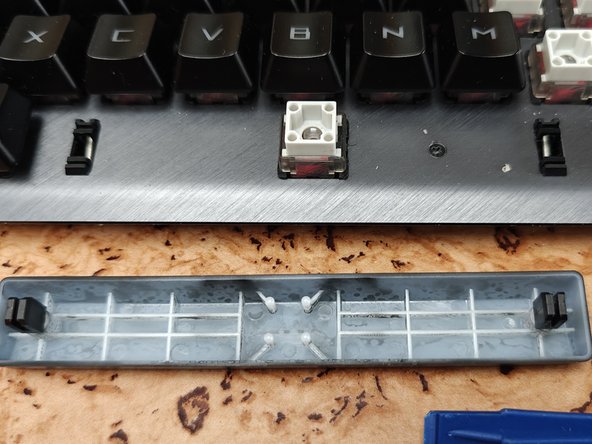
- Some keys need to be carefully pulled harder due to being slotted inside the keyboard in the iron supports. The "space" key is advisable to be pulled with both hands each side. As well as the "enter" key and the right "Shift" key.
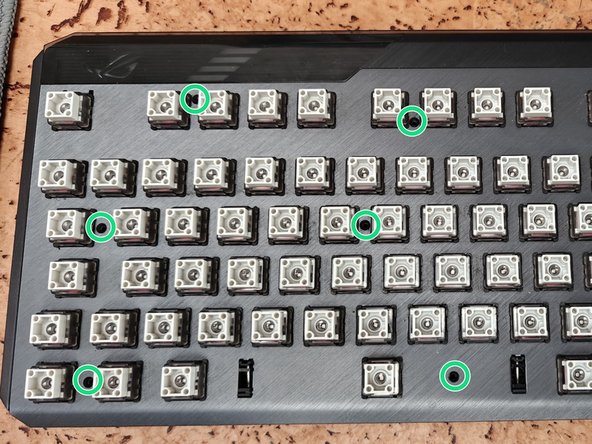
- Locate the screws on the keyboard.
- With the Philips #00 screw driver, unscrew all of them.
- Remove the magnetic left side protector of the keyboard. If you don't have the num pad part, procede to remove the right one as the left one.
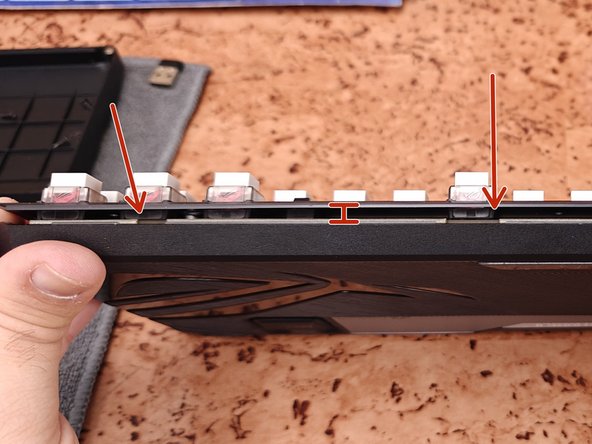
- The Keyboard will open on the bottom as shown on the photos. If not use the spudger to open it (very easy)
- Don't open it very wide because you will have some wires to unplug first, just open it a bit so you can locate them
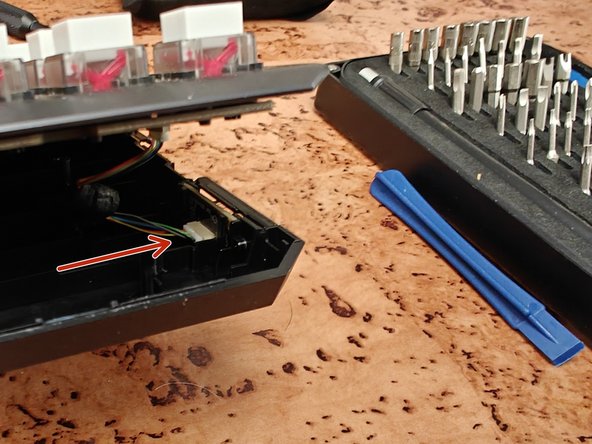
- Each side will have, on the front of the keyboard, wires that connect to the sides. Locate them.
- Using tweezers you can disconnect them from the sides. No need to disconnect them from the key board on the top since we don't need to work on it.
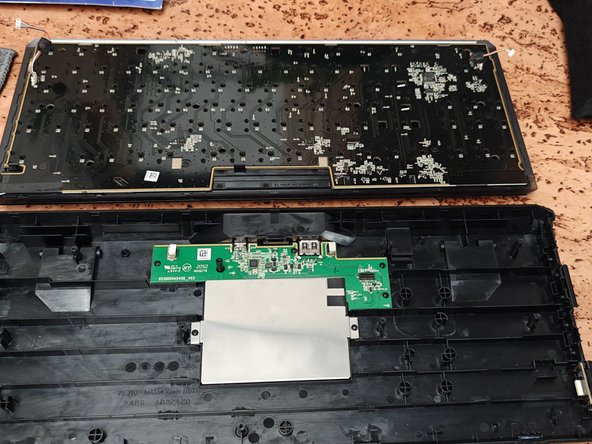
- You will then be able to pull a bit gently the top part and separate it from the bottom, viewing the battery case and a small board that controls the connections on the back.
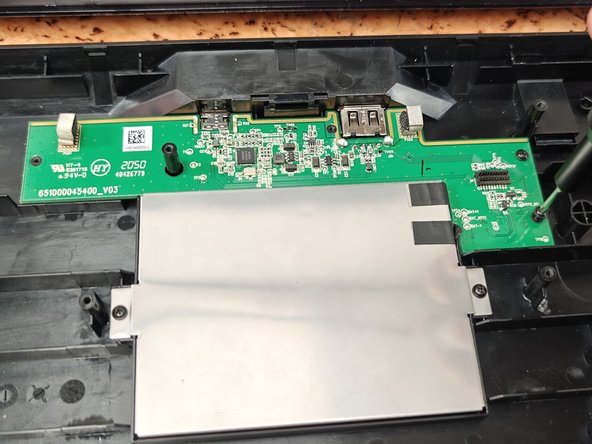
- Locate the screws that lock the battery and the small board in place.
- Unscrew them all and slowly lift the battery and the board at the same time (they are connected)
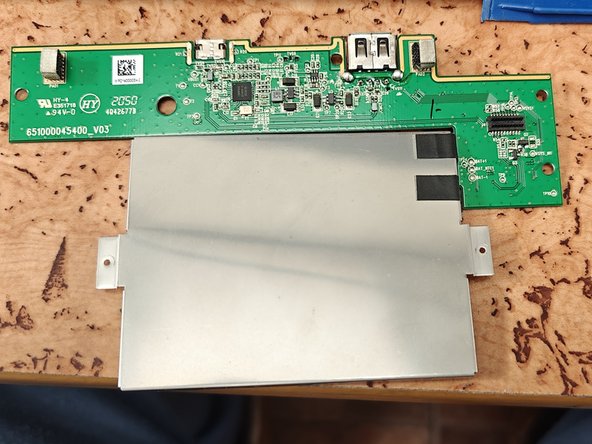
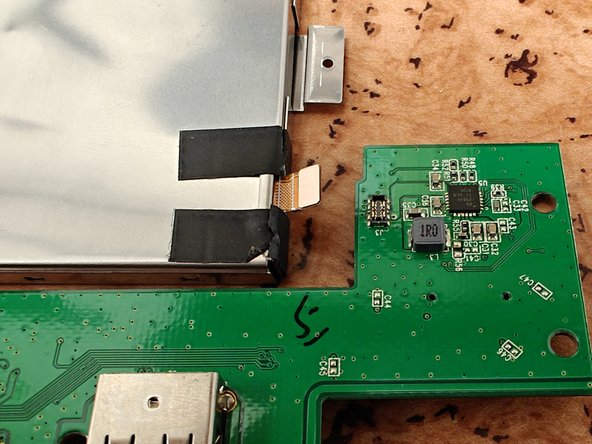
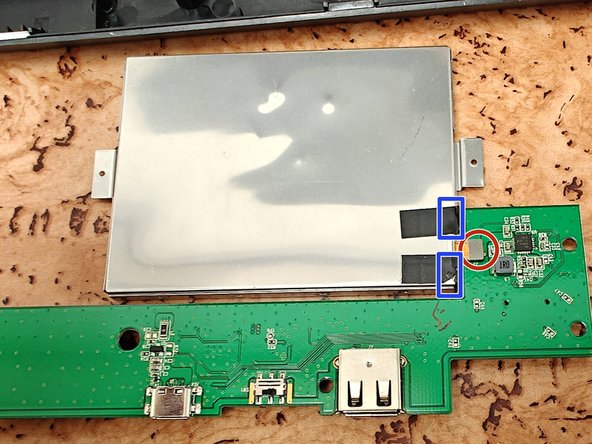
- Turn the battery case and the small board upside down, remove the battery contact with the help of the spudger.
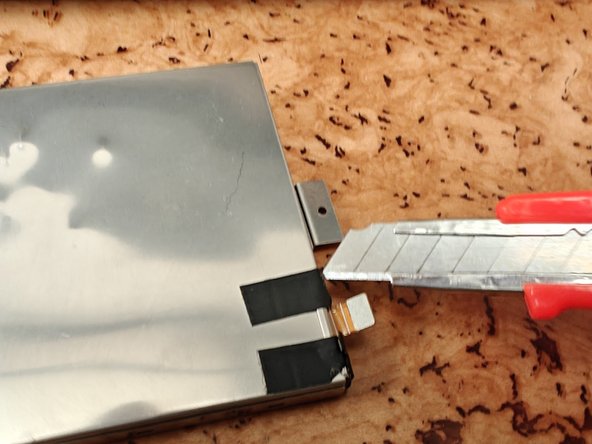
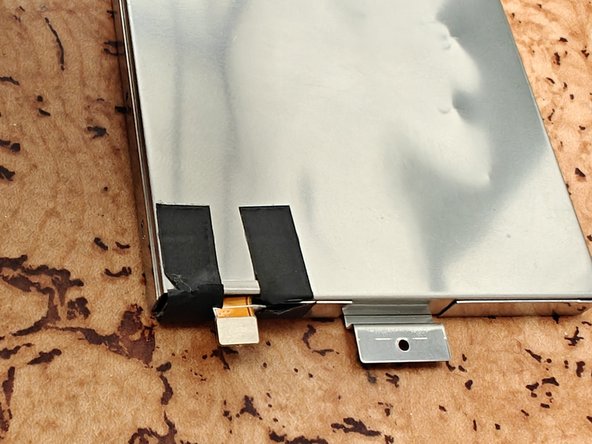
- The battery case has 2 isolating strips in each side of the batery connector. You can either take those and apply later, or just like in my case, that I didn't had any at the moment, I decided to cut them with a box cutter.
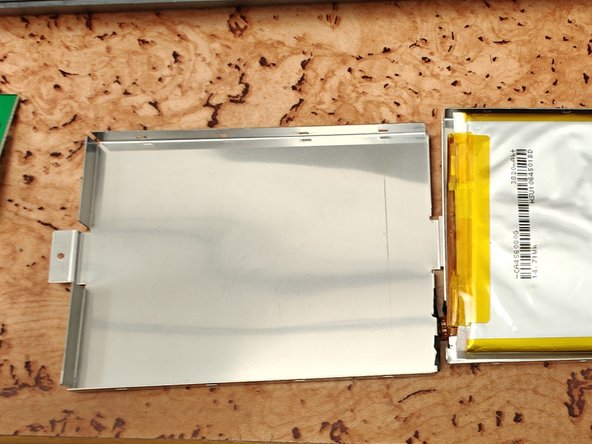
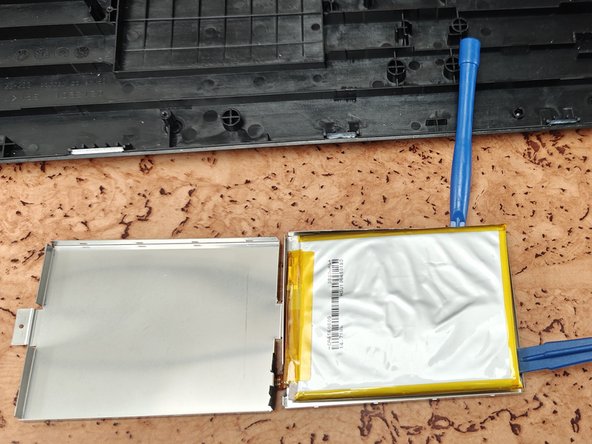
- Pry open the case releasing the bottom where the battery is. Remember to release the isolating strips.
- The battery is glued with adhesive to the bottom of the case. You'll have to apply some pressure to lift it up from the case.
- Warning: remember this is a battery, any cuts, damage or punctures might cause the battery to ignite or even explode. So proceed with extreme caution on this step!
- Place the new battery in the battery case accordingly to the orientation of the opening for the connector and the small board socket.
- Close the battery case and do not forget to re-apply the isolating tape.
- Connect the battery to the small board, making some pressure on the connector.