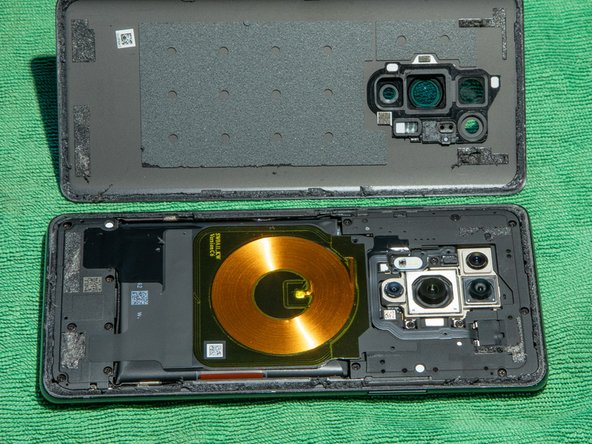
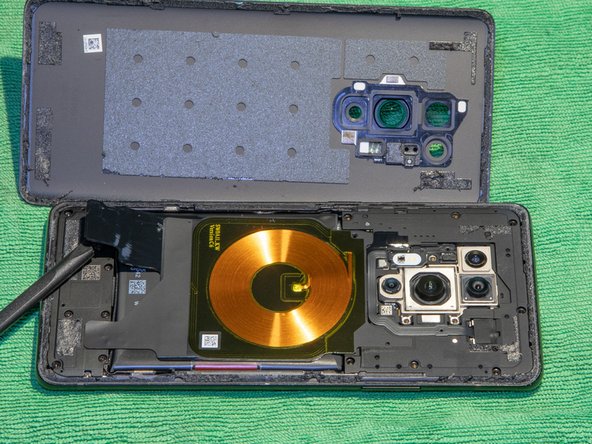
OnePlus 8 Pro Battery Replacement
ID: 181819
Description:
Steps:
- Heat up the back edge of the phone with the iOpener / any HotPack.
- Start with a long edge as it is easier to open the back cover in the next step.
- You may also use a hair dryer or heat gun to heat the adhesive.
- Be careful not to overheat the phone - the screen and internal battery are susceptible to heat damage.
- Insert the opening pick in the middle of the phone where you heated it. Slide it along the edge to cut through the adhesive.
- This can be a bit tricky, don't use any sharp objects as you can damage the case. It's reccomended that you use a plastic wedge tool such as the one by iFixit, as it has a thicker ledge to prevent you from slicing too far in.
- If it does not work, try heating the edge again.
- Don't insert the opening pick too far. There are no flex cables in the way, but the wireless charging coil could be damaged.
- Leave the opening picks once you managed to open one side.
- Use heat on the next edge to open it.
- Repeat steps 2 and 3 for all four edges.
- Remove these screws (Phillips 00).
- Remove this Phillips 00 screw. You can remove the white paper with tweezers or just push the screwdriver through the paper.
- Carefully lift the two stickers which hold the wireless charging coil down.
- Lift the charging coil.
- Remove the two Phillips 00 screws below the coil.
- Remove the top cover / coil assembly.
- Disconnect the battery.
- Pull the red pulling tab away from the battery.
- Separate the red pulling tab from the black adhesive.
- After separating, hold the black adhesive down and pull the red tab up vertically to remove the battery.
- Make sure not to bend the battery too heavily.
- Remove the red pulling tab from the old battery and stick it on the under side of the new battery.
- This makes it easier to replace the battery again.
- Insert the new battery.
- Wrap the black adhesive strips on both sides around the battery to secure it.
- Remove the old adhesive and replace it with new adhesive strips.
- Reverse from step 8 to assemble the phone.