iPhone 13 WiFi Chip Replacement
ID: 181962
Description: Due to Apple's part pairing system, Wi-Fi...
Steps:
- Cover the cameras with protection stickers.
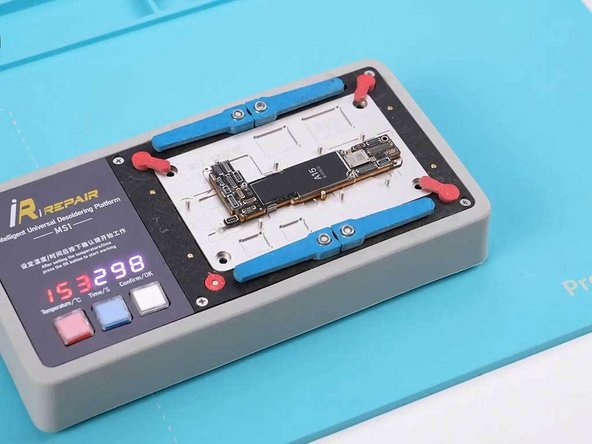
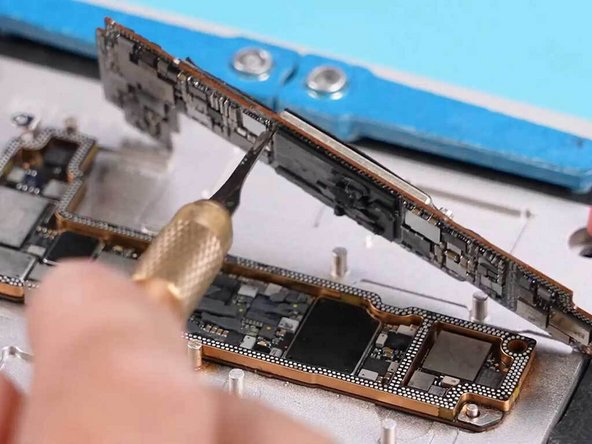
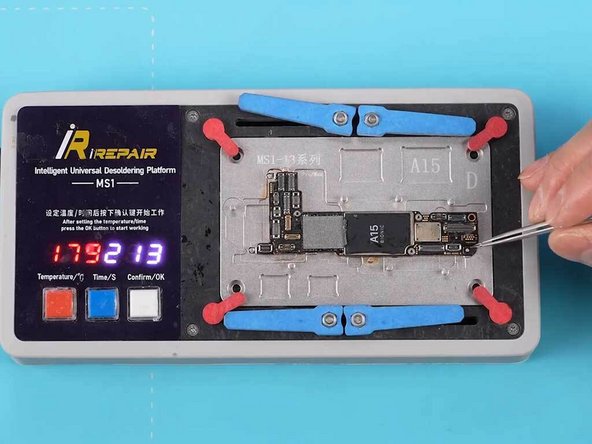
- Remove the motherboard and split it.
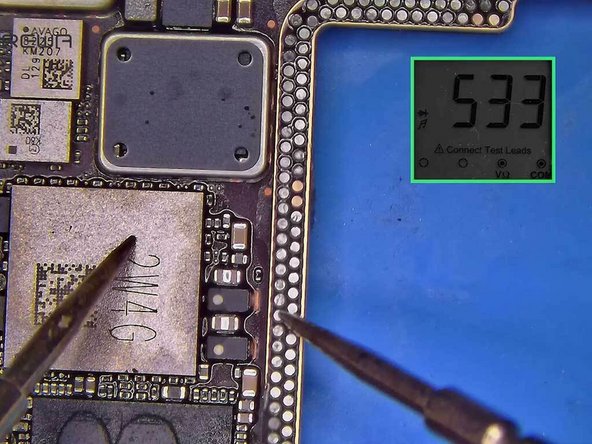
- Test the circuits related to the Wi-Fi module to verify that they are normal.
- It is not possible to read the Wi-Fi serial number (SN) simply by connecting the iPhone to the programming software. Therefore, we will remove the NAND chip.
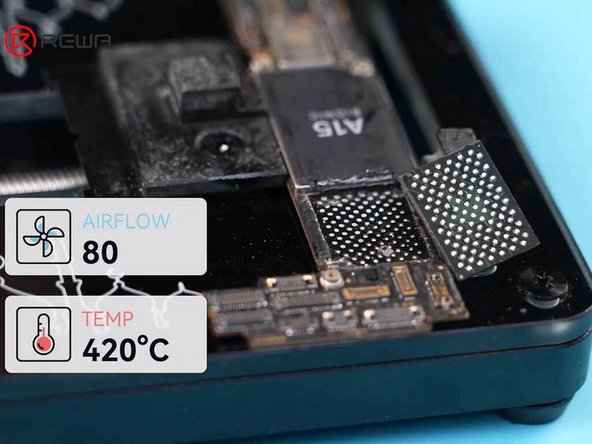
- Heat the NAND chip evenly with a hot air gun at 420°C and airflow 80.
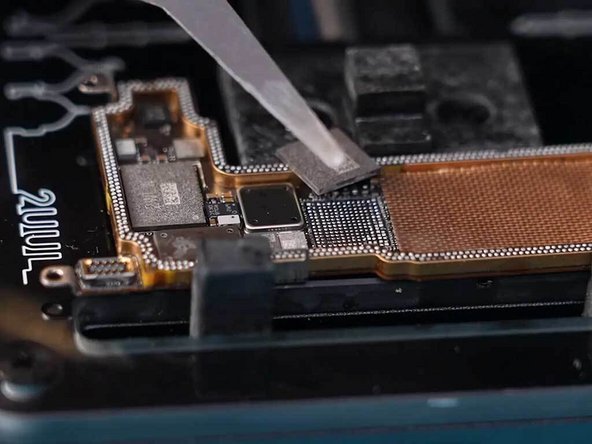
- Pry the NAND chip up.
- Apply some flux to the soldering pad of the NAND chip.
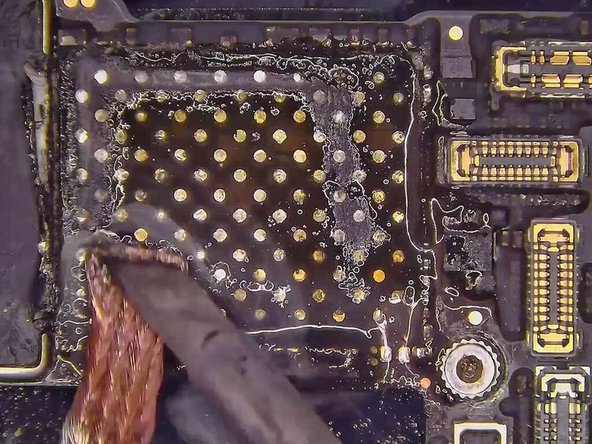
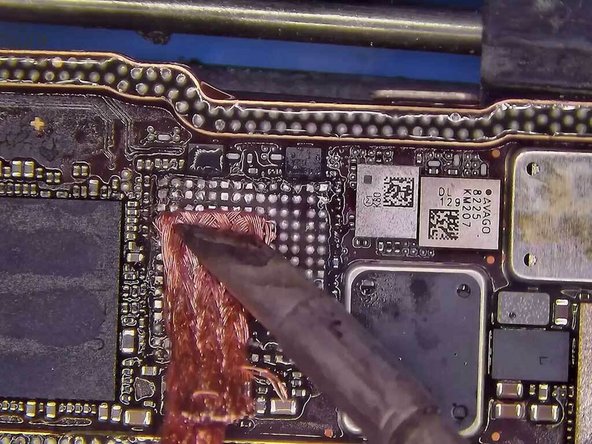
- Remove the tins from the soldering pad using braid and a soldering iron.
- Place the NAND chip in a Luban programmer.
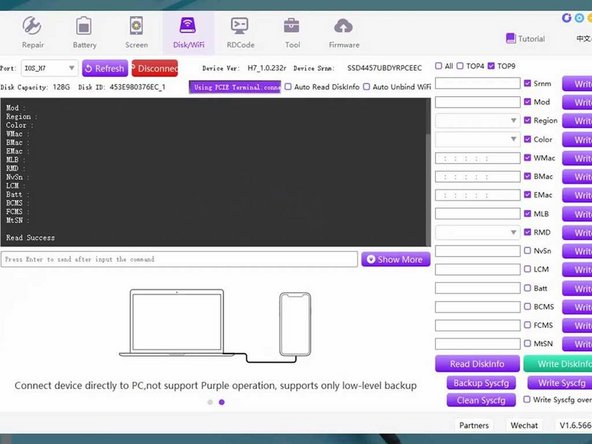
- Connect the programmer to a PC and open the programming software.
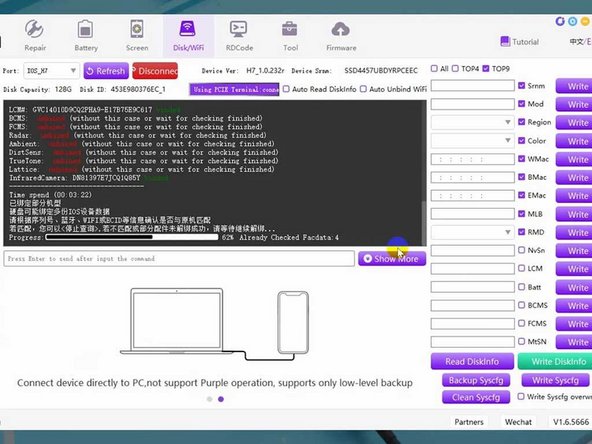
- Click "Check Factory Data" to read the EcID of the iPhone.
- Read the EcID from the NAND chip.
- Place a new Wi-Fi module into the Luban programmer to write in the Wi-Fi SN.
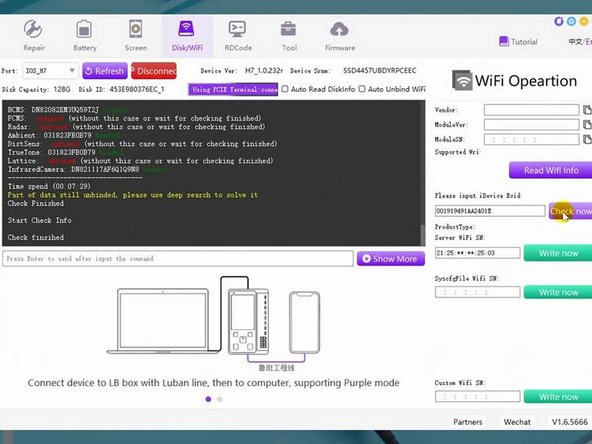
- Copy the EcID and select WiFi Operations on the navigation menu.
- Paste the EcID and click "Check now."
- Then click "Write now."
- The Wi-Fi SN has been written into the new Wi-Fi module.
- Place the signal board onto a fixture.
- Cover some other components with Kapton tape for protection.
- Heat the Wi-Fi module with a hot air gun and use a pry knife to remove the edge adhesives.
- Pry up the Wi-Fi module.
- Apply some flux to the soldering pad of the Wi-Fi module.
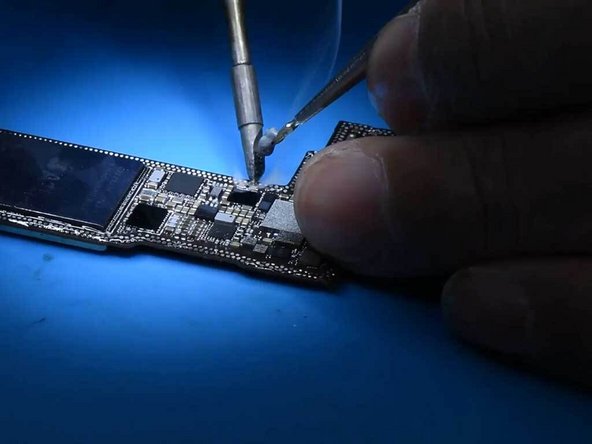
- Remove the tins from the soldering joints of the signal board.
- Remove the tins from the soldering joints of the logic board.
- Align the new Wi-Fi module carrying the SN to the soldering pad.
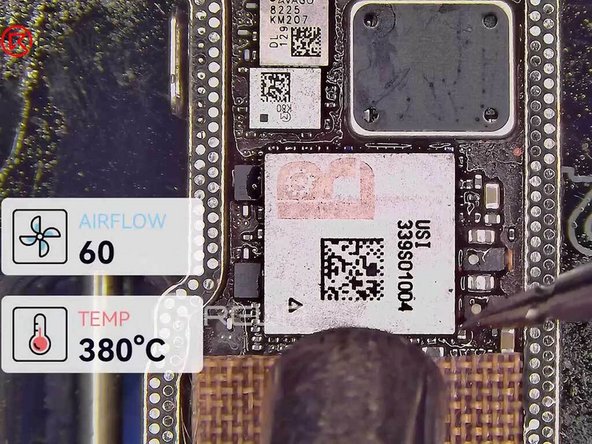
- Solder the new Wi-Fi module with a hot air gun at 380°C and airflow 60.
- Solder the NAND chip with a hot air gun at 380°C and airflow 60.
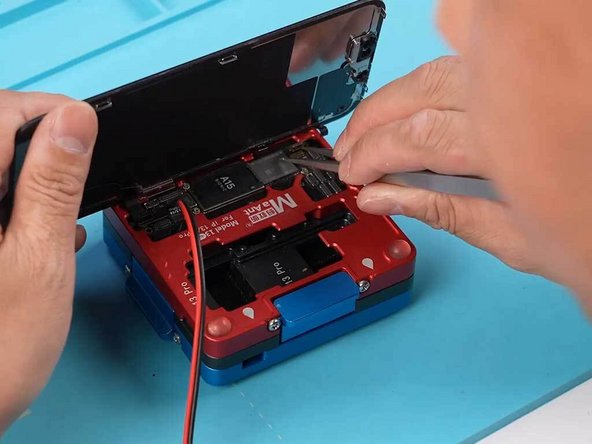
- Put the logic board and the signal board into a motherboard-layered test fixture.
- Connect the iPhone 13 screen cable and the power cable.
- Use a pair of tweezers to trigger the power-on.
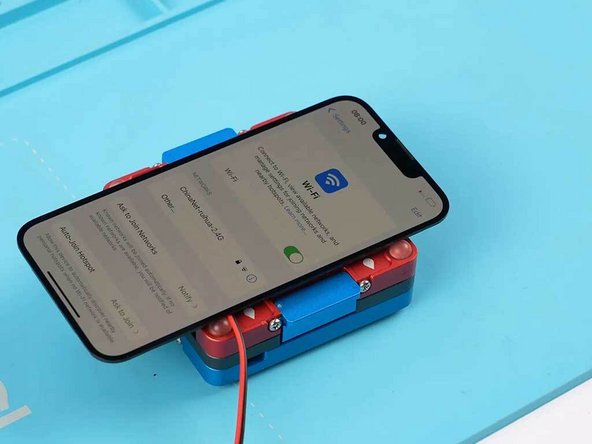
- The iPhone 13 should power on properly.
- Go to settings to check if the Wi-Fi function toggle is resumed.
- Solder the signal board with the logic board.
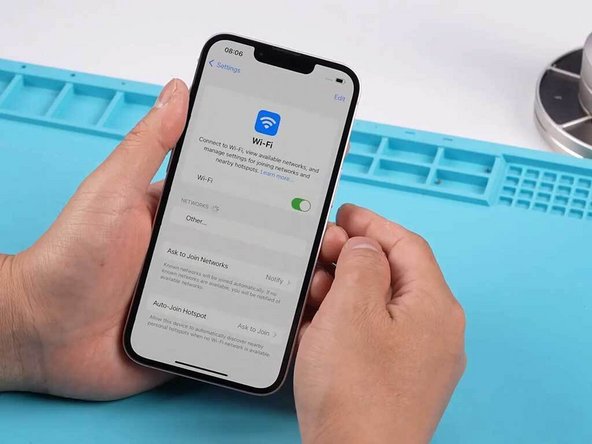
- Assemble the iPhone 13 and test the Wi-Fi function.
- Test and Wi-Fi should be restored and connected properly.