How to Install a Plastic Snap With a Handheld Tool
ID: 181985
Description: This guide shows how to install a plastic snap...
Steps:
- A full set of plastic snaps consists of four parts:
- Two caps
- One stud
- One socket
- When the snap is installed, the socket and stud will lock together, while a cap holds each of them in place from the other side of the fabric.
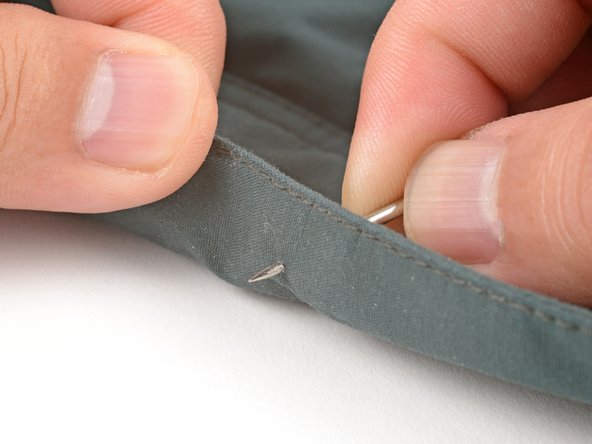
- Push the point of an awl through the fabric to pierce a hole for the snap.
- It's better to measure twice, pierce once! Piercing the fabric multiple times within a small area will weaken the fabric.
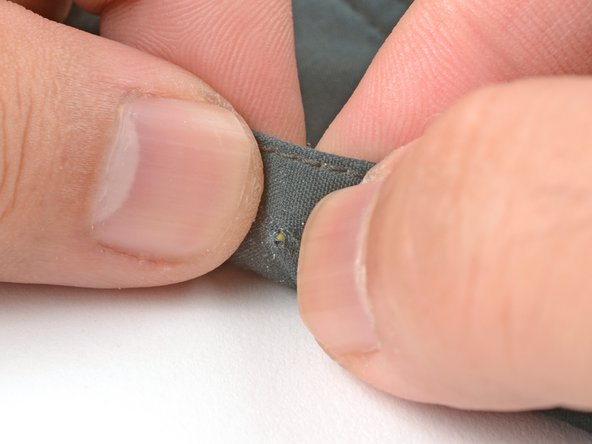
- Use your fingers to squeeze a cap pin through the fabric hole.
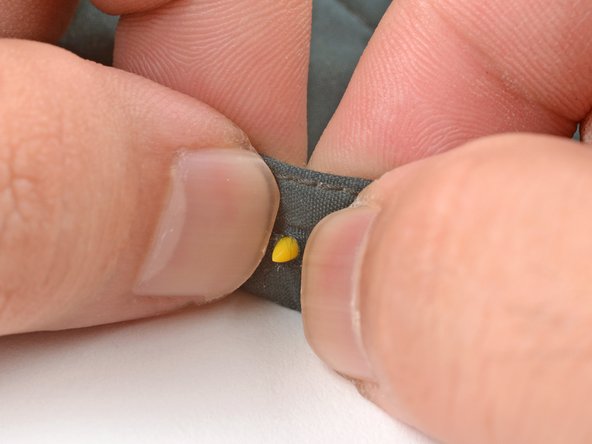
- Place either a stud or a socket on top of the pin.
- If you can't see the pin after placing the stud or socket, the fabric is too thick for the snap. You'll need a cap with a longer pin.
- Make sure the snap is facing the correct side for the clothing item.
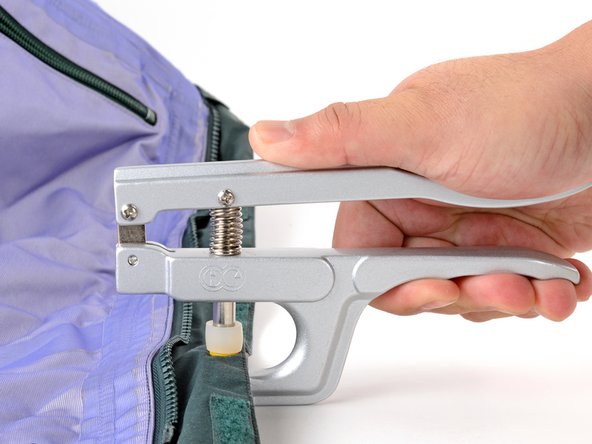
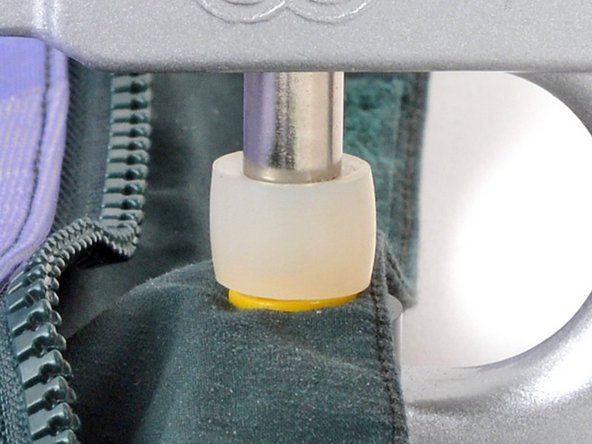
- Center the snap components in the fastener tool. The cap should sit fully in the black die cup.
- Firmly squeeze the fastener tool handles. The white rubber head should bulge slightly from the force.
- Release the handles and remove the tool from the snap.
- Visually inspect the snap. The center pin should be evenly flattened.
- Pull on the snap. The snap shouldn't feel loose.
- If the pin isn't evenly flattened or the snap feels loose, use the fastener tool to compress the snap again. If that doesn't fix it, remove the snap and start again.
- Repeat the procedure to install the other half of the snap set.