Shark UltraCyclone CH951 U4 Battery Replacement
ID: 182252
Description: This guide will provide instruction for how to...
Steps:
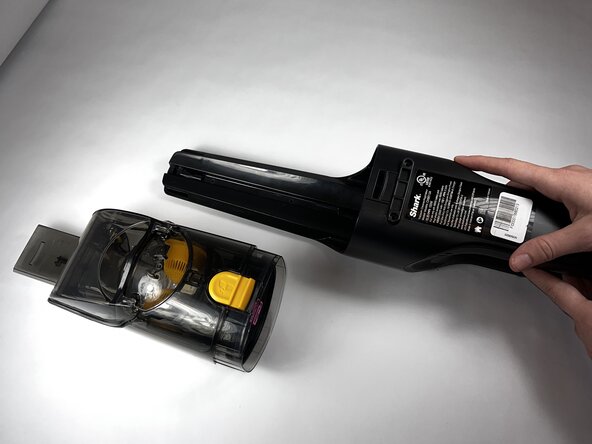
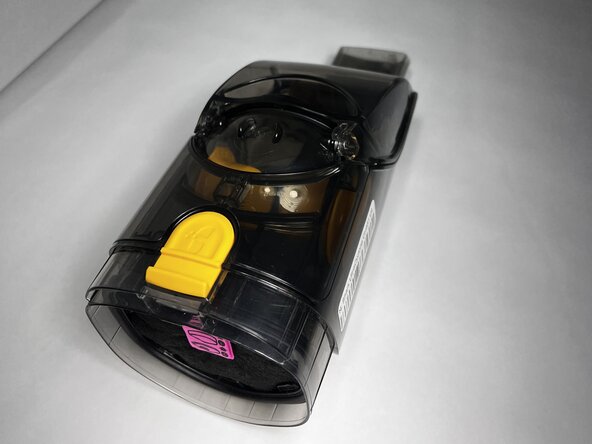
- Press the dust cup release button and gently pull the dust cup away from the body of the vacuum.
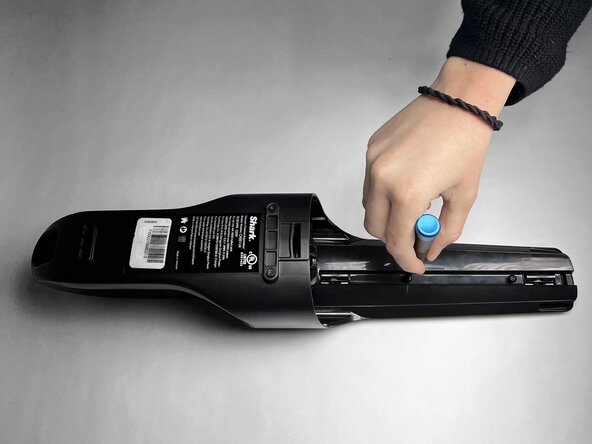
- Use a TR9 Torx screwdriver to remove the two 8.7 mm screws previously behind the dust cup.
- Remove the two 12.2 mm screws underneath the dust cup button using a TR9 Torx screwdriver.
- Remove the 13.9 mm screw beneath the charging port using a TR9 Torx screwdriver.
- Use the TR9 Torx screwdriver to remove two 11.6 mm screws that hold the exterior motor in place.
- They are located underneath where the dust cup previously was and above the exterior motor.
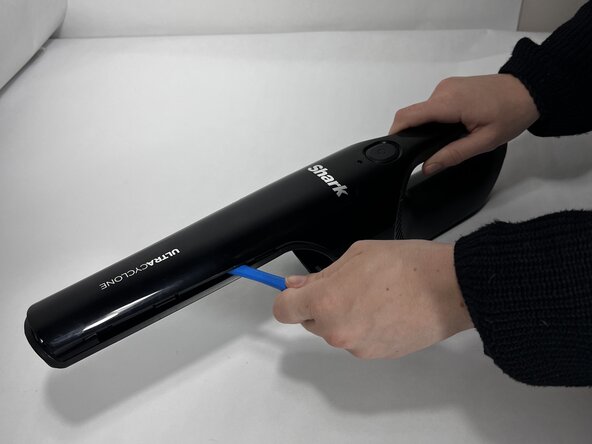
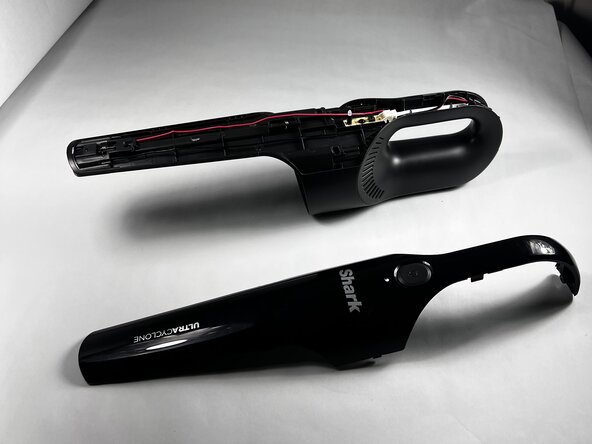
- Run an iFixit Opening Tool under the casing along the vacuum body until the shell is removed starting around the attachment port, and sliding down towards the charging port.
- If necessary, apply gentle force.
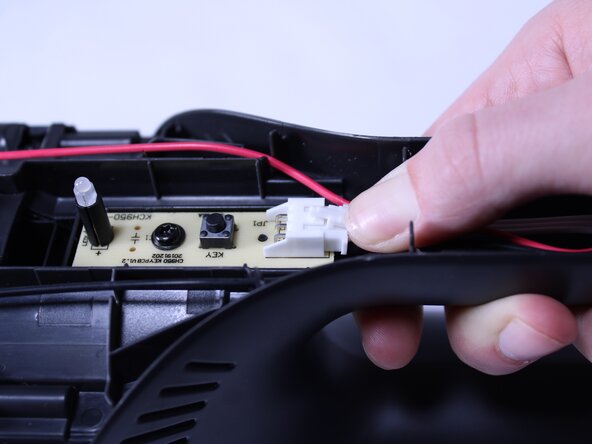
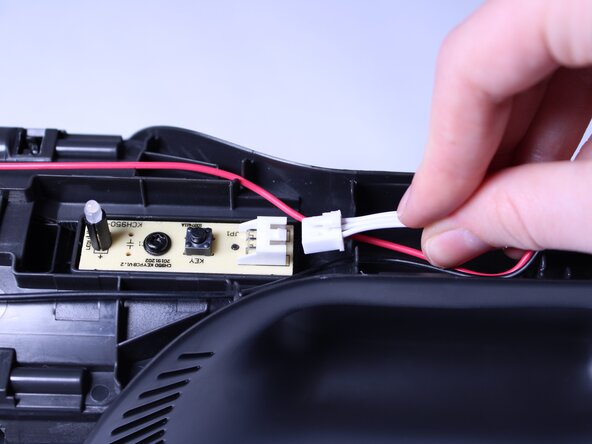
- Press down on the connection point of the white wire and disconnect it.
- The connector looks like a white latch. Push down on the edge to pop it out of place.
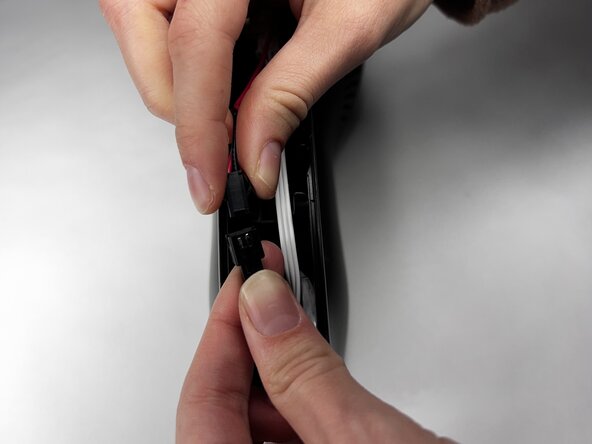
- Disconnect the red wire by pressing down and gently pulling the two sides apart.
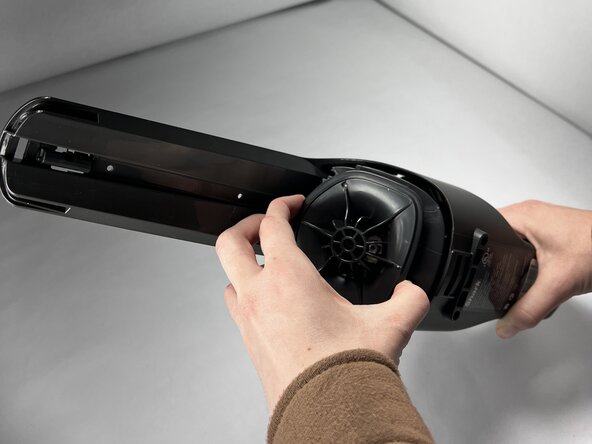
- Gently pull on the exterior motor.
- There will be wires attached that were previously disconnected and will need to pass through the handle of the vacuum. Complete this step carefully so that no damage is done.
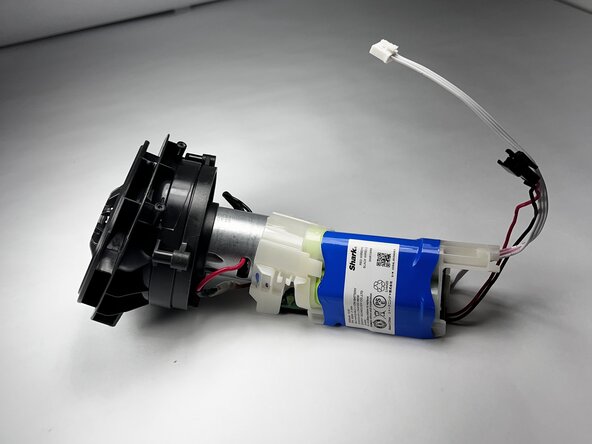
- Remove the exterior motor, attached to the interior motor and battery.
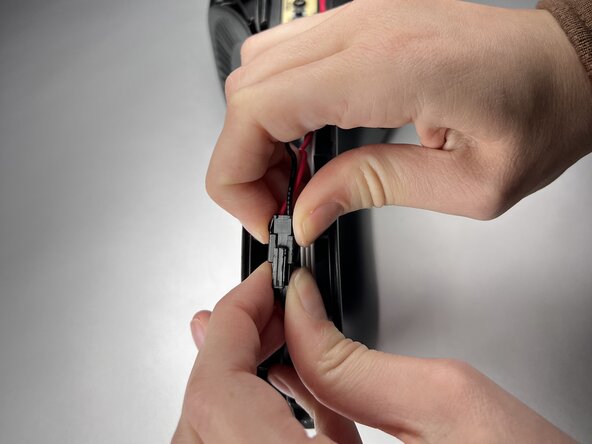
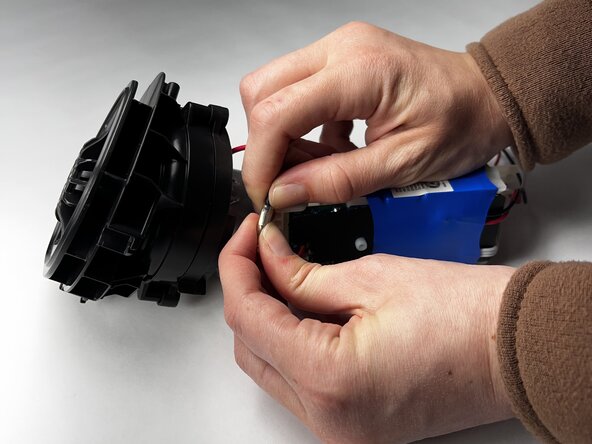
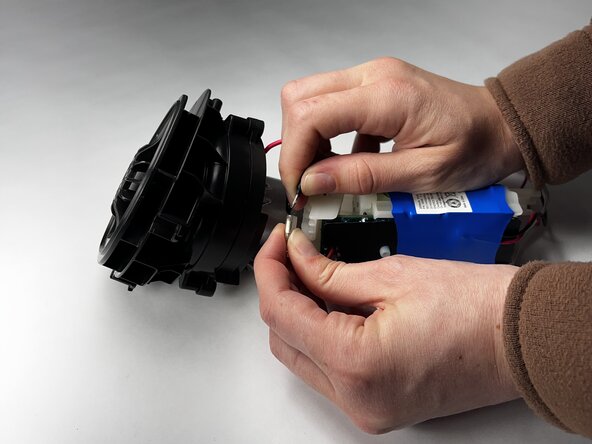
- Squeeze the translucent rubber cover on the two wires and gently pull apart to disconnect both of them.
- When buying a replacement, most will come in the blue tape which also includes a new motorboard.