2004-2015 Toyota Tacoma Radio Replacement
ID: 182362
Description: Use this guide to replace the radio in your...
Steps:
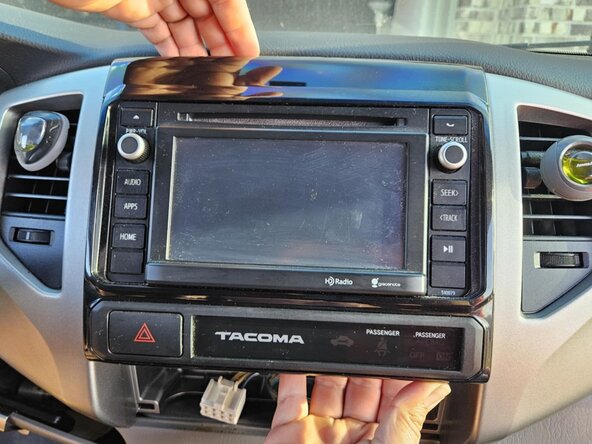
- Use a panel trim tool to pry the air conditioner control panel away from the dash.
- Be gentle when prying, the pressure clips get fragile over time.
- Use your hands to pull the A/C panel to disconnect the two top retaining clips.
- Take care not to strain the attached wire harnesses.
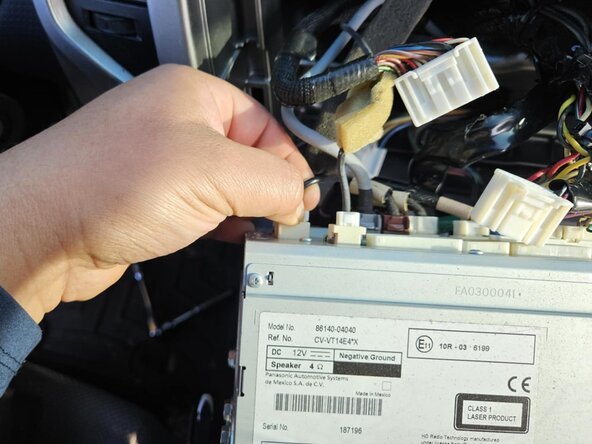
- Press the tabs on each connector, and pull them away to disconnect the two connectors.
- Remove the four 10mm bolts using the socket wrench.
- A socket extension can be used to help reach the two bottom bolts.
- Use your hands to get behind the radio and pull away from the dash to release the four pressure clips.
- There's one clip in each corner.
- Press down on the tab of each connector, and pull it out of its socket. Remove all connectors from the back of the radio.
- If you are using an OEM replacement, follow the steps in reverse order to reinstall the new radio. If you are using an aftermarket replacement, continue to Step 7 to solder your harness adapter.
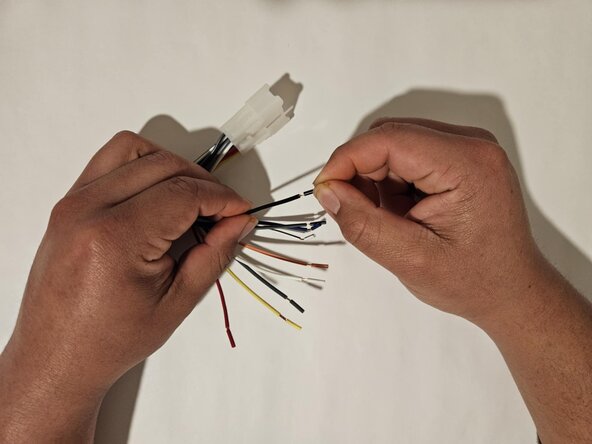
- Remove the pre-cut wire covers on both the Toyota adapter harness and the new radio harness.
- Slide heat shrink tubing over each wire that will be connected together.
- Solder the wires from the adapter and radio harness together.
- Use the wiring guide that comes with the new radio and with the adaptor to make sure the colors on the wires match with the functions of the radio.
- Soldering should be done in a well ventilated area. The tip of the soldering iron gets hot, be careful not to burn yourself or anything you set it on.
- Plug the harness into the back of the new radio.
- Take the radio back into the truck to reassemble.