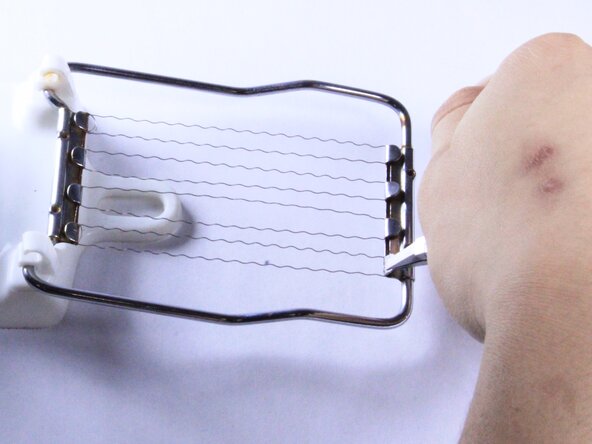
Egg Slicer Wire Replacement
ID: 182411
Description: The following guide will help you replace any...
Steps:
- Do not repeatedly bend clamps. This weakens the metal and makes it more susceptible to damage.
- It is strongly recommended that you wear personal protective equipment when completing this repair. The wires may present a pinching or scratching hazard.
- Using the flat nosed pliers, pry the clamp open.
- Grip the clamp and bend to a 90 degree angle.
- Repeat this step for every clamp.
- Unwind the old wire from the slicer.
- Extend the wire and put to the side.
- You should now be left with the skeleton of the egg slicer.
- Take the old wire and extend it out as much as possible.
- Straighten out any bends in the old wire for accuracy.
- Place your old wire at the 0 mark of the measuring tape.
- Take the measurement of your old wire and take note of its length.
- It is recommended that you mark the length of your old wire on your measuring tape.
- Use the length you recorded to cut a new wire and put it to the side.
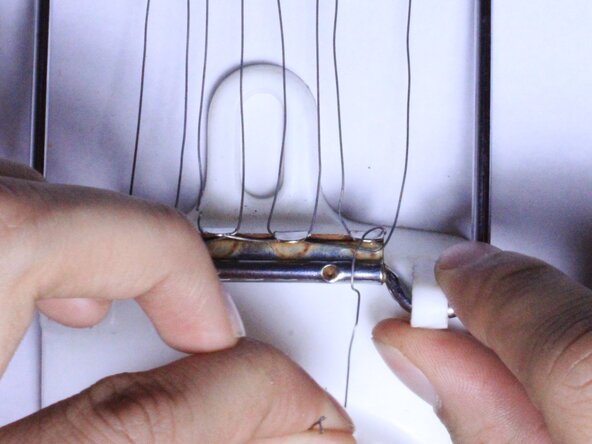
- Take the new wire, and anchor it by tying it in a loop around one of the clamp.
- Pull the wire as tight as possible to the right side of clamp.
- Loop the wire tightly around the clamp.
- Rotate the wire in a counterclockwise direction.
- When you reach the clamp across from it, loop it around the clamp, and pull the wire to clamp to the right of it.
- Repeat these steps until you reach the final clamp.
- Before anchoring the loop, make sure that you have pulled the wires to be as tight as possible.
- Once at the final clamp repeat step 4.
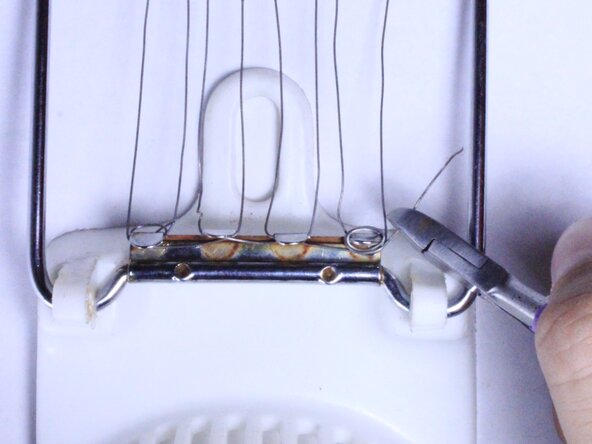
- Anchor the loop by looping the wire as tight as possible.
- With the flat nosed pliers, clamp down all the clamps.
- Cut any excess wire so you have a sturdy fit for your new wire.