Prusa CORE One Nozzle Replacement
ID: 182464
Description: The following guide is based on information and...
Steps:
- Close the printer's door.
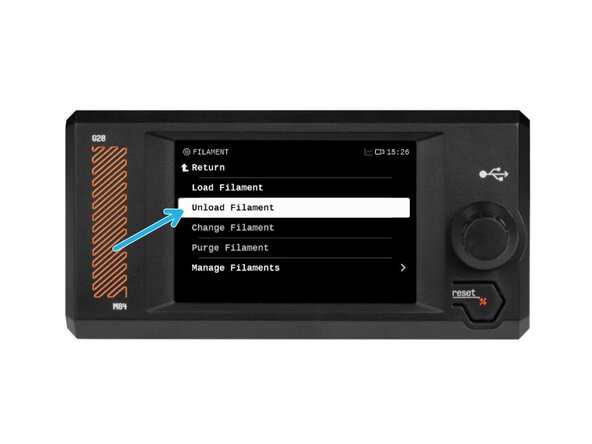
- Unload the filament via the printers Unload filament feature.
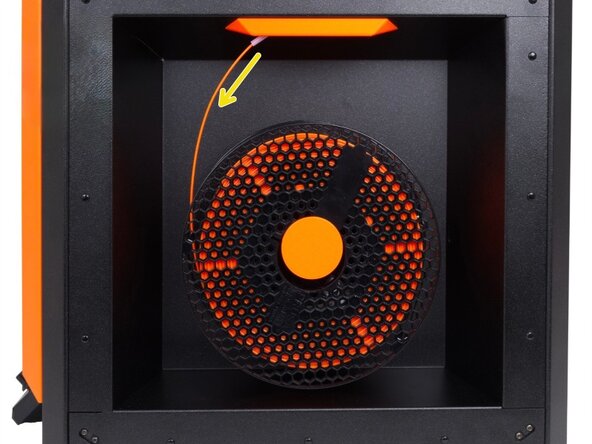
- Remove the filament spool from the printer
- Cool down the printer by navigating to Preheat, then Cooldown, and wait for the temprature to drop to the ambient temperature.
- Ensure that the printer has cooled down completely before continuing.
- Set your Z-Axis to 100 mm or more by going to Control, Move Axis then Move Z
- Allow your printer's heatbed to move
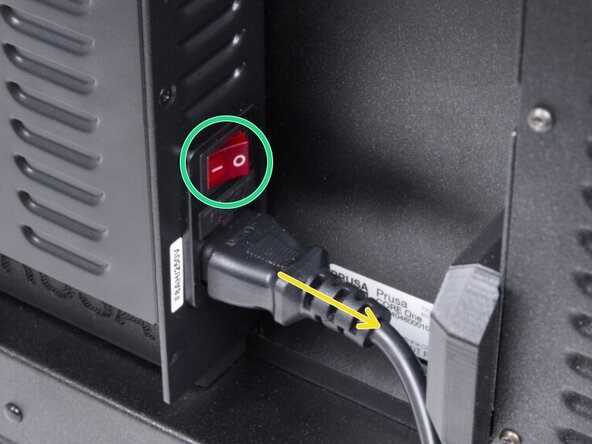
- Once the heatbed has finished moving, turn your printer off using the power switch on the back of the printer.
- Remove the power cord from the printer to prevent the printer from being powered on accedently.
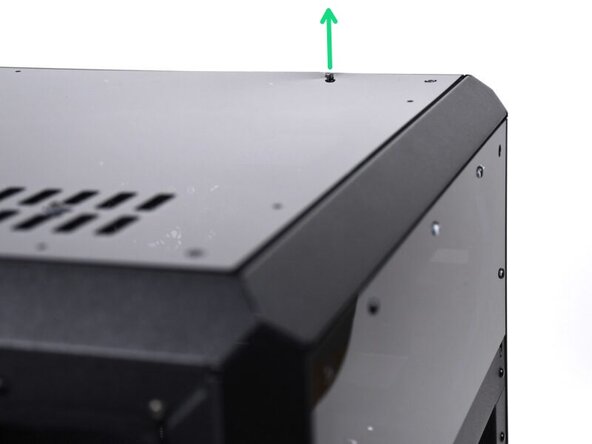
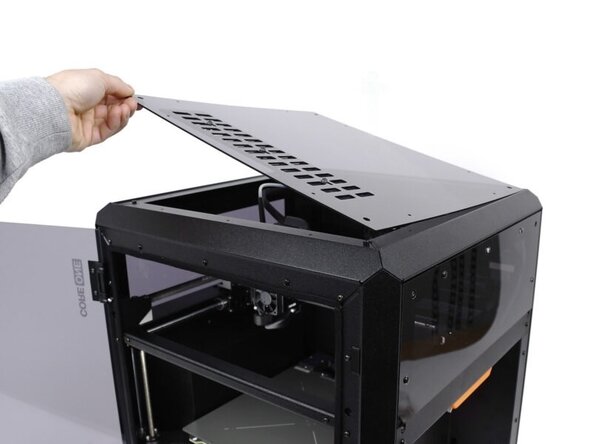
- Remove the Top Cover of the printer by pushing the nylon rivets from the inside.
- Once pushed out, the rivets can be removed from the outside.
- Remove all the rivets using the same method detailed above.
- Once all the rivits have been removed, the top cover of the printer can be removed.
- Cover your Heatbed with a piece of cloth, or other thick material.
- This is to prevent your Heatbed from being damaged in the event your Hotend assembly is dropped during the dissassembly process.
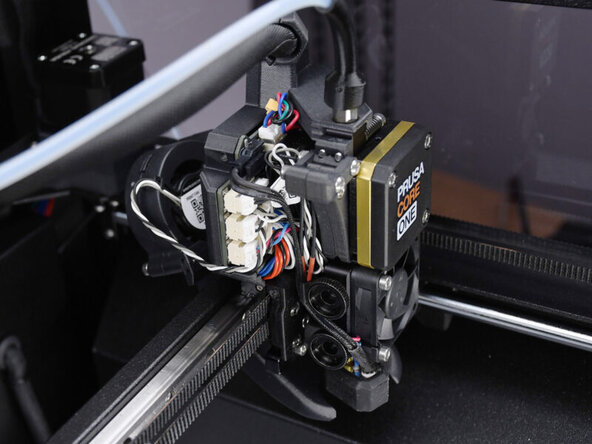
- Remove the two M3x10 screws holding the side over to the assembly.
- Once the screws are removed, take the cover off your assembly.
- Disconnect the cable for the Hotend Heater
- Disconnect the cable for the Hotend Thermistor.
- Each cable features a safety latch that holds each cable in its place. Be sure to press the latch before disconnecting to keep from damaging the connector.
- Carefully unrout the disconnected hotend cables from the cable guide.
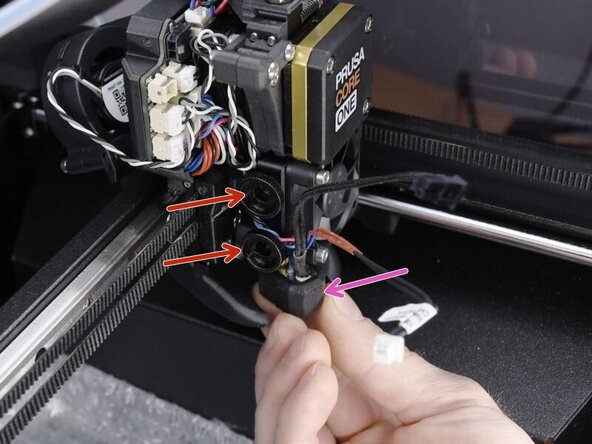
- Grasp the Hotend with one hand.
- With your free hand, loosen the two thumb screws holding the Hotend in place. Removing the thumb screws is not nessessary. A few turns is enough to get the Hotend free.
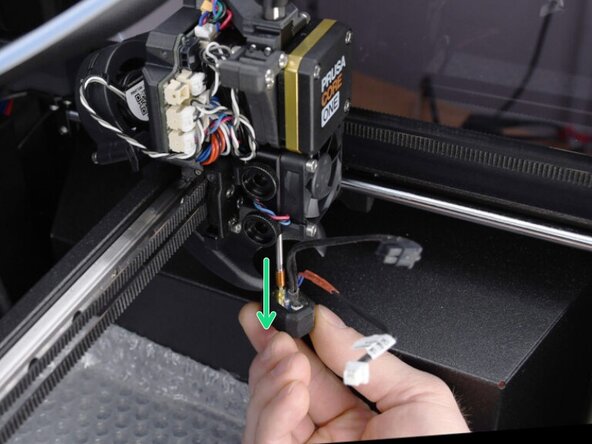
- The Hotend will fall out if not held properly. Be sure you have your cloth protecting your Headbed.
- Carefully slide the Hotend assembly out of the Heatsink.
- Remove the protective silicone sock from the heater block.
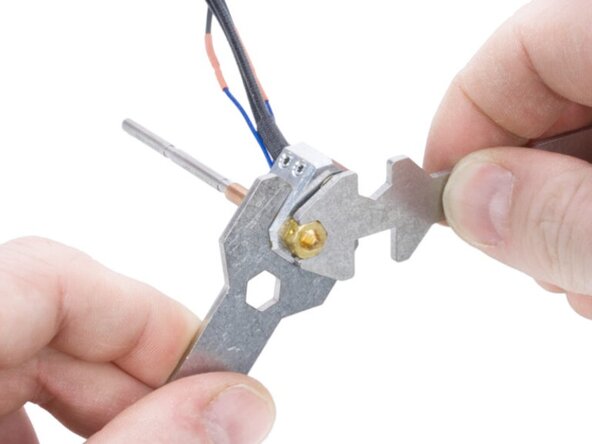
- Use the 13 mm wrench to hold the heater block.
- Use the 7 mm wrench to grasp and loosen the nozzle from the heater block.
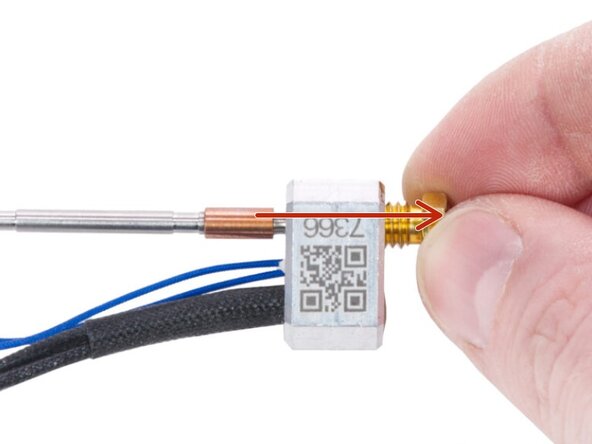
- Once loosened you can manually unscrew, and slide the nozzle out from the heater block.