DualSense Controller V5 Speaker Replacement
ID: 182467
Description: Follow this guide to replace the speaker in...
Steps:
- Disconnect and power down your controller before you begin.
- Insert an opening pick underneath the middle trim at the bottom-right corner of the controller to release the clips securing it to the case.
- Slide the opening pick along the lower-right edge of the middle trim to release the clips securing it to the case.
- Insert an opening pick underneath the middle trim at the bottom-left corner of the controller to release the clips securing it to the case.
- Slide the opening pick along the lower-left edge of the middle trim to release the clips securing it to the case.
- Use your fingers to lift up the bottom edge of the middle trim to release the remaining clips.
- Lift the middle trim over the joysticks to remove it.
- With one hand, grip the controller and use your thumb to hold down the left trigger.
- With your free hand, insert the flat end of a spudger between the L1 and L2 buttons.
- Use the spudger to gently pry the L1 button away from the controller and remove it, holding your finger over the button so it doesn't eject.
- Repeat the previous step to remove the R1 button.
- Use a Phillips screwdriver to remove the two 6.4 mm screws securing the bottom corners of the lower case.
- Use a Phillips screwdriver to remove the two 6.4 mm screws behind the L1 and R1 buttons.
- Be gentle when releasing the rear cover clips—they're delicate and can easily break.
- Use the point of a spudger to release the two clips on either side of the headset jack.
- Tight plastic clips secure the left and right edges of the rear case.
- Insert the flat end of a spudger between the front and rear shells near the bottom of the left edge.
- Slide the spudger along the left edge and gently pry the shells apart to release the clips.
- Repeat the previous step on the right edge to release its clips.
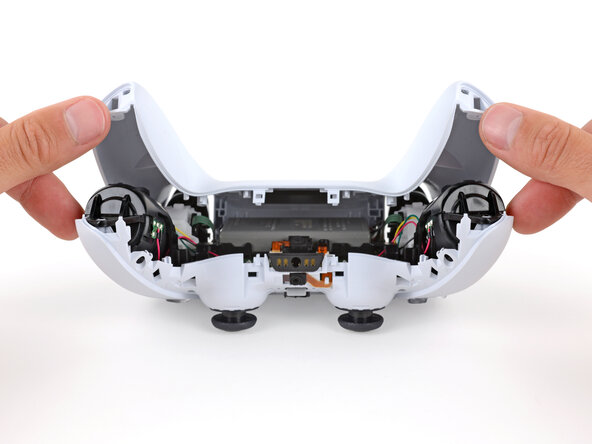
- Lay your controller upside down so the joysticks are on your work surface.
- Hold the controller down with your fingers and use your thumbs to lift the rear case away from the controller to fully separate it.
- Remove the rear case.
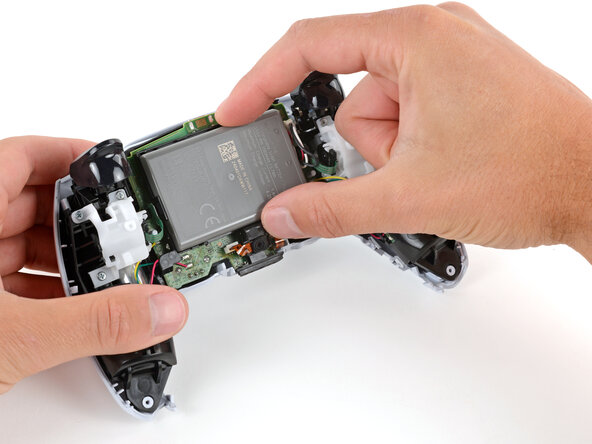
- Don't try to fully remove the battery, as it's still connected to the controller by delicate cables.
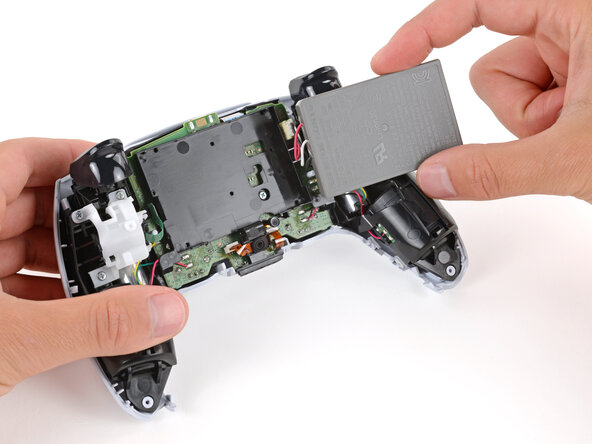
- Swing the battery out of its recess so you can access its connector, making sure to not strain the cables.
- Keep the battery supported so it doesn't fall during the next step.
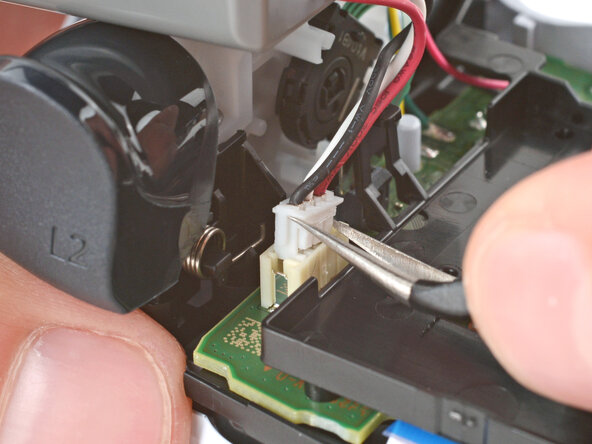
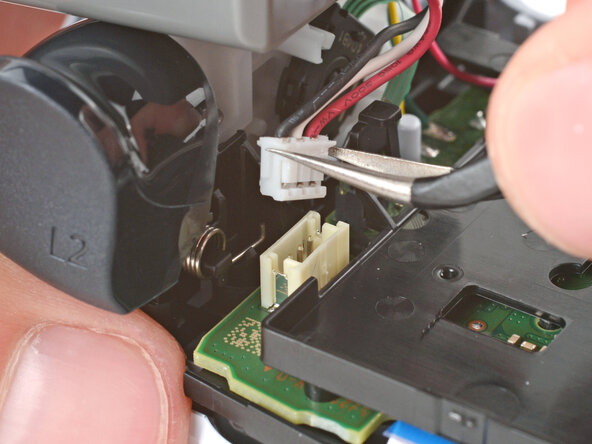
- Use a pair of angled tweezers to firmly grip the short sides of the battery connector.
- To get a stronger hold on the connector, grip the tweezers as close to the connector as you can.
- Rock the connector side‑to‑side to walk it out of its socket and disconnect it.
- Remove the battery.
- Use tweezers to grip the lower microphone cable's plastic tab and pull it straight out of the socket to remove the microphone.
- During reassembly, make sure the microphone has its rubber gasket and that the alignment tab goes into its cutout.
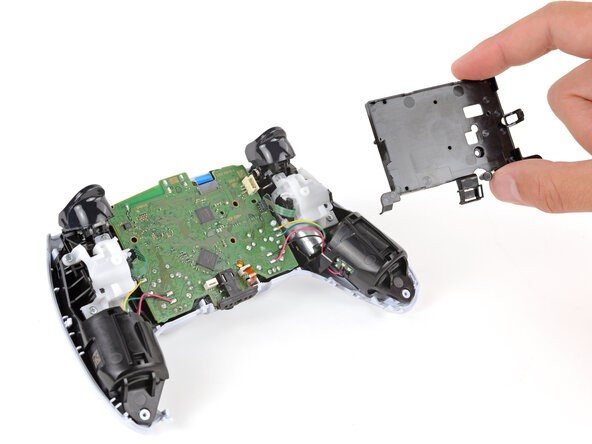
- Use a Phillips screwdriver to remove the 6.5 mm‑long screw securing the battery bracket.
- Remove the battery bracket.
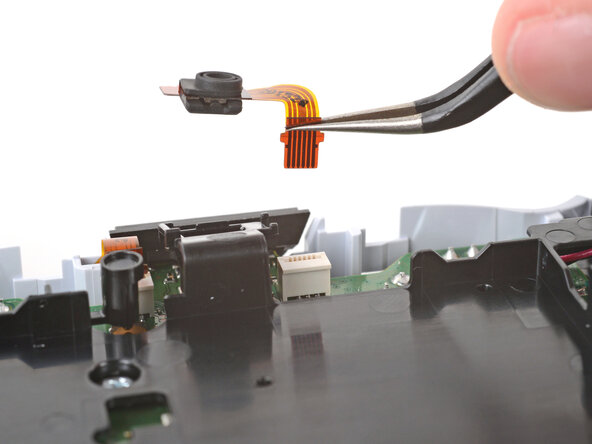
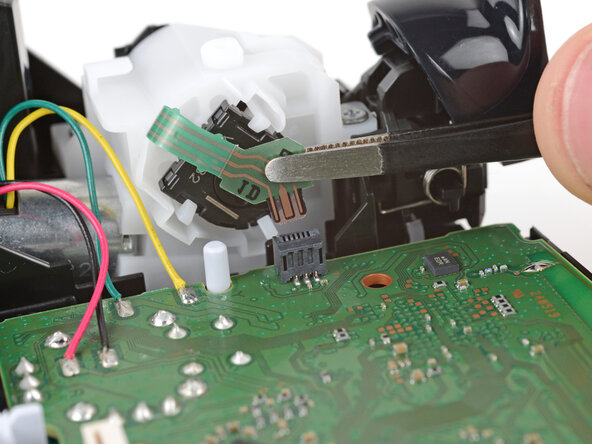
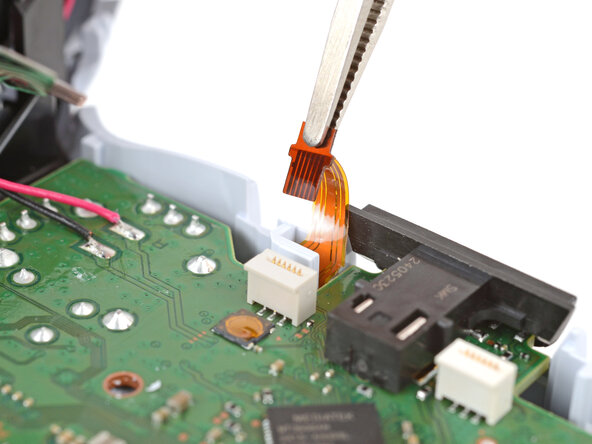
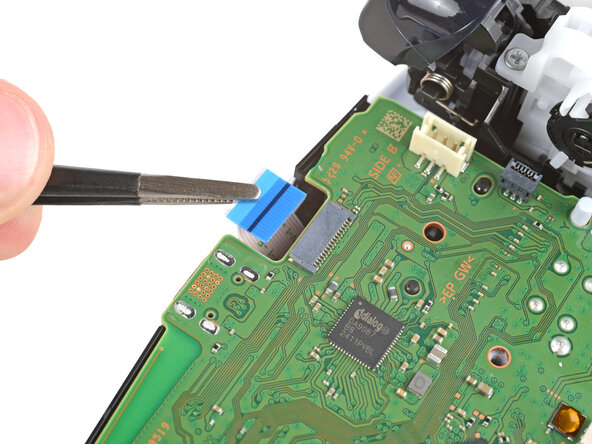
- Use tweezers to grip the hard plastic section of the right trigger ribbon cable and pull the cable straight out of its socket to disconnect it.
- If you're having trouble, try gripping the tweezers as close to the cable as possible to get a better hold.
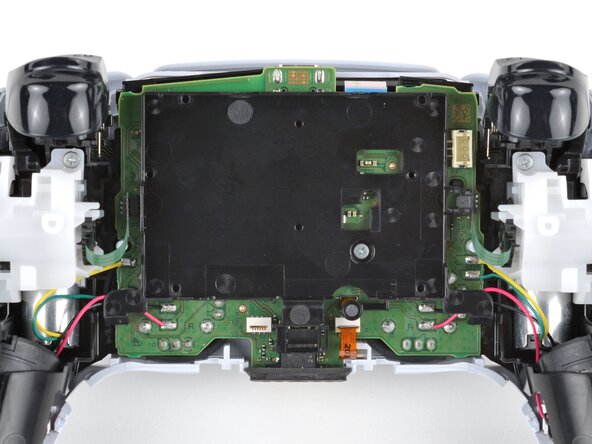
- Repeat the previous step to disconnect the three other ribbon cables that connect to the motherboard.
- Throughout the rest of your repair, be very careful not to strain the delicate wires attached to the bottom edge of the board. They can easily tear, requiring soldering to fix them.
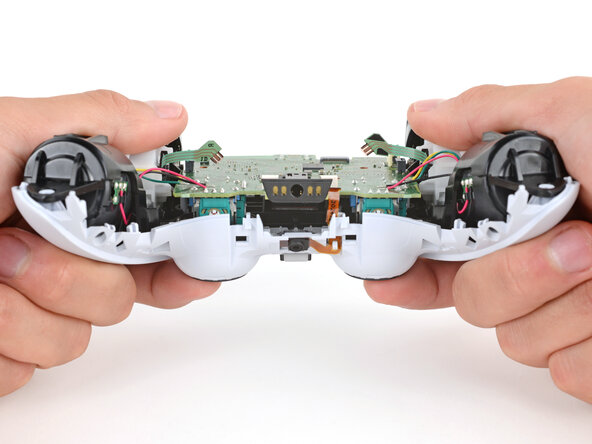
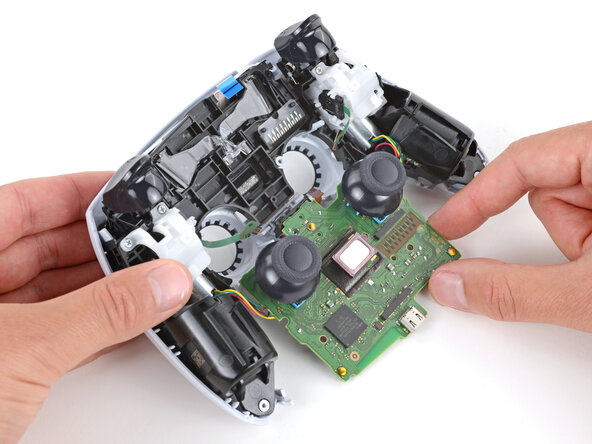
- Use your fingers to gently push the joysticks through their cutouts on the shell to separate the motherboard.
- Carefully flip the motherboard down so the joysticks are facing up.
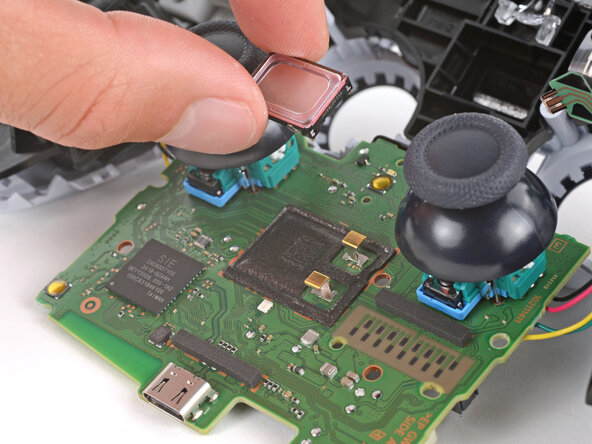
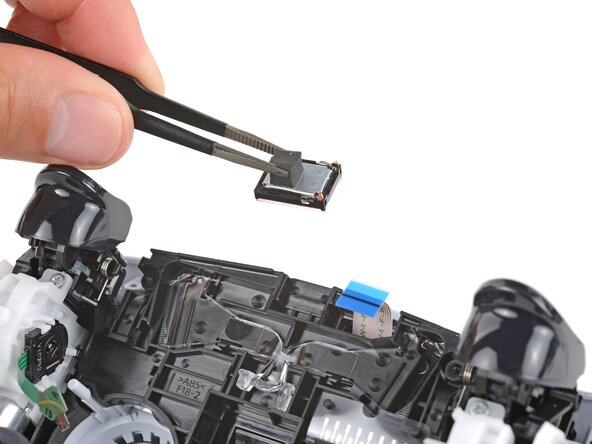
- The speaker will either be stuck to the motherboard or in its recess between the joystick cutouts.
- Use your fingers or tweezers to remove the speaker.
- During reassembly, place the speaker in its recess so the foam pad is on the left and the spring contacts are on the right.