JBL Tune 760NC Partially Remove the Motherboard (No Wire Removal)
ID: 185098
Description: This guide will walk you through the process of...
Steps:
- Power off the device and unplug any cables.
- Place the headphones on a stable, flat surface.
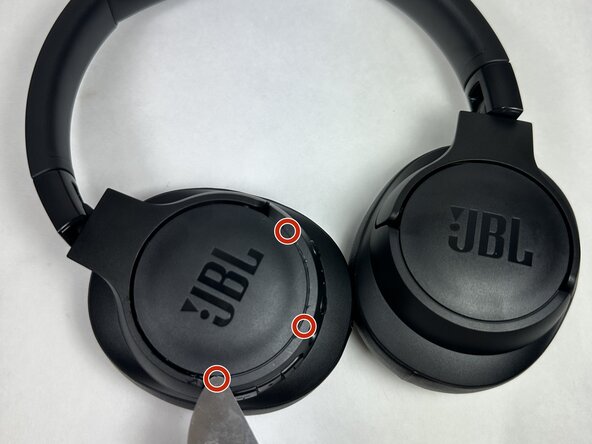
- Insert the Jimmy pry tool at a 30° angle into the seam between the ear cup and the plastic cap.
- Pry gently but firmly to release the internal clips. You may need to try different spots around the seam for easier access.
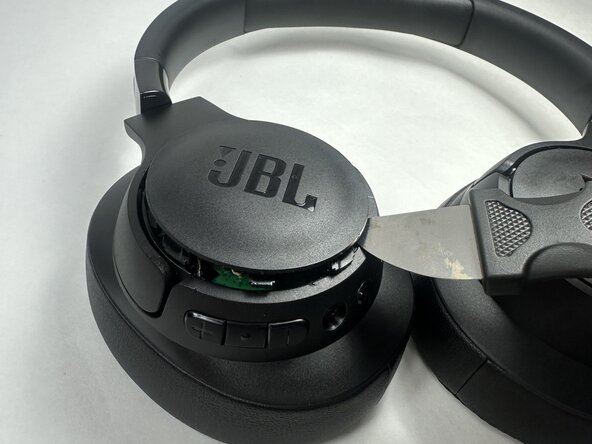
- Once the cap is removed, set it aside.
- Keep track of any small plastic clips or parts that may come loose during prying
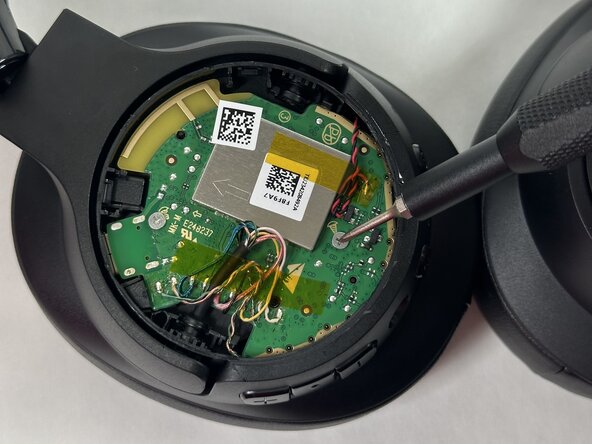
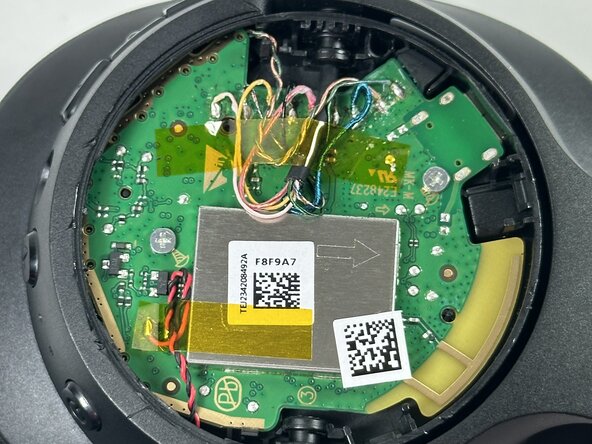
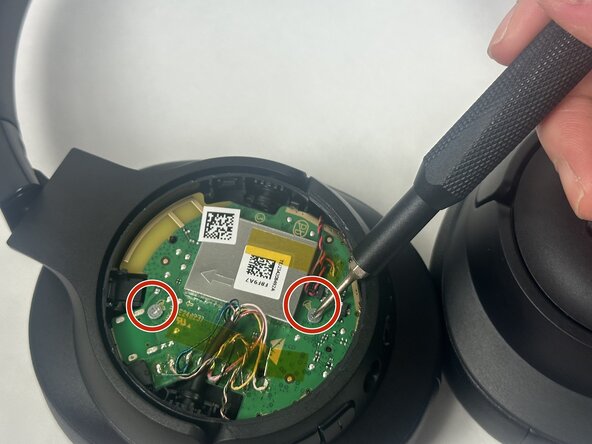
- Identify the green circuit board this is the motherboard.
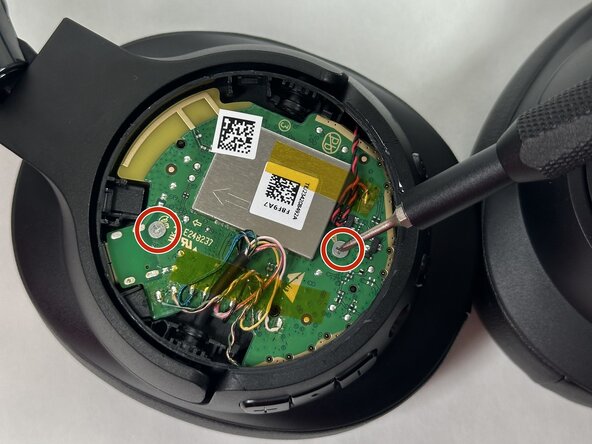
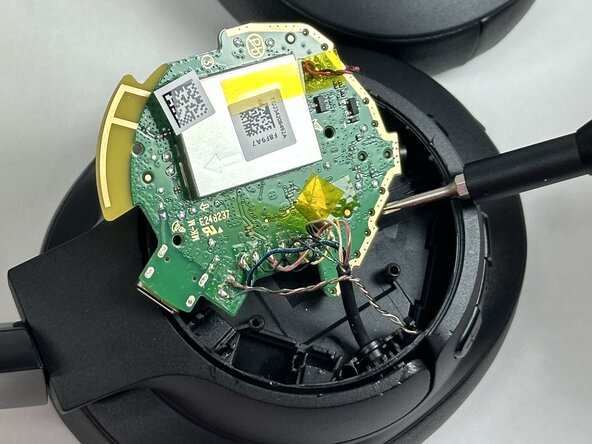
- Remove the two 5.1 mm Phillips #0 screws securing the motherboard.
- Set the screws aside in a labeled tray for easy reassembly.
- Labeling screws by type and location helps ensure they return to the correct place
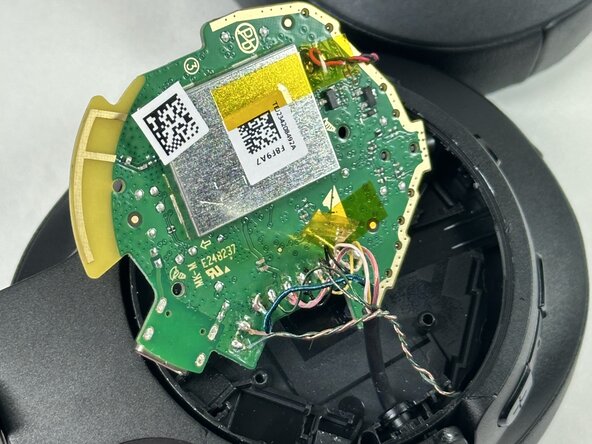
- Once the screws are removed, carefully lift the motherboard from one edge.
- Do not pull or tug the board, the wires are still attached.
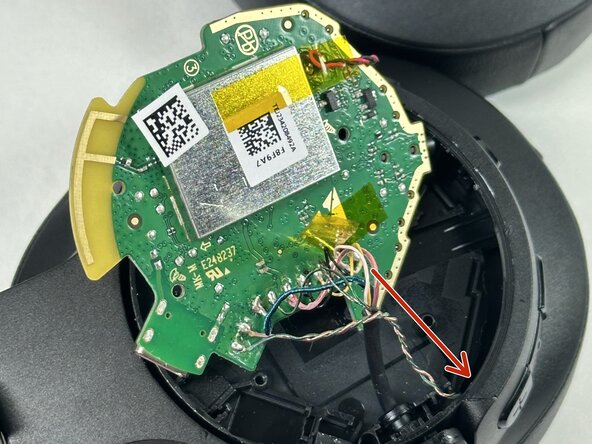
- Tilt or slightly raise the board to show the connection points beneath. This step simulates how a full removal would proceed.
- Once inspected or photographed, gently lower the motherboard back into place.
- This step is meant for demonstration or inspection only. Since the wires remain attached, avoid putting stress on any cables or solder points.
- Gently lower the motherboard back into its original position inside the casing.
- Align the screw holes and ensure the board sits flat without bending the attached wires.
- Reinsert the two 5.1 mm Phillips #0 screws to secure the motherboard in place.
- Snap the outer plastic cap back onto the ear cup, pressing evenly around the edges until you hear it click securely into place.
- This step may require some pressure take your time and make sure all clips are properly aligned to avoid damaging the cap.
- The motherboard may be tricky to reposition due to the tight fit. Avoid forcing it, and double-check wire placement before snapping the cap back on.