Audio Technica AT-LP60XUSB Turntable Belt Replacement
ID: 185162
Description: In this straightforward guide, we will show you...
Steps:
- Disconnect the power from the turntable.
- Never work on the turntable while it’s plugged in.
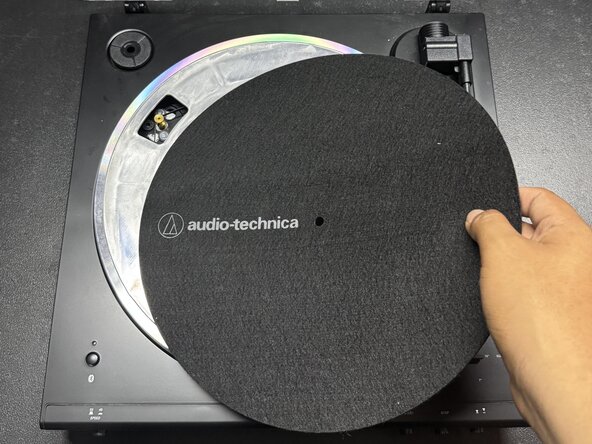
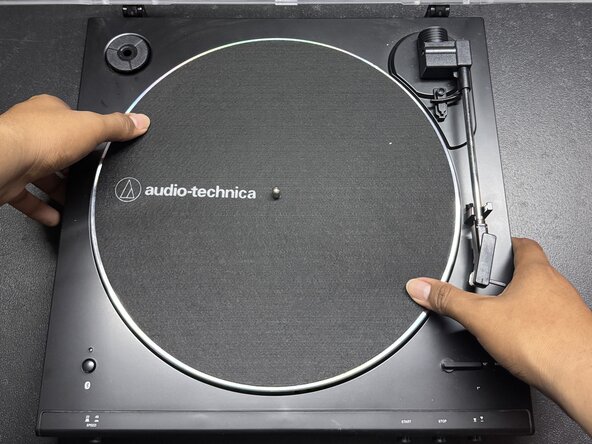
- Remove the rubber slipmat from the turntable and place it to the side.
- Pull the metallic platter with the broken belt straight up to remove it.
- Do not use excessive force when removing the platter, as it may cause damage to internal components.
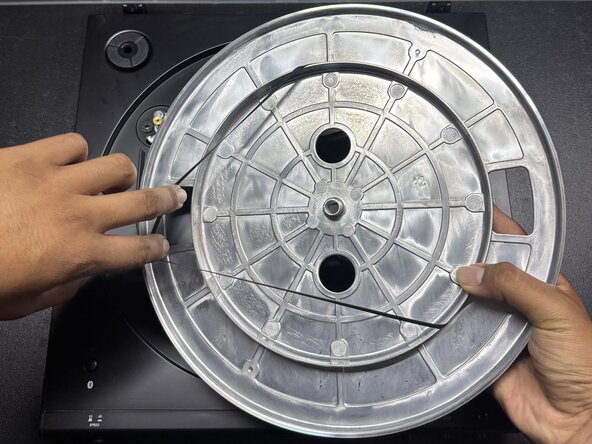
- Flip the metallic cover upside down.
- Remove the old belt.
- Place the new belt around the circle on the bottom of the plate.
- Ensure the belt lies flat and is not twisted or bunched up.
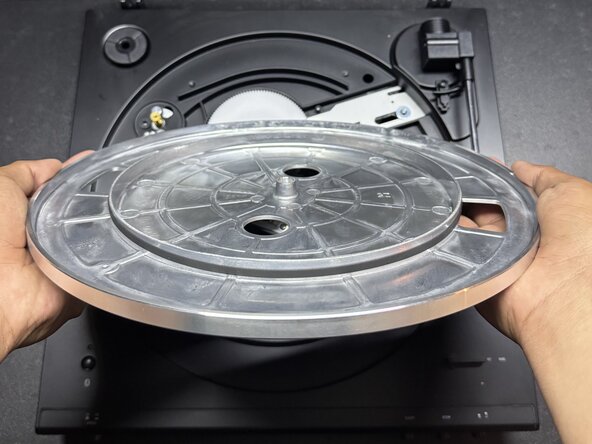
- Flip the metallic plate over and place it onto the turntable.
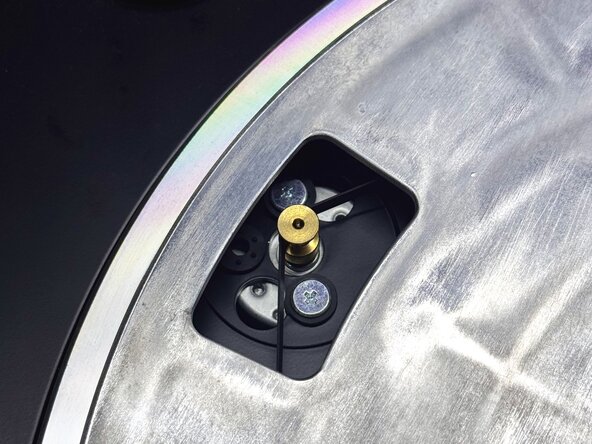
- Align the hole in the center of the plate with the silver knob in the middle of the turntable.
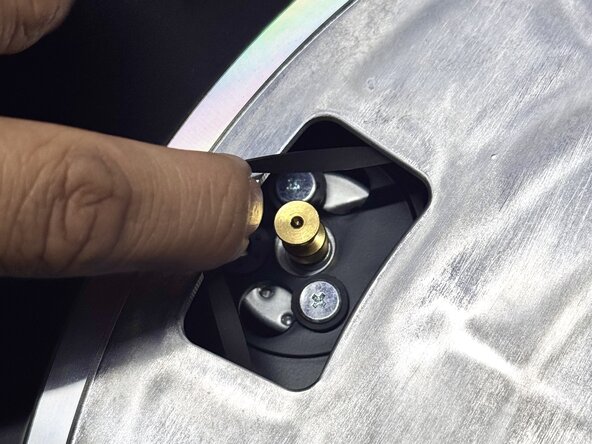
- Rotate the metal plate until the rectangular opening near its edge lines up with the gold knob in the top-left corner.
- Use your fingers to pull the belt through the rectangular opening and loop it around the gold knob.
- Be gentle while stretching the belt onto the pulley to avoid tearing or misalignment.
- Place the rubber slipmat back on top of the turntable.
- Connect the power to the turntable.
- Turn the metallic plate on the turntable to confirm that the belt is spinning properly.