2001–2005 Honda Civic Side-View Mirror Replacement
ID: 185196
Description: If your side-view mirror is cracked, loose, or...
Steps:
- Make sure window is down and car is off before you begin.
- Insert a plastic pry tool into the space between the mirror cover and mirror mount.
- Pry around the edges to loosen it and remove the mirror cover.
- The mirror cover must be removed to remove the door panel.
- Use a Phillips #2 screwdriver to remove both screws from the door handle.
- 4x12 mm oem tap screw
- 5x20 mm oem tap screw
- Pull the door handle to reveal the clip attached to the actuator rod.
- Don't pull it off as it is connected to the power cable.
- Apply slight pressure with your finger, or use needle-nose pliers to remove the clip from the actuator rod.
- Rotating the clip to the right, away from the rod should disconnect the latch rod from the clip.
- Do not apply excessive force as these clips have a reputation of becoming weak over time and can break.
- Hold down the tabs and disconnect the power cable connector from the door handle.
- Remove the door handle and set it aside.
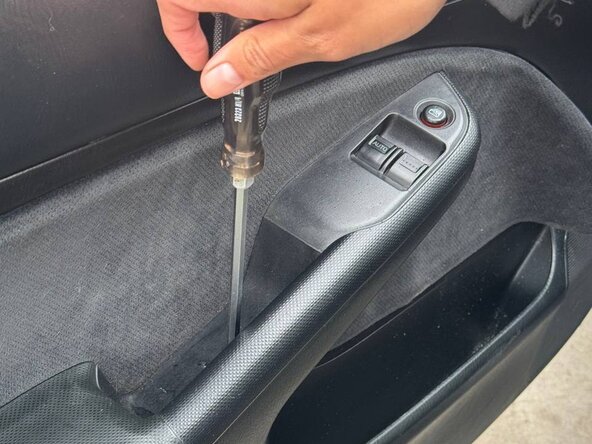
- Use a plastic opening tool to remove the screw cover in the armrest. Use a Phillips #2 screwdriver to remove the 4x16 self tapping screw.
- Insert the pry tool into the armrest and apply slight pressure to remove the armrest.
- Squeeze the tabs and disconnect the power cable connector from the armrest.
- Don't force the cable and don't pull the cable out by the wires or it may get damaged.
- Use the Phillips #2 screwdriver to remove the 5x20 mm oem tap screws where the armrest was.
- Insert the pry tool or a flat-blade screwdriver into the door panel and apply slight pressure to pop the door panel loose.
- Lift and remove the door panel.
- Squeeze the connector tabs and disconnect the power cable from the mirror.
- Move the lever on the ratchet to the right to set it to loosen.
- Use the 1/4 inch ratchet with an 8mm socket to remove the nuts by repeatedly rotating counterclockwise.
- Although it’s common to associate left with loosening and right with tightening, keep in mind that when the ratchet is upside down, the lever may appear to point left—but the standard rules still apply.
- Other ratchets may differ and be reversed (left to loosen, right to tighten).
- Press the connector tab and with your other hand pull the mirror out to remove it.
- If working with another person, have them pull the mirror on the other side of the door.
- Align the new mirror's mounting bolts with the holes.
- Tighten the nuts with your hand first and then use the 1/4-inch ratchet to secure them.
- Put the door panel back on and make sure the door clips of the door panel align with the car.
- Apply firm pressure and tap where the door clips are to ensure the door stays on.
- Make sure the connectors are sticking out so you can reconnect your door handle and door panel.
- Use the Phillips #2 screwdriver to replace the 5X20 mm OEM tap screws in the armrest cavity to ensure the door panel stays put.
- Reattach the mirror cover and apply firm pressure to ensure that is stays on.
- Reconnect the door handle.
- Reattach the door clip by rotating it to the left onto the actuator rod.
- Once the clip is reattached, you can insert the door handle back into place.
- Use the screwdriver to replace the door handle screws.
- 5x20 mm oem tap screw
- 4x12 mm oem tap screw
- Attach the armrest and make sure the cable connector goes under the door panel.
- Use the screwdriver to secure the 4x16 mm self tapping screw to the armrest.
- You have completed this guide!