Waterpik Cordless Advanced 2.0 WP-580 Motherboard Replacement
ID: 185230
Description: In the case that your motherboard stops...
Steps:
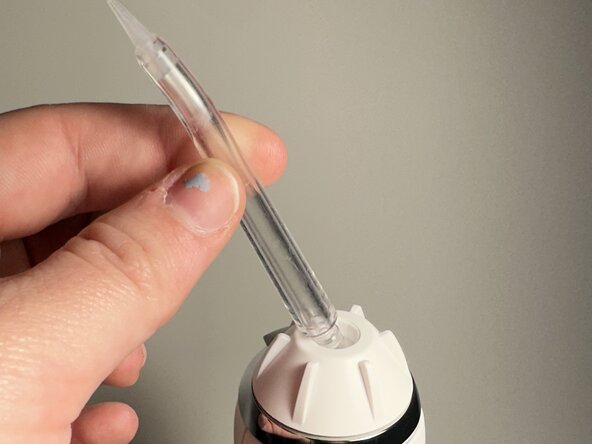
- Depress the tip eject button and remove the tip.
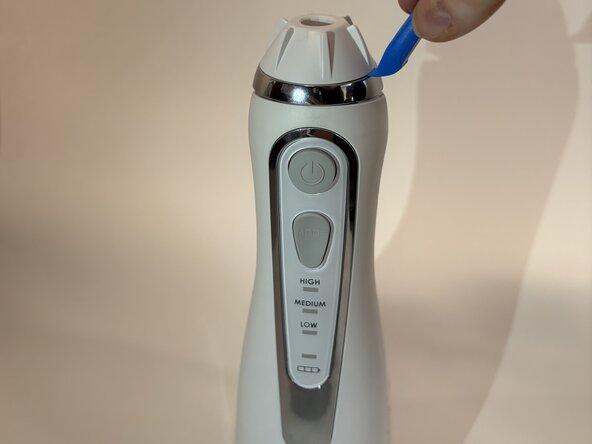
- Use an opening tool to pry off the tip rotator.
- Avoid excessive force to prevent damaging the tip rotator.
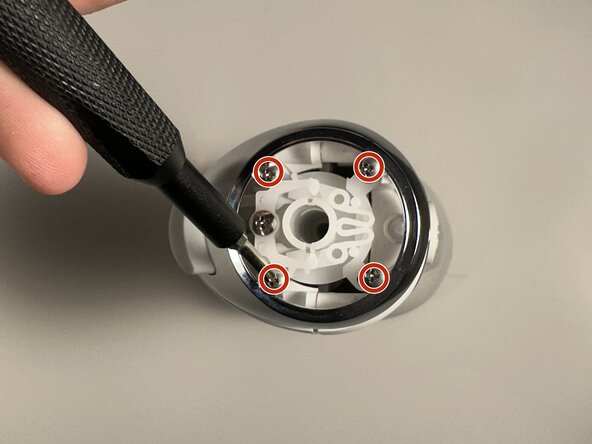
- Remove the four Phillips screws beneath the tip rotator.
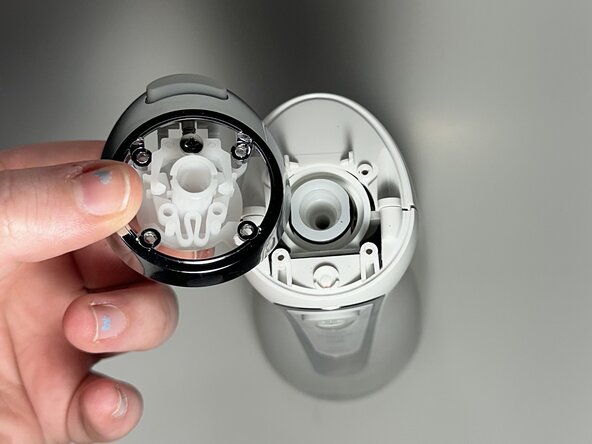
- Remove the eject button assembly.
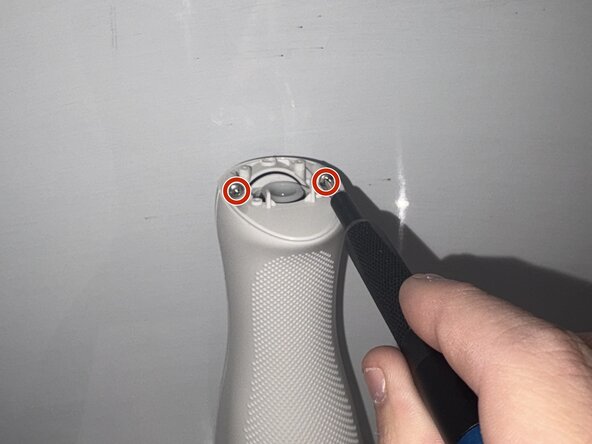
- Use a Phillips #0 screwdriver to remove the two screws beneath the eject button assembly.
- Remove the water reservoir.
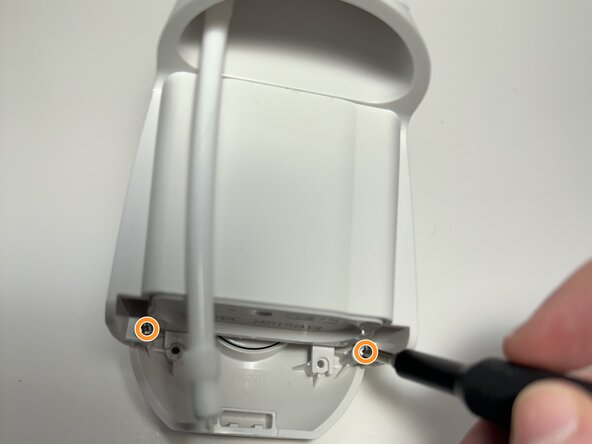
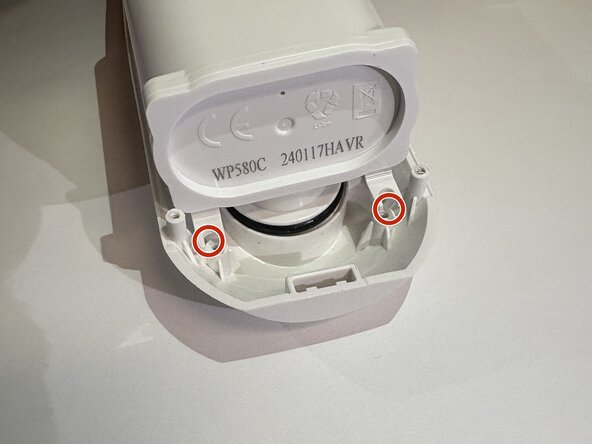
- Remove the two Phillips #0 screws toward the bottom of the device.
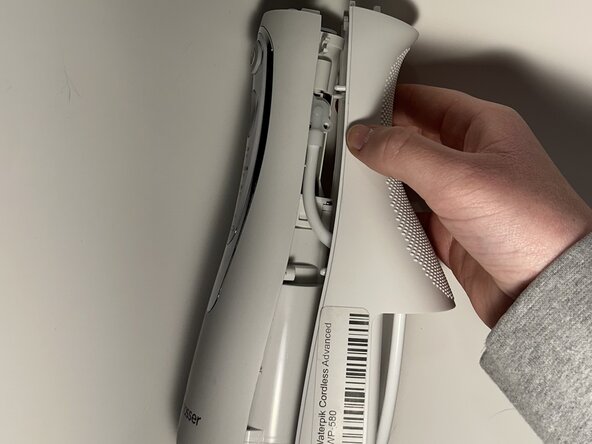
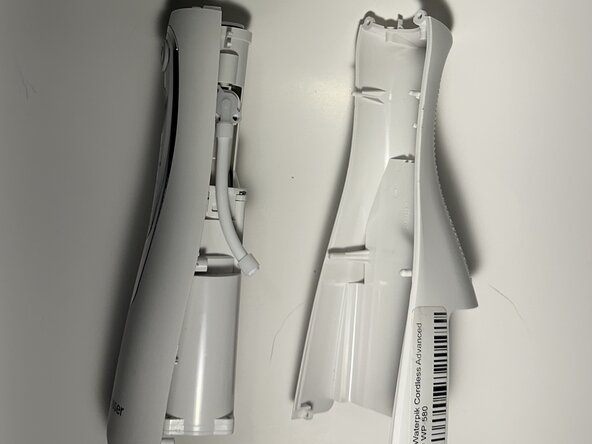
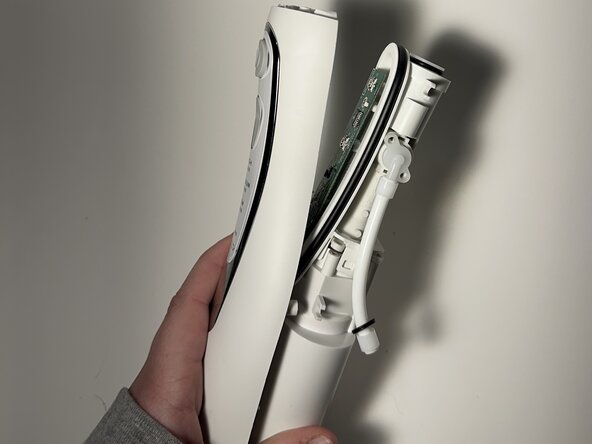
- Insert the flat end of a spudger into the seam between the front and rear case and gently begin to pry the two halves apart.
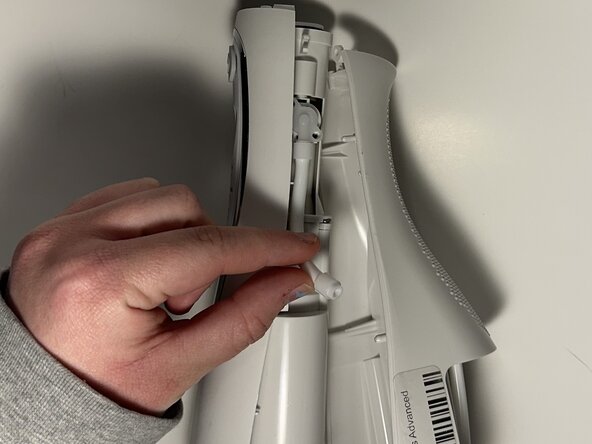
- Disconnect the hose from the right side of the device and fully separate the two halves.
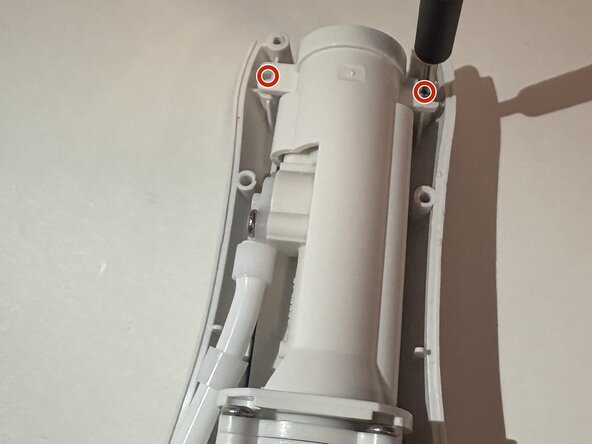
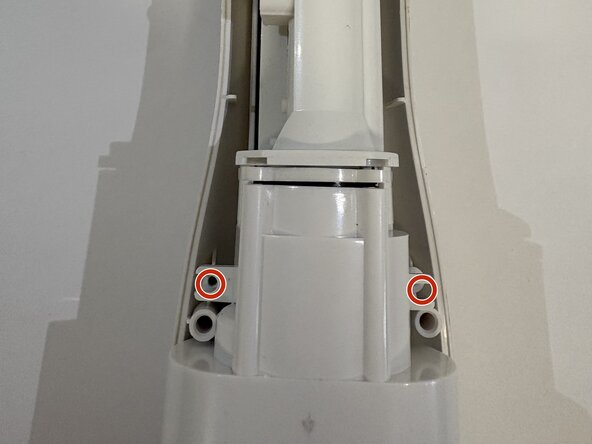
- Remove the two screws at the top, two screws in the middle, and two screws at the bottom using a Phillips #0 screwdriver.
- Gently separate the outer casing from the rest of the inside pieces - there are cords here holding them together.
- Use a Phillips screwdriver to remove the two screws that secure the motherboard.
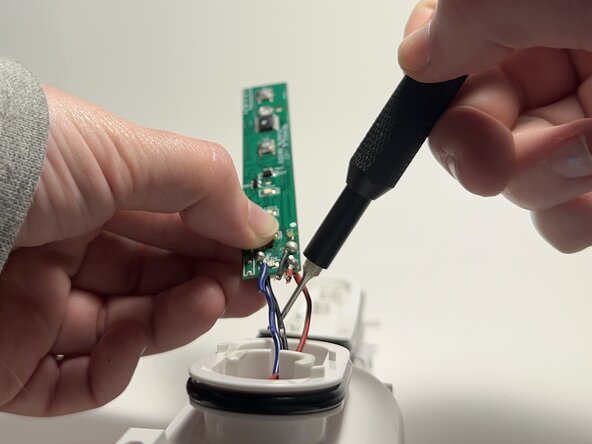
- Carefully desolder the black, red, and blue wires from the motherboard.
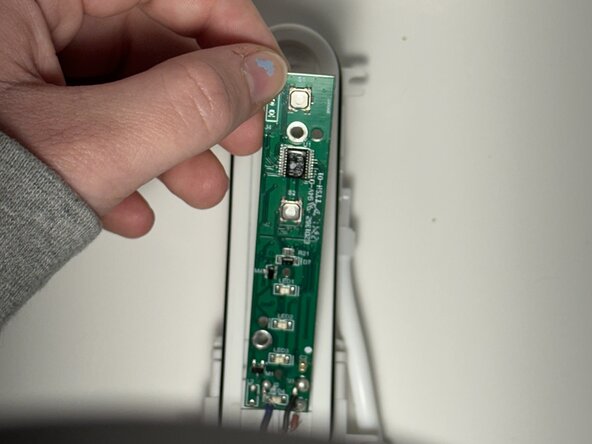
- Remove the motherboard.