Logitech G X56 HOTAS Joystick Thumb HATs (Witch and Castle) Cover Replacement
ID: 185338
Description: If your Logitech G X56 HOTAS Joystick (model...
Steps:
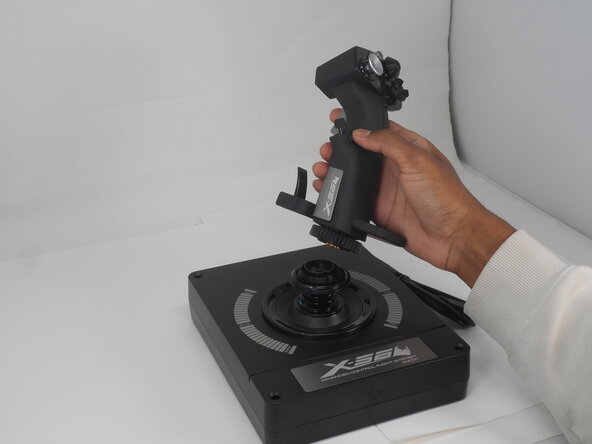
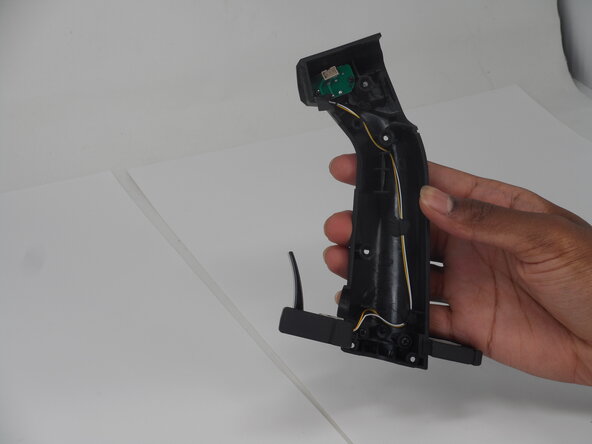
- Turn the locking bezel counterclockwise, then remove the joystick from the joystick base.
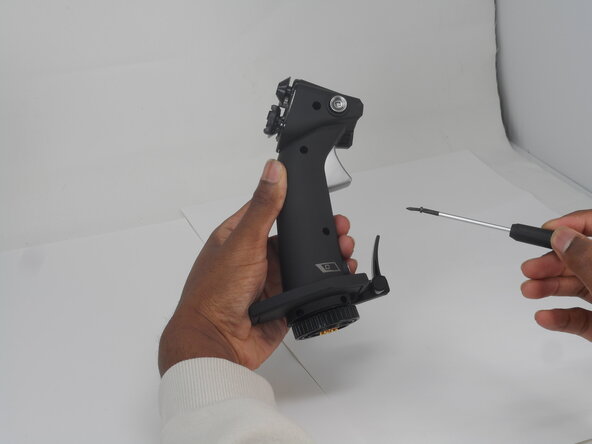
- Remove the five 11.7 mm-long Phillips #0 screws that secure the case.
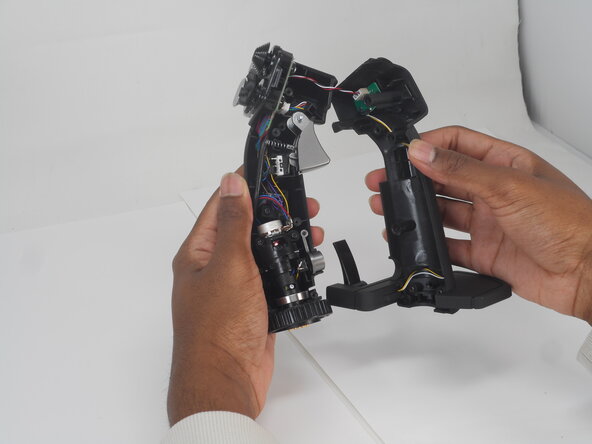
- Pull the joystick casing apart to reveal the internal components.
- The casing will need a little force to split open.
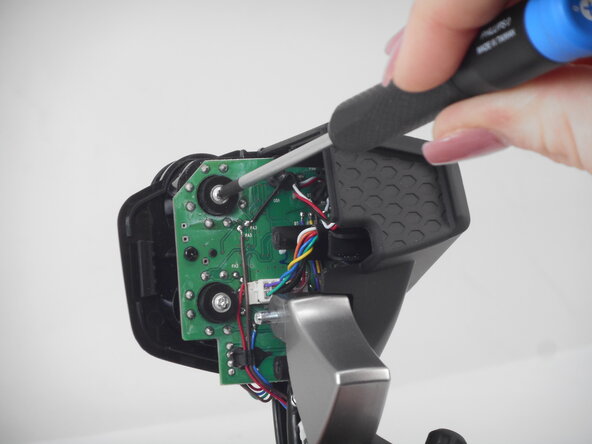
- Take care not to damage or strain the connected cable.
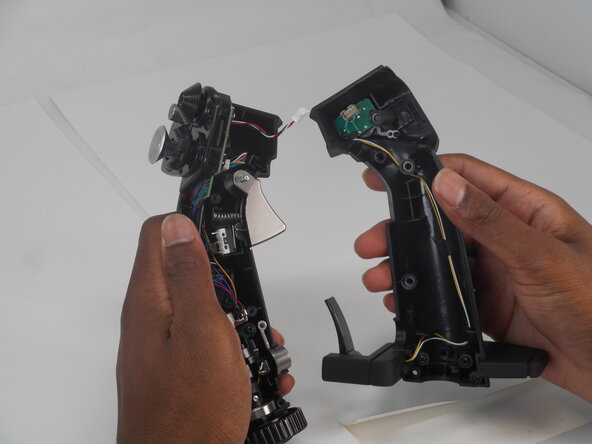
- Grip and pull the white connector directly out of its socket.
- The connector is fragile. If removed forcefully, it may affect the PCB performance.
- Refer to the left or right side for replacement guides of other parts (left, then right side in order).
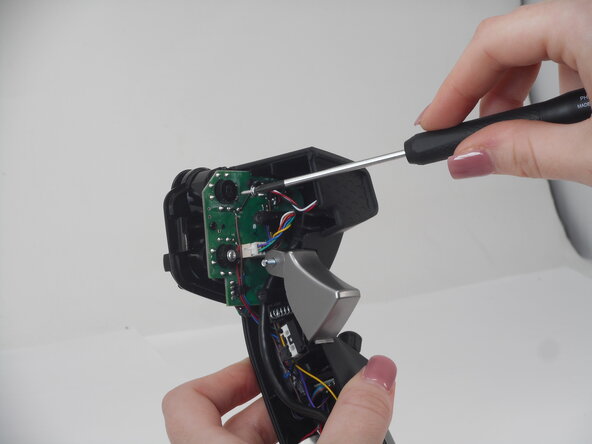
- Remove the two Phillips #0 6.9 mm-long screws that secure the HAT switch PCB.
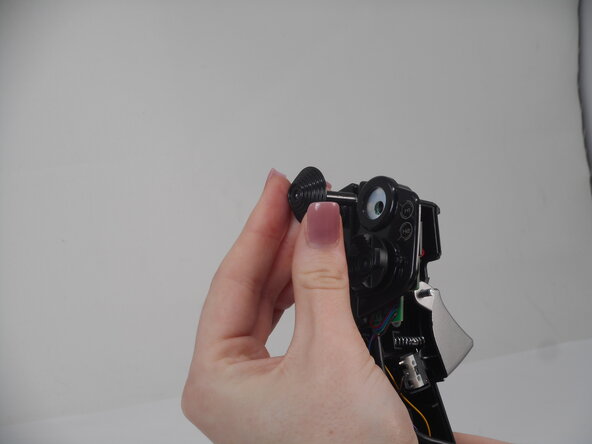
- Turn the joystick and remove the HAT cover.