Acer C933 Hinge Replacement
ID: 185403
Description: If your Acer C933 Chromebook (Model: N19Q2) has...
Steps:
- Make sure to power off the device and keep it off for the duration of the procedure.
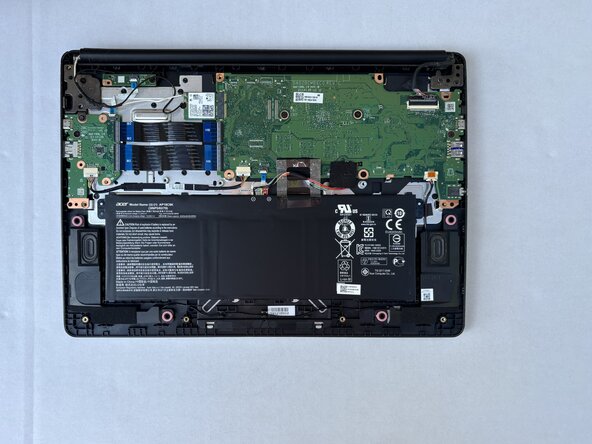
- Use a Phillips #00 screwdriver to remove the ten 3 mm screws from the bottom panel.
- Use an opening tool or spudger to release the clips securing the bottom case.
- Remove the bottom panel.
- Handle ALL components with care!
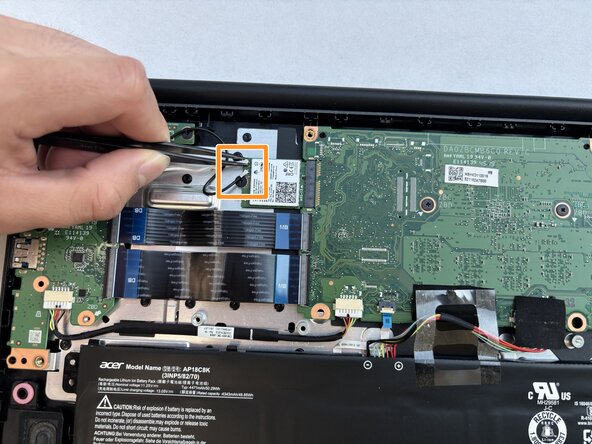
- Zero Insertion Force(ZIF) connecters are commonly used to secure delicate cables. A lock hinge flap secures the cable in place and protects it.
- To disconnect the display screen cable, use a clean finger nail to flip up the flap to unlock its position. Carefully use tweezers of clean fingers to pull the display screen cable out.
- Slide a thin, ESD-safe pry tool or angled tweezers under the metal neck of the Wi-Fi connector (as close to the head as possible) and lift straight up from the board.
- When working with these connectors, it's key to always lift the head straight up. If pried on at an odd angle, you risk breaking the socket off of the board underneath.
- Note which cord goes where for reassembly! Use tweezers to hold the connector in place over its socket and gently press down with your finger or a spudger—the connector should "snap" into place. If you're having trouble, reposition the head and try again.
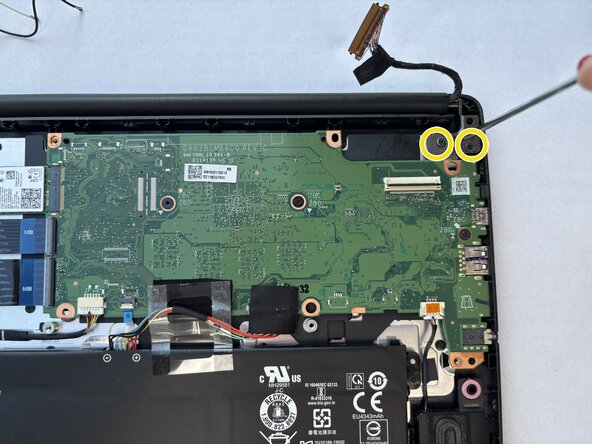
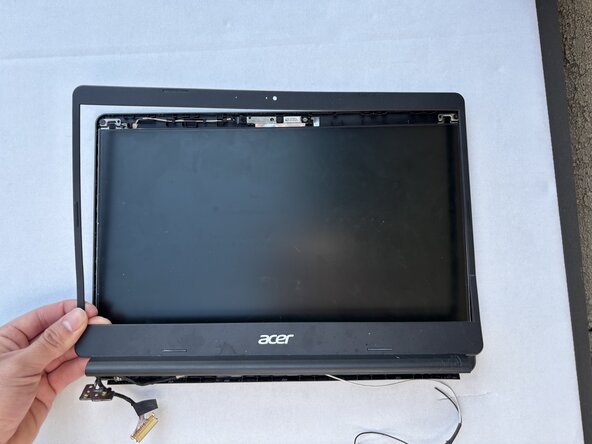
- Use a Phillips #00 screwdriver to remove the 3 mm screws securing the each hinge set to the chassis. Remove the display assembly.
- Keep the screws for reassembly.
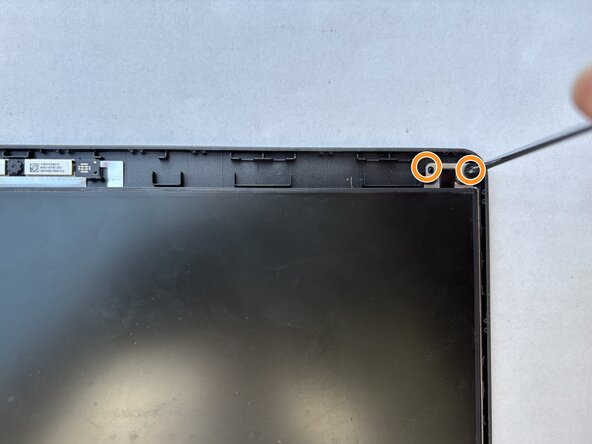
- Gently insert a spudger under the bezel and release the clips to remove it from the screen.
- The bezel can easily crack or break so be careful when removing it.
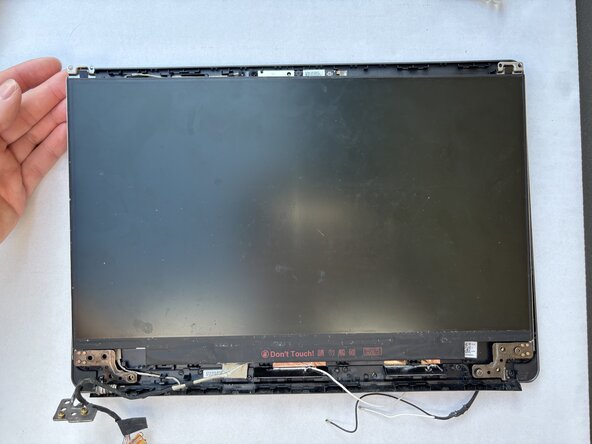
- Use a Phillips #00 screwdriver to remove the 3 mm screws holding the hinge set to the display assembly.
- Keep screws placed on the side accordingly.
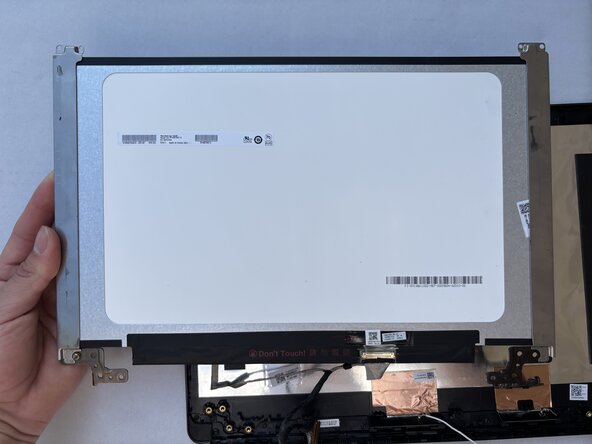
- Use a Phillips #00 screwdriver to remove the 2.5 mm screws holding the screen in place.
- Remove the screen.
- Turn the screen around and remove a hinge set from each side.
- Put the new hinge set in place and press down.
- Upon completing this step, you have now successfully replaced your hinge and need to reassemble your device.