SGIN X15S Motherboard Replacement
ID: 185467
Description: This guide covers the replacement of a...
Steps:
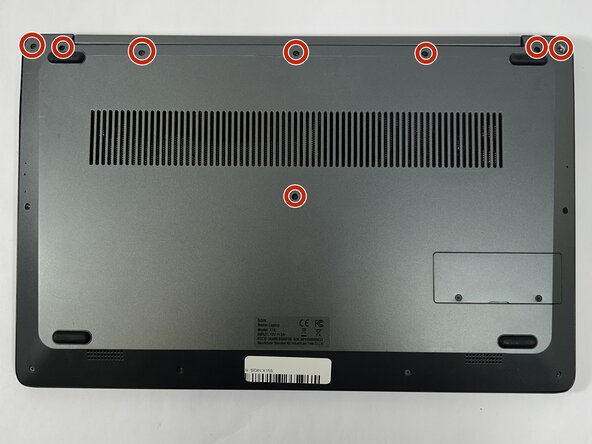
- Remove the eight top and middle 7.3 mm screws using the Phillips #0 screwdriver.
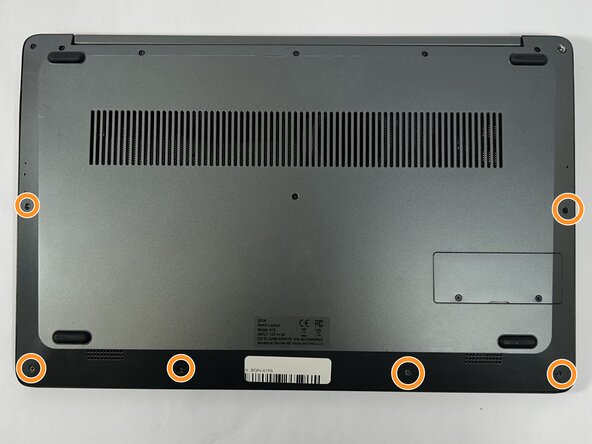
- Remove the six bottom and side 4.4 mm screws using the Phillips #0 screwdriver.
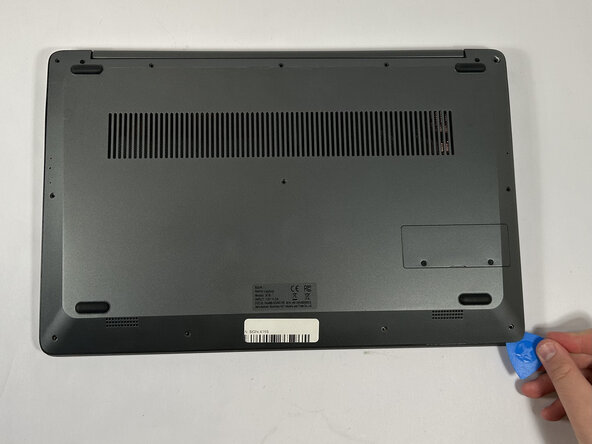
- Use the nylon spudger to gently pry a bit of the back panel open. With the opening pick, go all the way around until the back panel is loose.
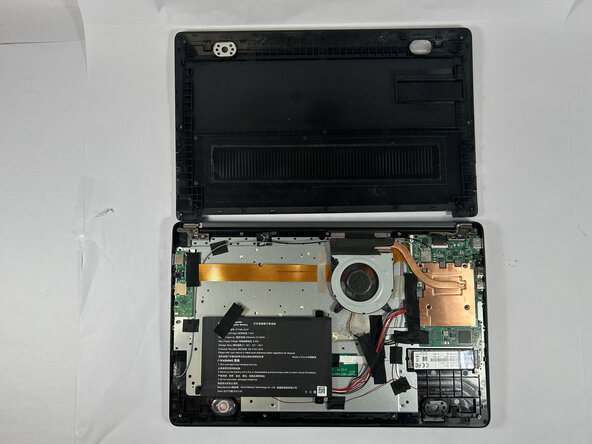
- Pull the back panel off the laptop.
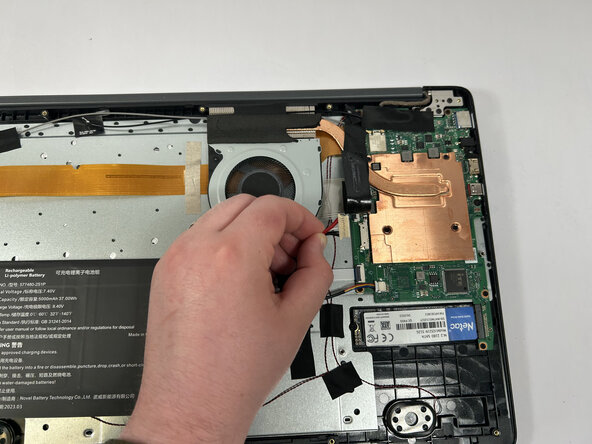
- Gently remove the tape holding the battery's cord to the motherboard, followed by the tape in the middle of the cord.
- If your battery is swollen, halt this guide and follow the swollen battery disposal guide.
- Use the nylon spudger to detach the battery from the motherboard.
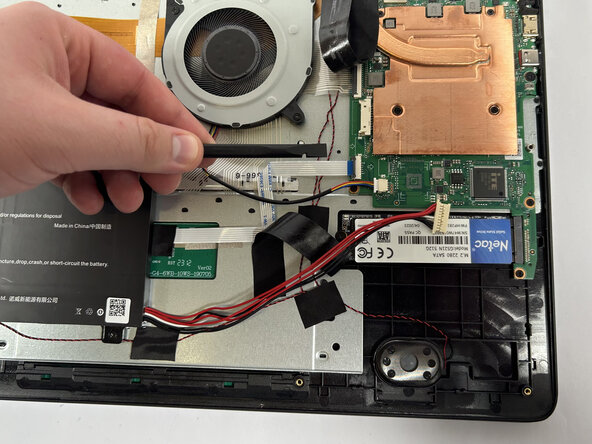
- Using the nylon spudger, unclip the clip holding the touchpad cable down.
- Disconnect the touchpad cable.
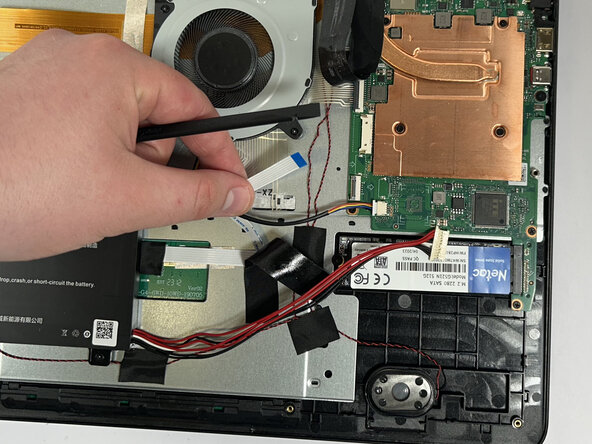
- Using the nylon spudger, unclip the clip holding the keyboard ribbon cable in place.
- Disconnect the keyboard ribbon cable.
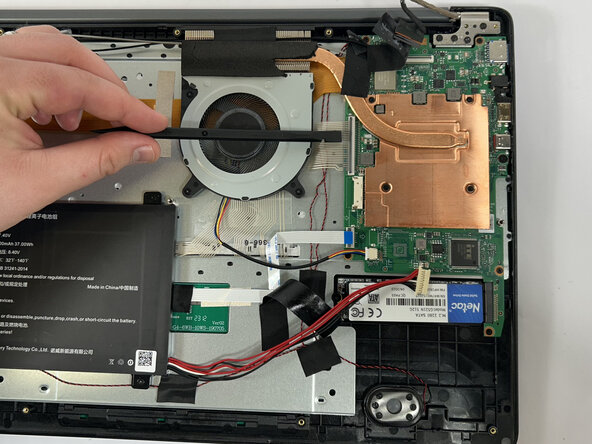
- Using the nylon spudger, unclip the clip holding the screen cable in place.
- Disconnect the screen cable from the motherboard.
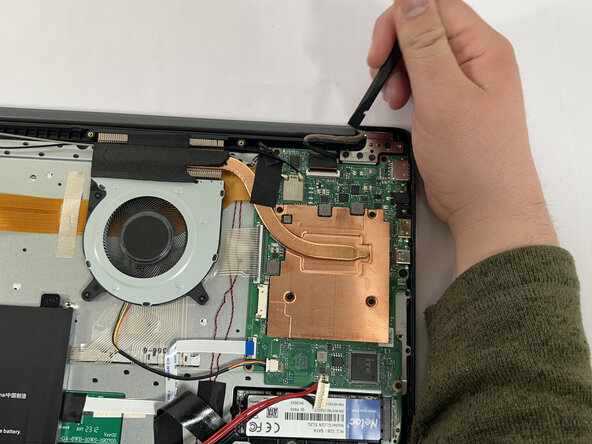
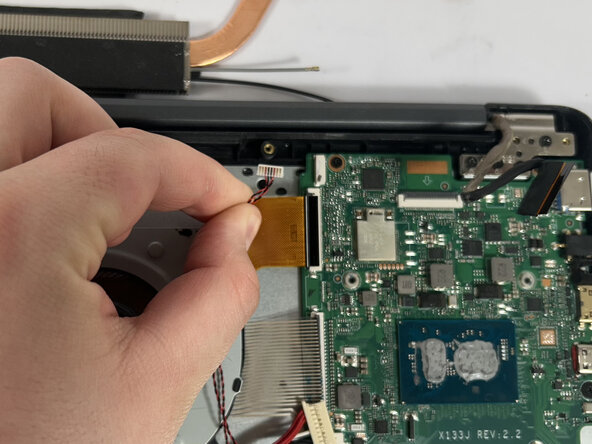
- Using the tweezers, grab the wire connector.
- When removing connectors, be sure to grip the edges of the wire connector and not the wires themselves.
- With the tweezers in place, push away from the motherboard to disconnect the wire.
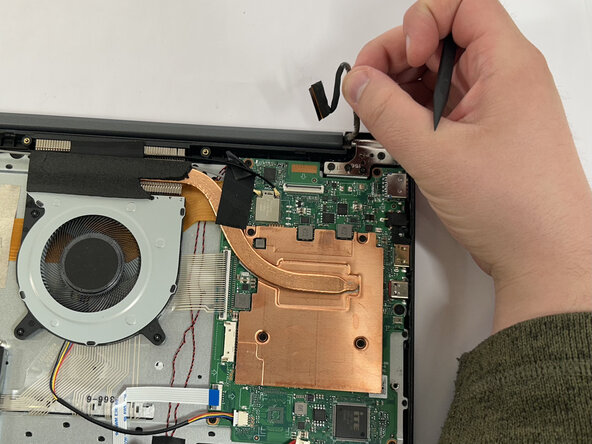
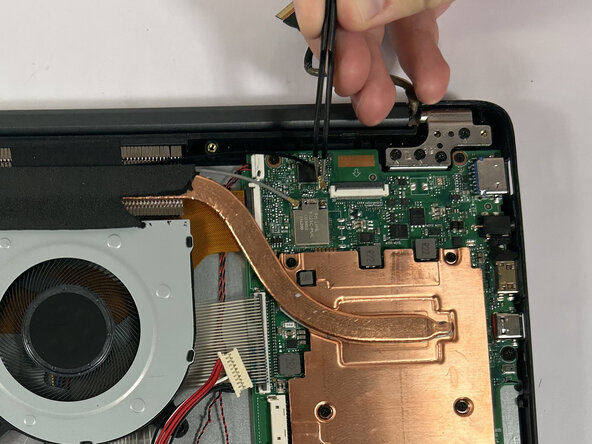
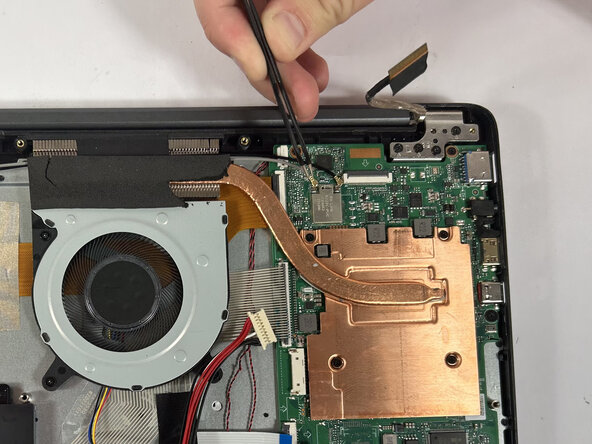
- Using the angled tweezers, firmly grip the black Wi-Fi cable.
- With a firm grip, pull the black Wi-Fi cable off the motherboard.
- Do the same to the grey cable.
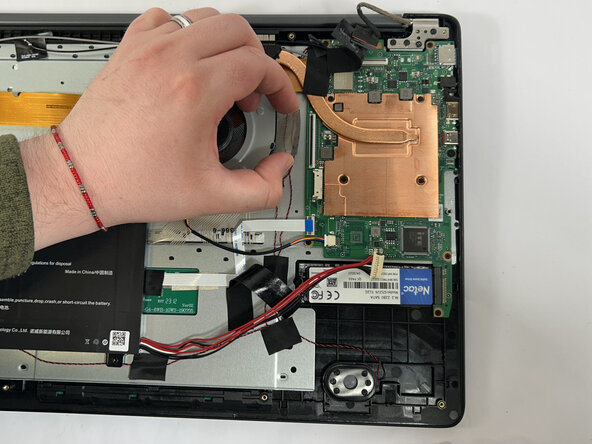
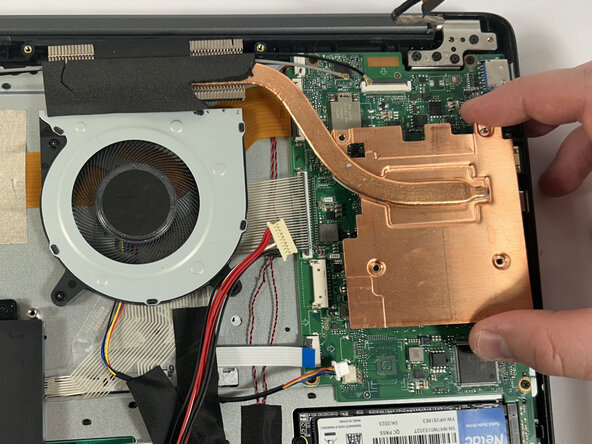
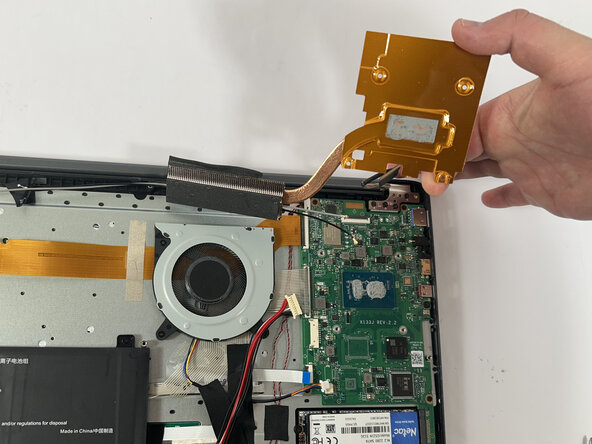
- Remove the four 3 mm screws holding the heatsink in place using a Phillips #0 screwdriver.
- Lift and remove the heatsink.
- There is thermal paste on the bottom that will need to be cleaned off and reapplied if the motherboard is replaced.
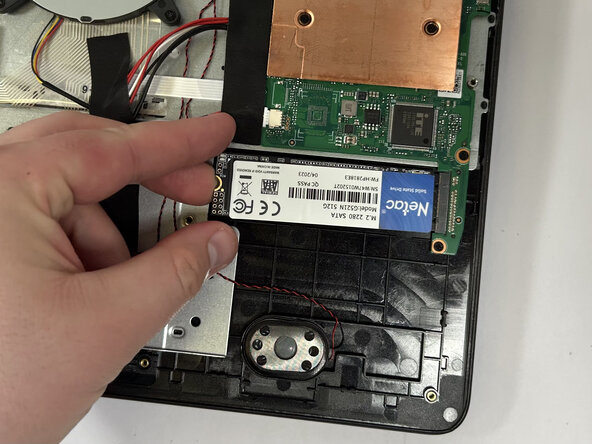
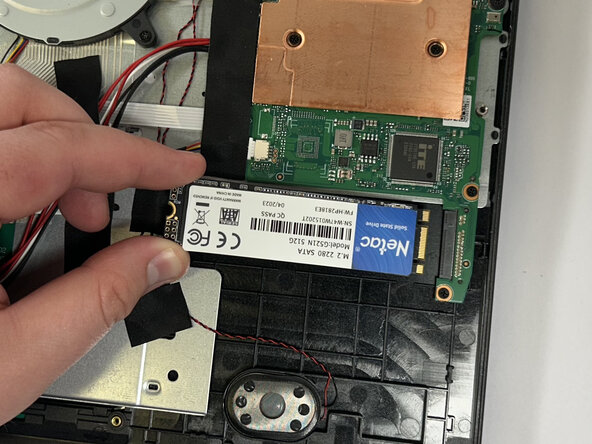
- Remove the single 3 mm screw holding the SSD in place using a Phillips #0 screwdriver.
- Give the SSD a little upward force near the screw side so that it is bent at an angle.
- Pull the SSD out of its slot.
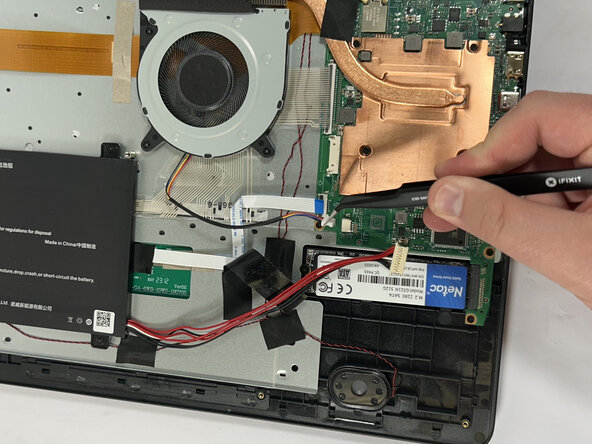
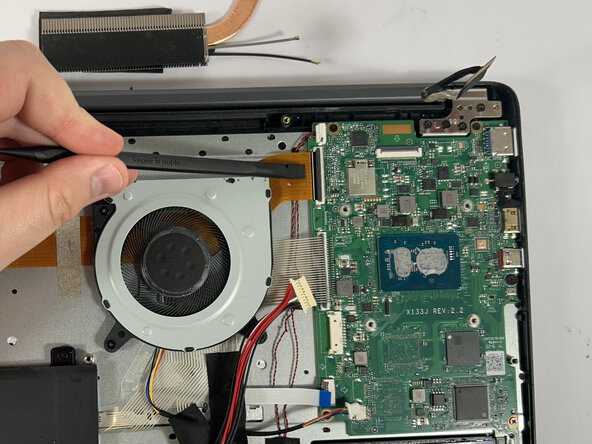
- Using the nylon spudger, unclip the clip holding down the ribbon cable.
- Disconnect the ribbon cable.
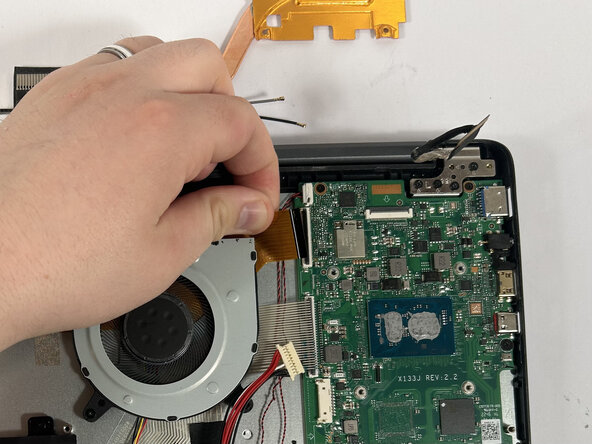
- Using the tweezers, grab the wire connector.
- When removing connectors, be sure to grip the edges of the wire connector and not the wires themselves.
- With the tweezers in place, push away from the motherboard to disconnect the wire.
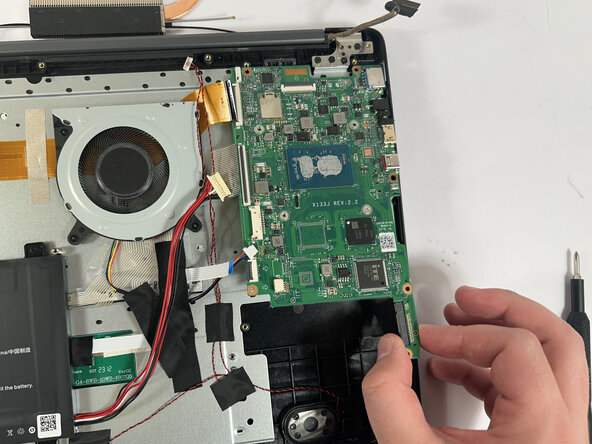
- Using the Phillips #0 screwdriver remove the six 3 mm screws.
- Carefully grab the sides of the motherboard and make sure not to touch any of the components on the top or bottom.
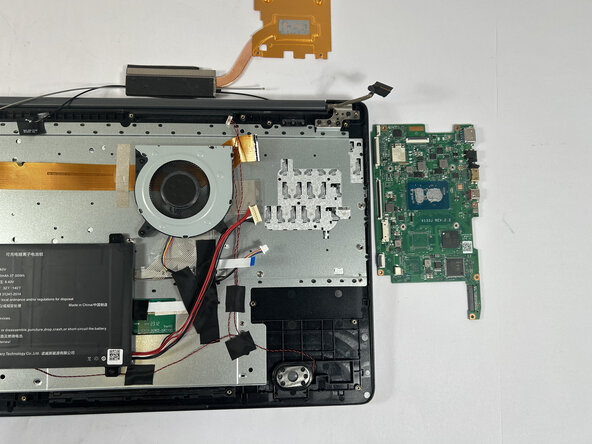
- Remove the motherboard.