HP Chromebook 15a-nb0013dx I/O Board Replacement
ID: 185527
Description: If you are experiencing charging issues or...
Steps:
- For your safety, unplug all peripheries, discharge the battery below 25%, and power down your device before beginning disassembly.
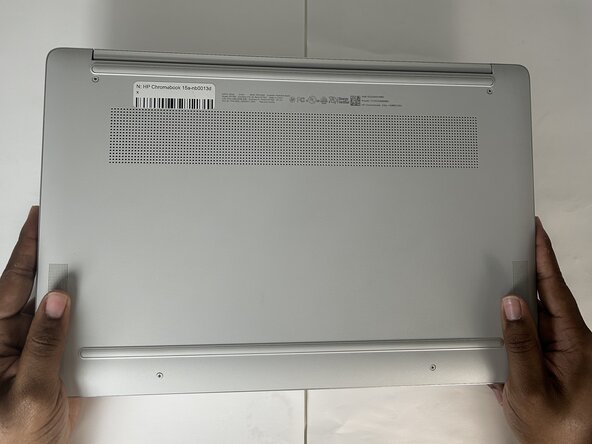
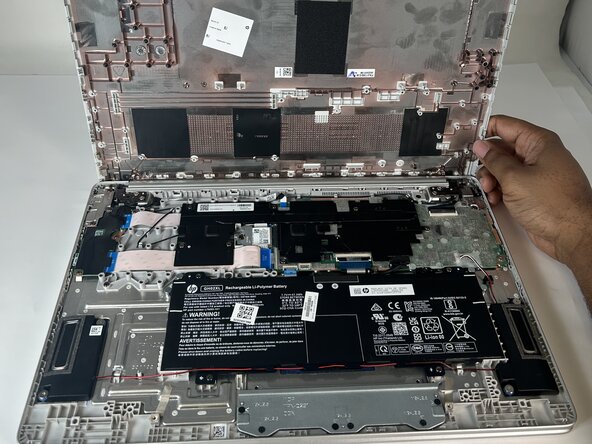
- Lay the device down so the lower case is facing up.
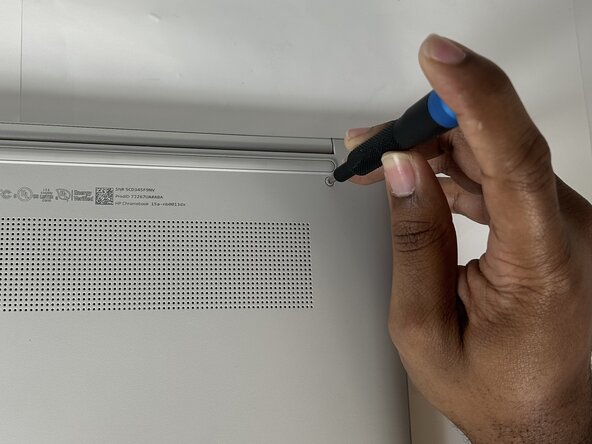
- Use a Phillips screwdriver to remove four 6.6 mm screws that secure the lower case.
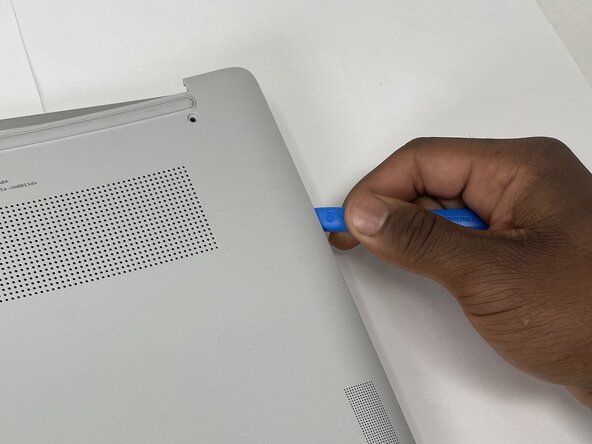
- Insert an opening tool into the seam between the lower case and the chassis, near the hinge.
- Pry around the entire perimeter of the lower case until it fully releases.
- Remove the lower case.
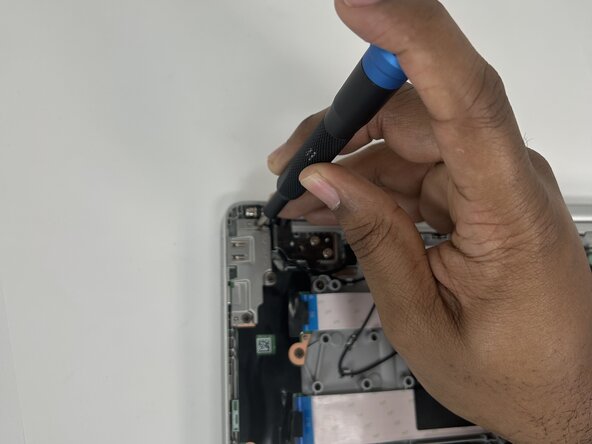
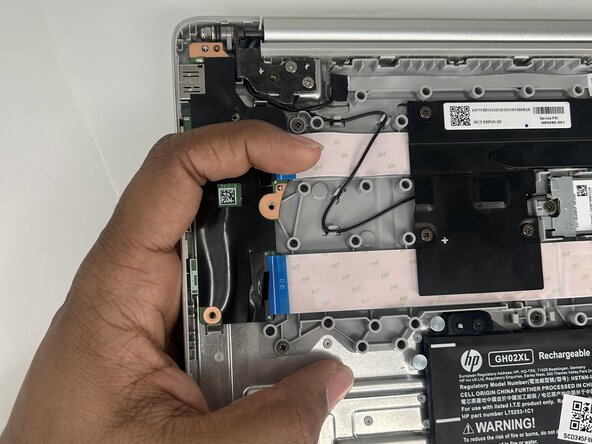
- Use a Phillips #0 screwdriver to remove the three 4.1 mm screws that secure the metal bracket.
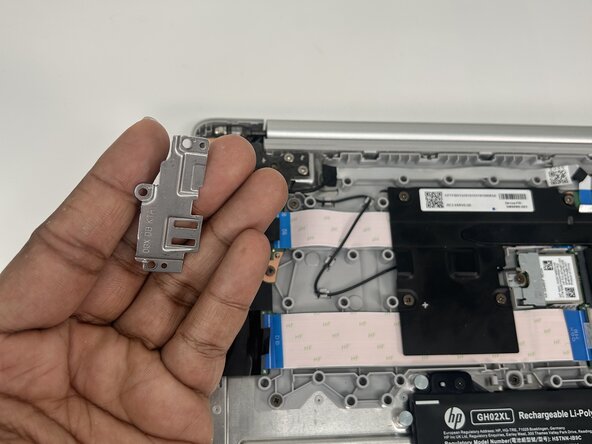
- Grasp and remove the metal bracket.
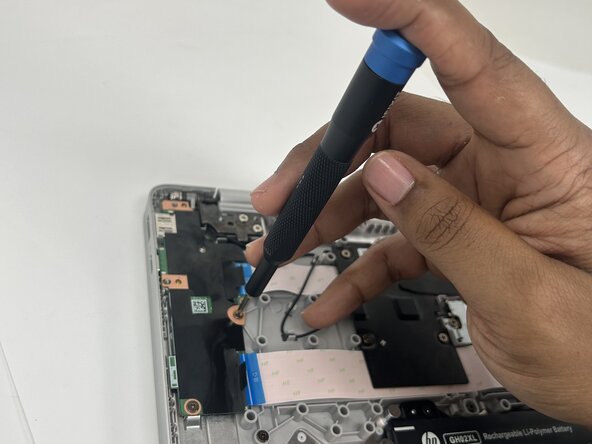
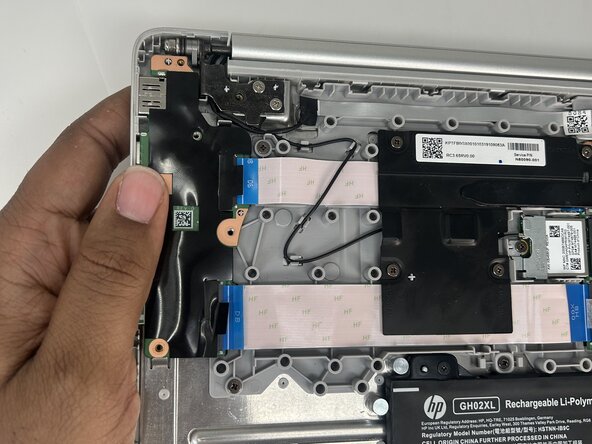
- Use a Phillips screwdriver to remove the two 4.1 mm screws that secure the I/O board.
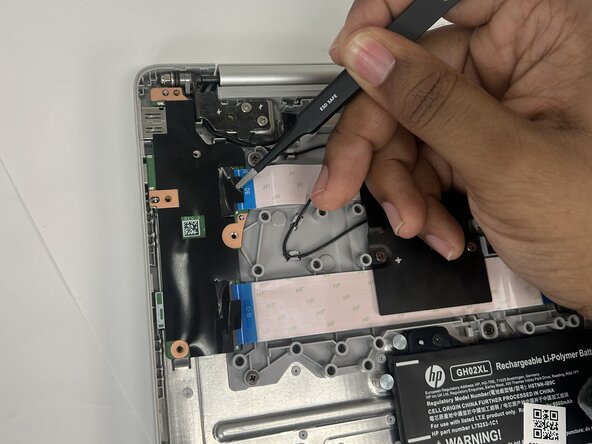
- Use tweezers to fold back the black adhesive that covers the upper connector.
- Use tweezers to fold back the black adhesive that covers the lower ribbon cable.
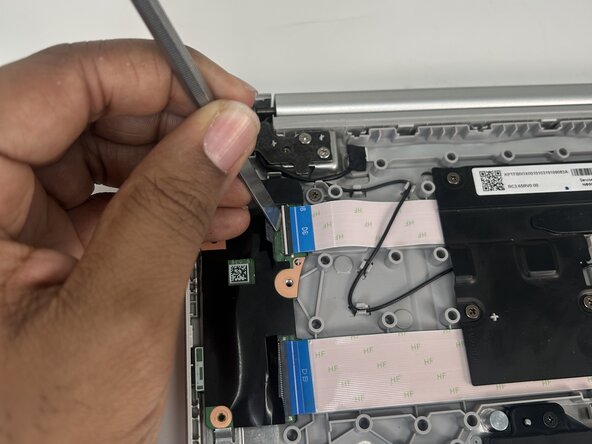
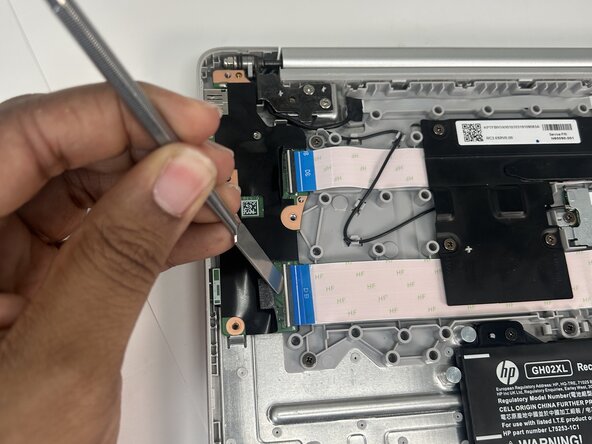
- Use a spudger to flip up the black ZIF locking flap that secures the upper ribbon cable.
- Use a spudger to flip up the black ZIF locking flap that secures the lower ribbon cable.
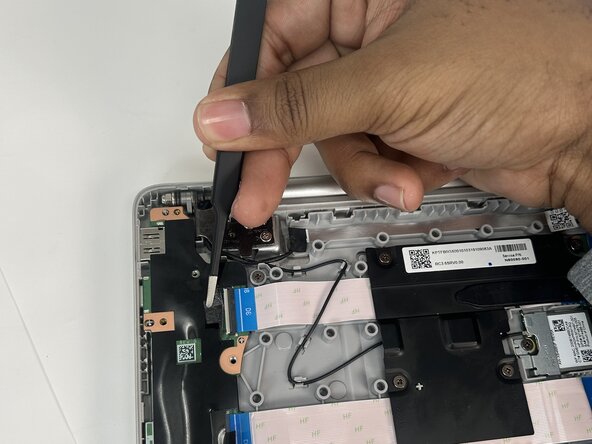
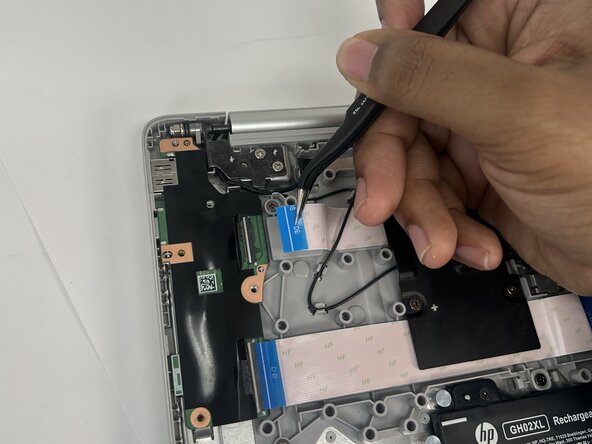
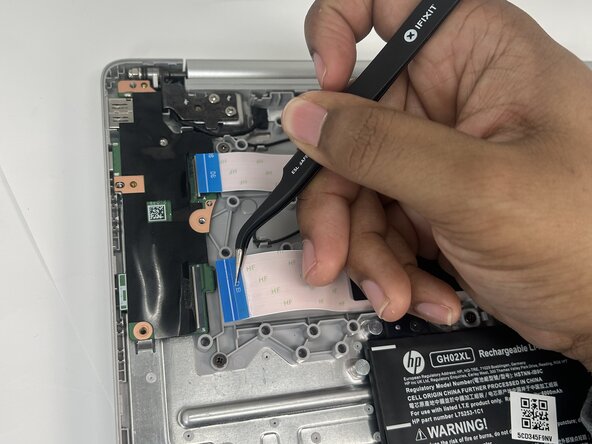
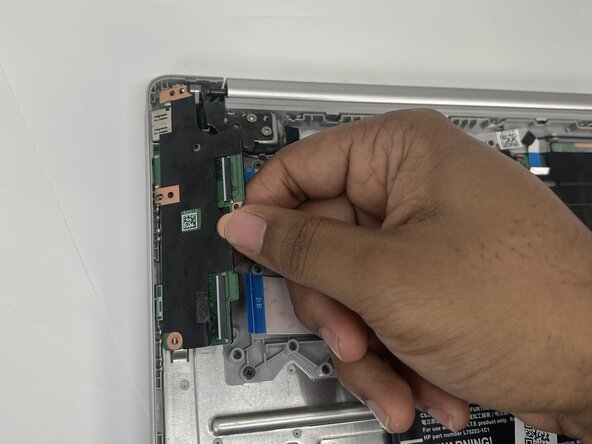
- Use tweezers to grasp the upper ribbon cable's blue pull tab, then pull the ribbon cable directly out of its socket.
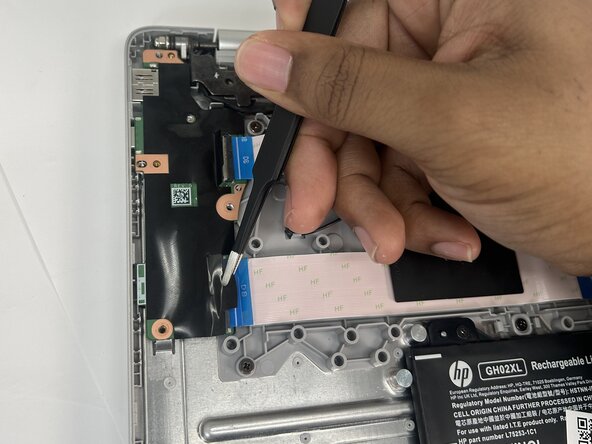
- Use tweezers to grasp the lower ribbon cable's blue pull tab, then pull the ribbon cable directly out of its socket.
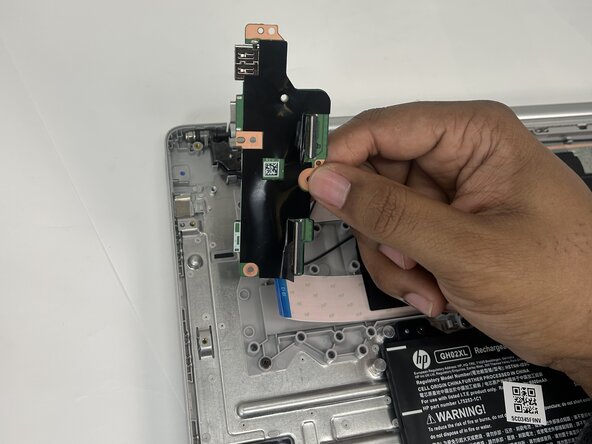
- Lift the I/O board up and out.