Razer Tartarus V2 Key Bed Replacement
ID: 185543
Description: The keyboard on the Razer Tartarus V2, model...
Steps:
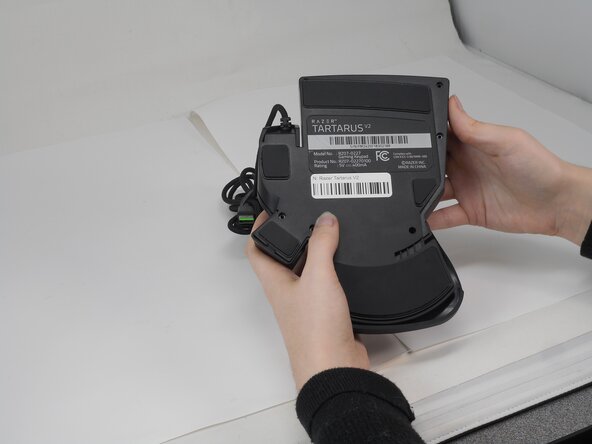
- Turn the keypad upside down.
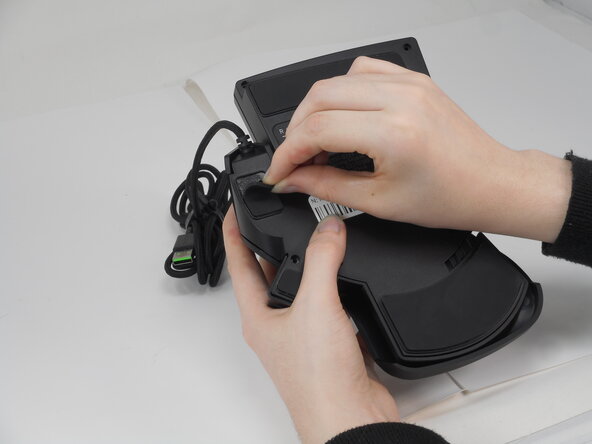
- Gently peel off the rubber feet with a Jimmy.
- Set the rubber grip pads aside so you can reapply them later.
- Use a Phillips #0 screwdriver to remove the following screws:
- Twelve 6.4 mm-long screws
- Two 3.7 mm-long screws
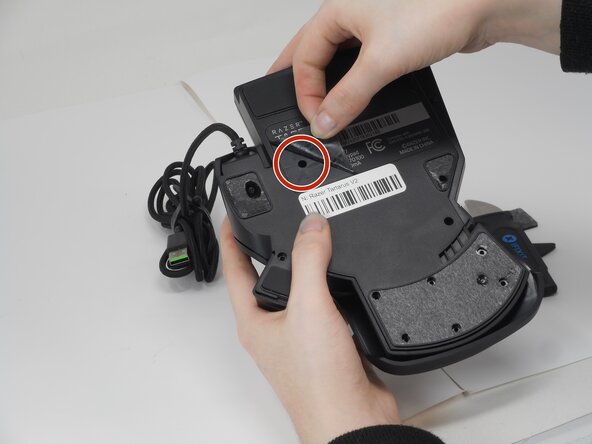
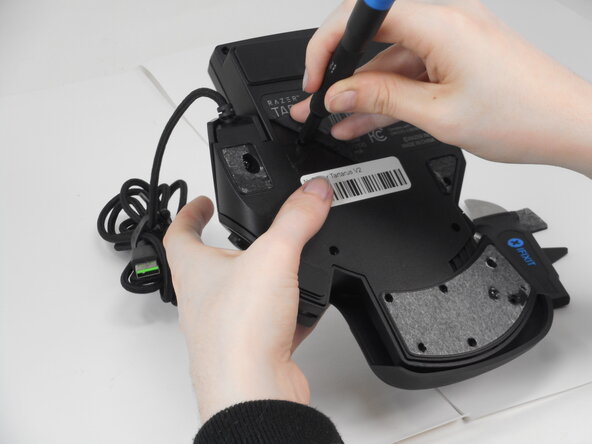
- Peel up the bottom left corner of the largest sticker.
- Remove the 6.4 mm-long Phillips #0 screw.
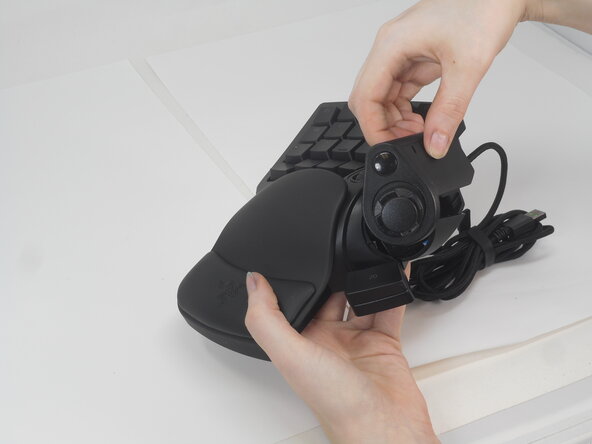
- Carefully lift the joystick module up and out.
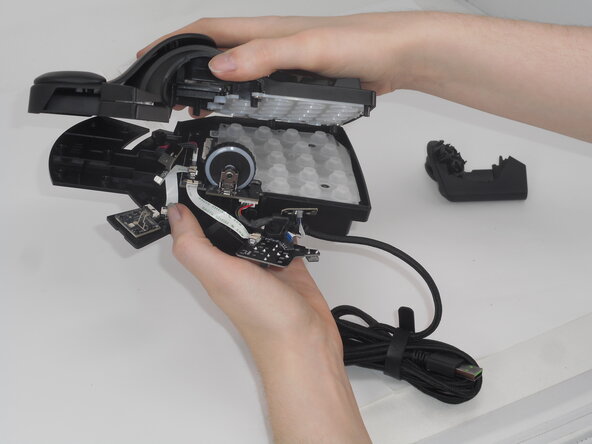
- Separate the top and bottom casing of the keypad.
- Use an Opening tool to pry the case open along the edges if necessary.
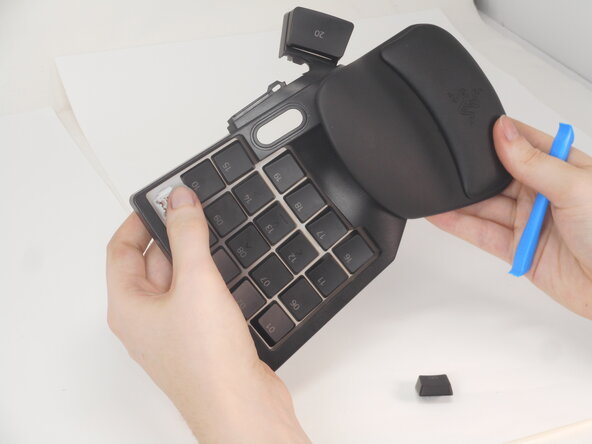
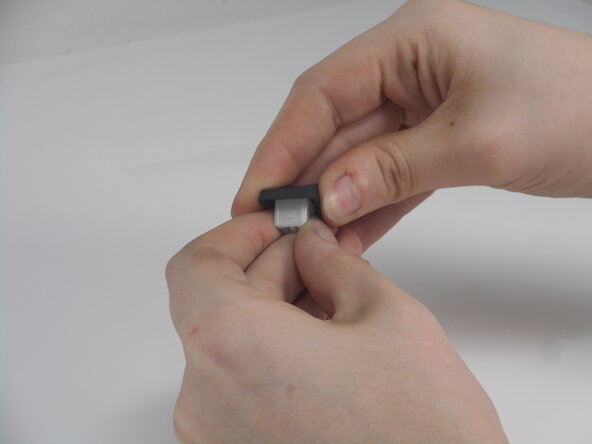
- To take off the keys, place the flat end of the opening tool under the edge of the key. Gently pry the key cap off of the board.
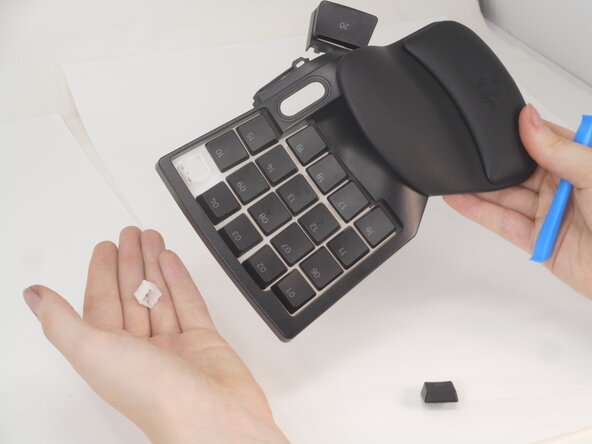
- The key stem, a small white block-like object, may be left behind. If this happens the keyboard must be opened. Once opened separate the top casing from the bottom casing and gently press the stem towards where the inside of the keyboard would be. They should pop out in this direction.
- You can then place them back on the keycap by placing the end that has a small number on it back into the connector on the keycap. There is a small bump on the bottom edge of the stem, this should be facing direction of the top edge of the keycap.
- Remove the entire key bed, flip the top casing over.
- Remove the four screws securing the key bed from the back using a Phillips #0 screwdriver.
- Carefully pull the key bed off.
- If you only want to replace the Metal Contacts, gently pop out the old metal contacts with your fingers from the key bed. Be careful not to damage the surrounding plastic.