Razer Tartarus V2 D-Pad Replacement
ID: 185545
Description: Sometimes the D-pad on the Razer Tartarus V2...
Steps:
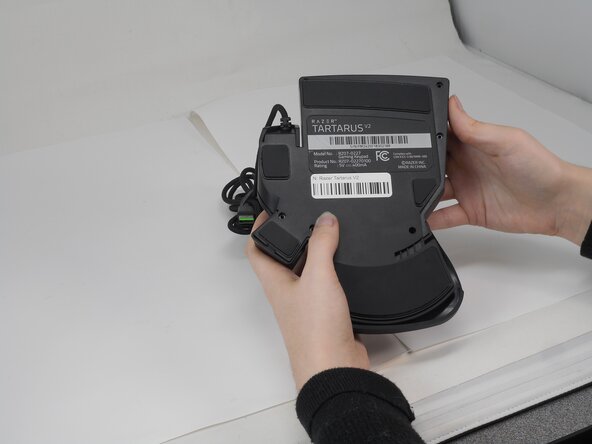
- Turn the keypad upside down.
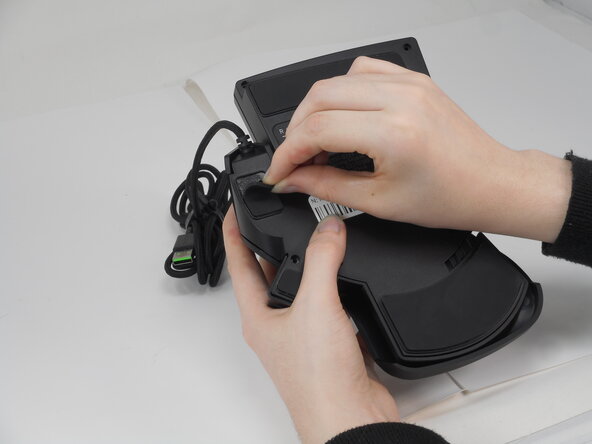
- Gently peel off the rubber feet with a Jimmy.
- Set the rubber grip pads aside so you can reapply them later.
- Use a Phillips #0 screwdriver to remove the following screws:
- Twelve 6.4 mm-long screws
- Two 3.7 mm-long screws
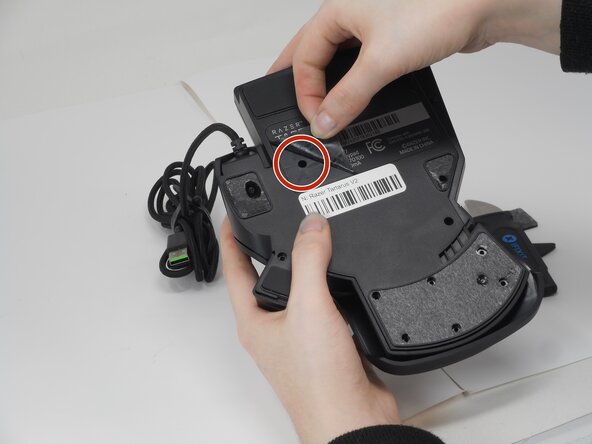
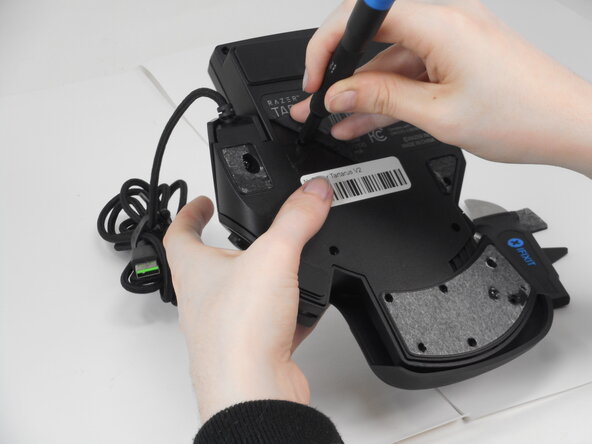
- Peel up the bottom left corner of the largest sticker.
- Remove the 6.4 mm-long Phillips #0 screw.
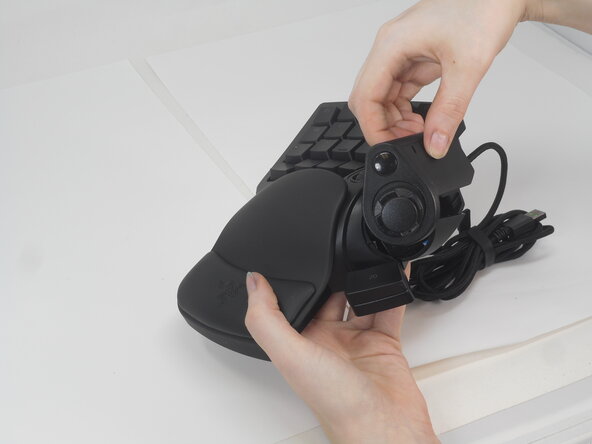
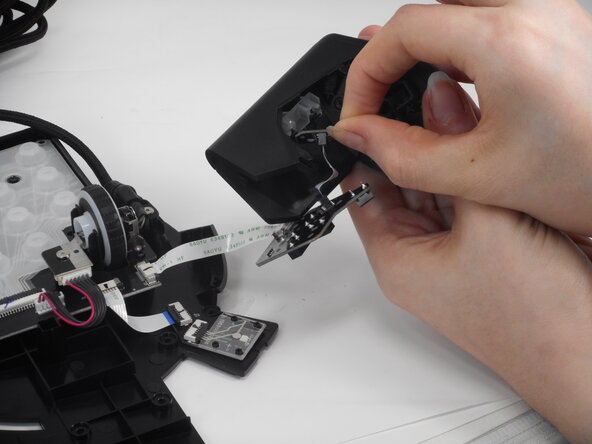
- Carefully lift the joystick module up and out.
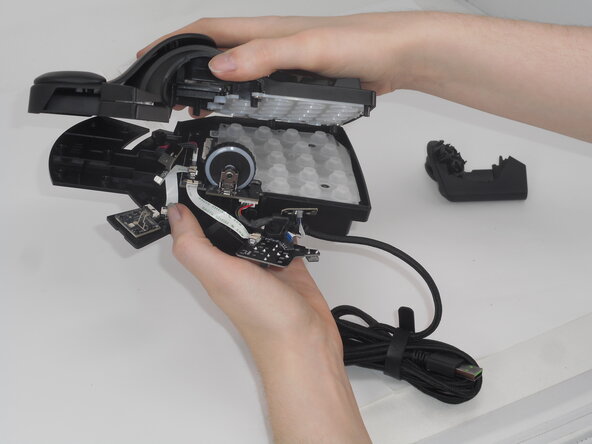
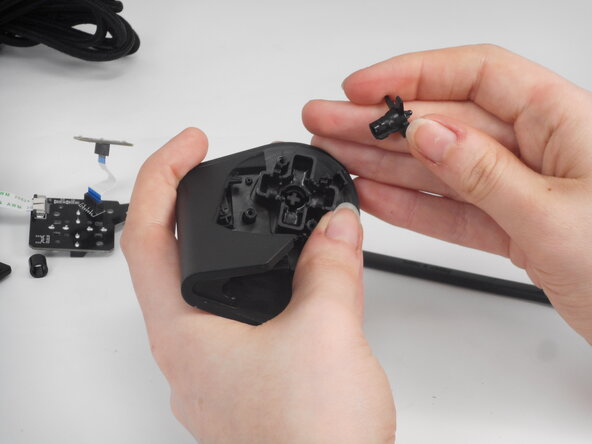
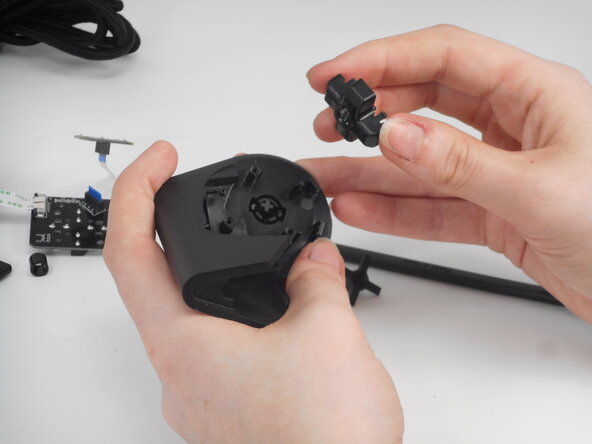
- Separate the top and bottom casing of the keypad.
- Use an Opening tool to pry the case open along the edges if necessary.
- Remove the two 6.4 mm-long screws that secure the D-Pad PCB inside the casing with a Phillips #0 screwdriver.
- There are two pairs of prongs that secure the D-Pad PCB to the housing. Use your fingernails to squeeze each set of prongs inward while gently prying the PCB away from the housing to disengage them.
- Repeat the previous bullet for the remaining set of prongs.
- Carefully pull the PCB away from the housing.
- Take care not to strain the connected ribbon cables.
- Remove the two 4.9 mm silver screws that secures the smaller PCB with a Phillips #0 screwdriver.
- One of these two screws is behind a connector ribbon and the D-Pad PCB must be gently pulled to the side to access it.
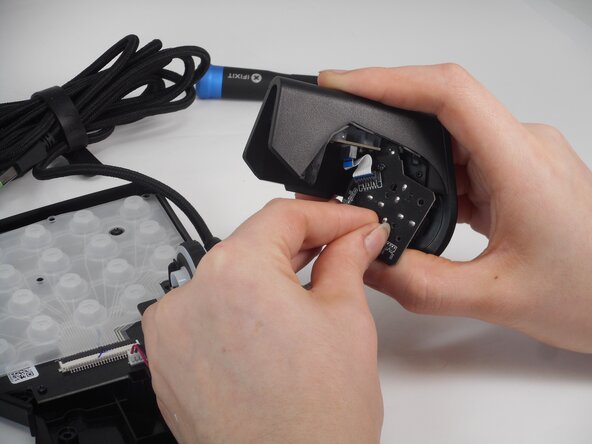
- Gently pull the smaller PCB away from the white plastic underneath it.
- Remove the white plastic bracket from the casing.
- A plastic ring will fall out after both PCBs are are removed. It belongs under one of the screw in points for the larger daughter board.
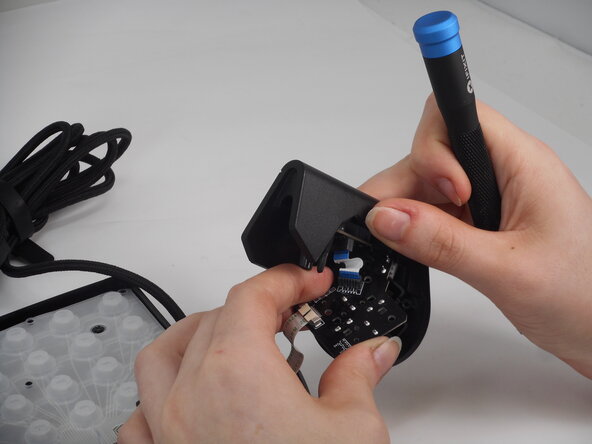
- Use the hooked end of a halberd spudger to get under the edge of the smaller cross.
- Pry all four arms of the smaller cross.
- This step may require more force than removing the daughterboards.
- Remove both cross structures from the casing.
- Pull the D-Pad out from its seated position. It will come off together with the D-Pad casing.