HP 14-dq5009nr Wi-Fi Card Replacement
ID: 185643
Description: Use this guide for the removal and replacement...
Steps:
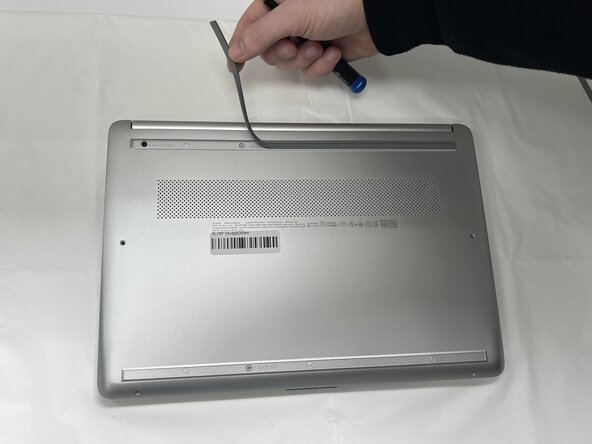
- Peel the rubber feet off the bottom casing to reveal hidden screws.
- Keep the rubber feet for reassembly.
- Make sure the device is completely powered off before replacement.
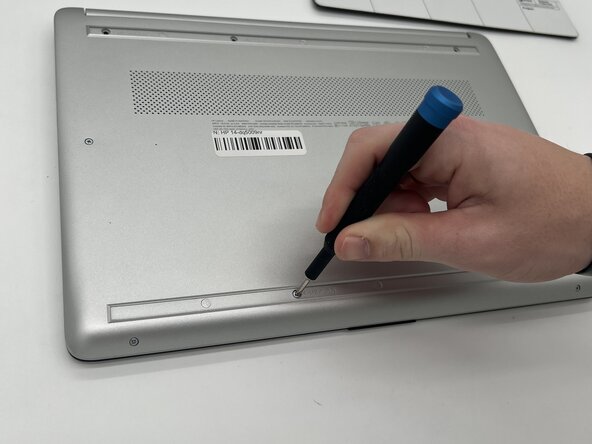
- Use a Philips #0 screwdriver to remove the eight screws from the back case.
- Six 7 mm-long screws.
- Two 4.8 mm-long screws
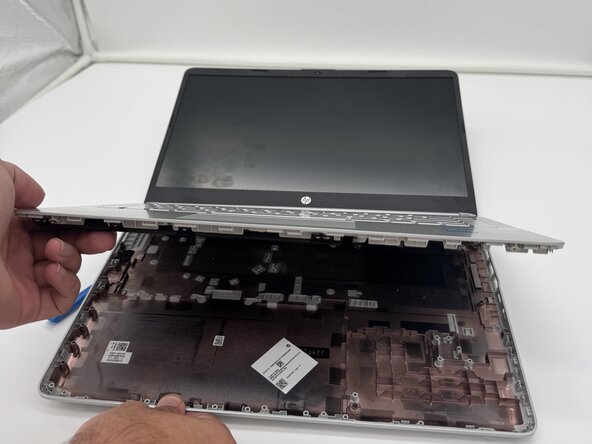
- Use a plastic opening tool to separate the back case from the palmrest keyboard assembly. Gently pry the back cover from the device.
- Start from a corner of the device and run the opening tool along the edge of the cover to release the clips before you separate them.
- Be careful to not bend or crack the back cover.
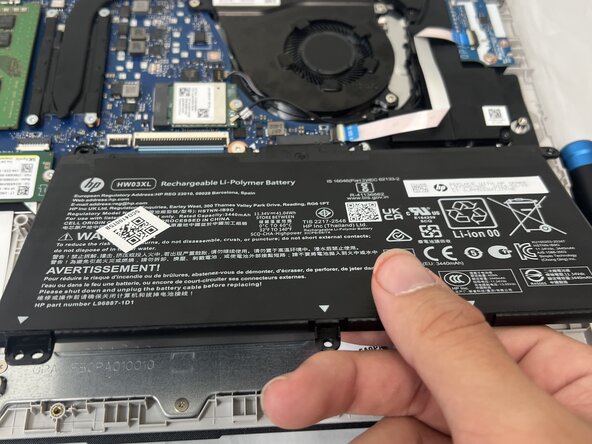
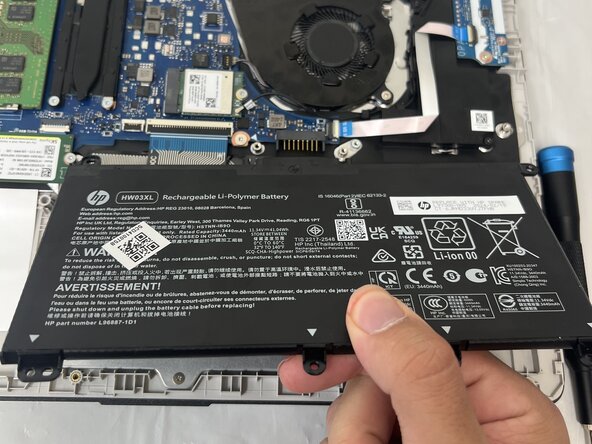
- Use a Phillips #0 screwdriver to remove the four 3 mm screws that secure the battery to the chassis.
- Angle the battery up slightly and gently pull it from the socket on the motherboard.
- Slide a thin, ESD-safe pry tool or angled tweezers under the metal neck of the Wi-Fi connector (as close to the head as possible) and lift straight up from the board.
- When working with coaxial cable connectors, it's key to always lift the head straight up. If pried on at an odd angle, you risk breaking the socket off of the board underneath.
- Use tweezers to hold the connector in place over its socket and gently press down with your finger or a spudger—the connector should "snap" into place. If you're having trouble, reposition the head and try again.
- Don't try to force the connector into place or you may permanently damage it.
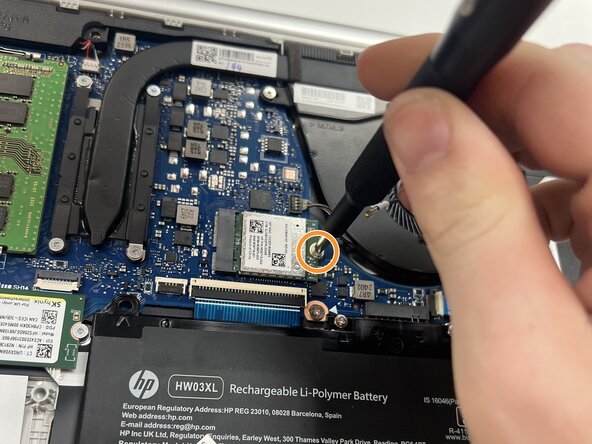
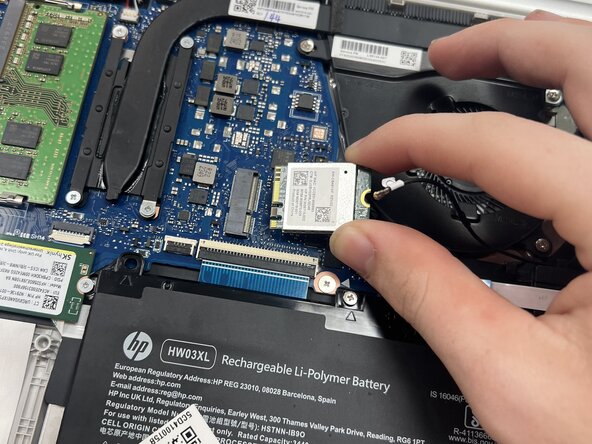
- Use the Phillips #0 screwdriver to remove the single 3 mm screw from securing the Wi-Fi card to the motherboard.
- With the screw removed, the Wi-Fi card will pop up at a shallow angle.
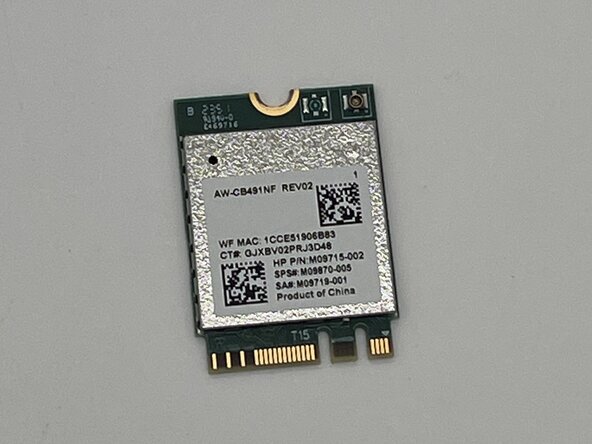
- Grip the end of the Wi-Fi card and pull it away from the connector to remove it.