Haiboxing 18859 Motor Replacement
ID: 185686
Description: If your Haiboxing 18859 is not moving properly,...
Steps:
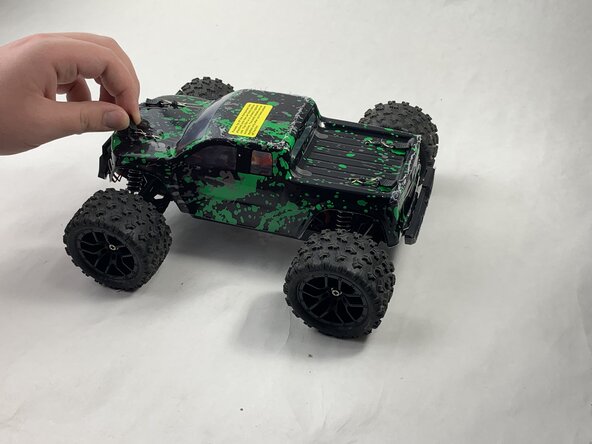
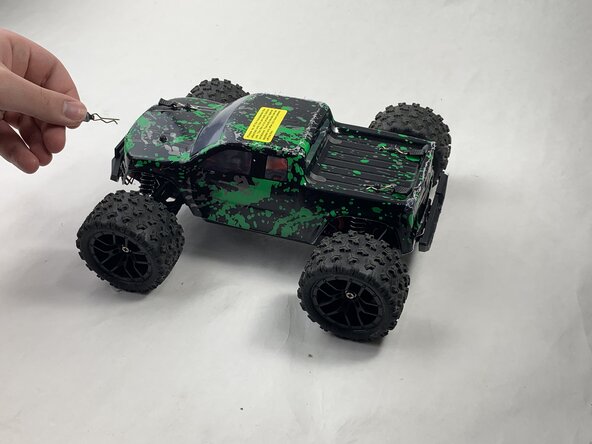
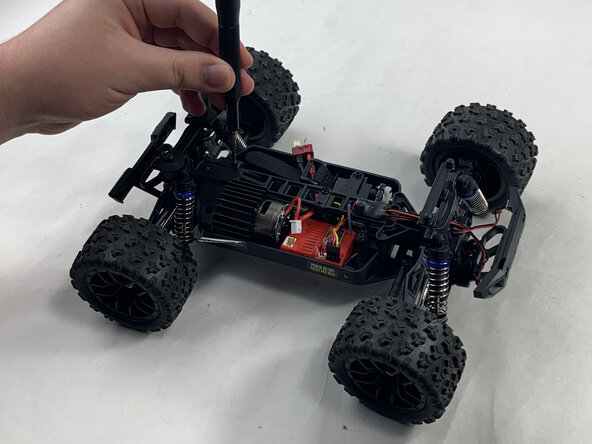
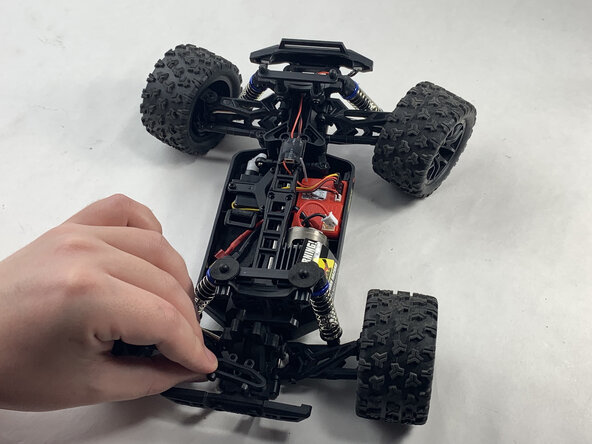
- Remove the 4 clips holding down the hard plastic shell of the RC car. Do this by pinching them with your thumb and index finger and pulling away.
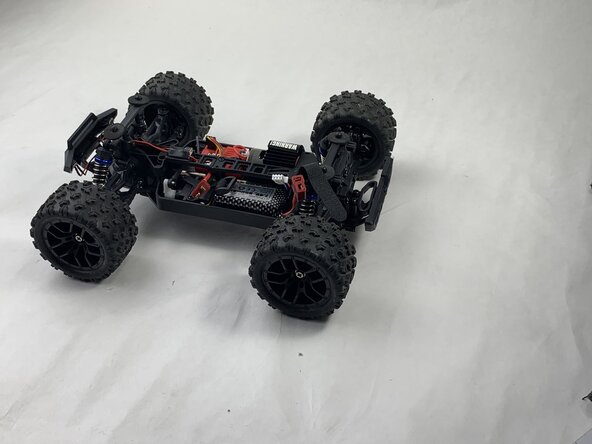
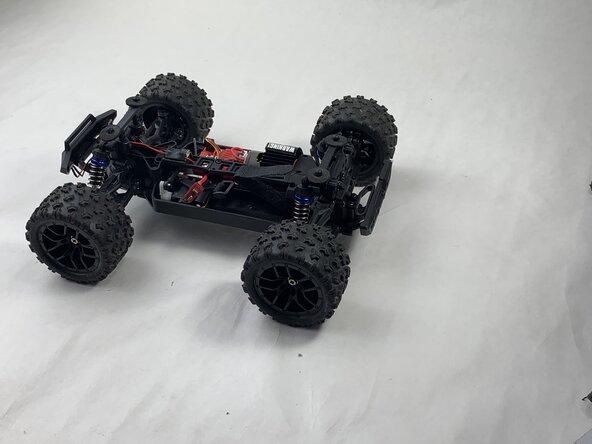
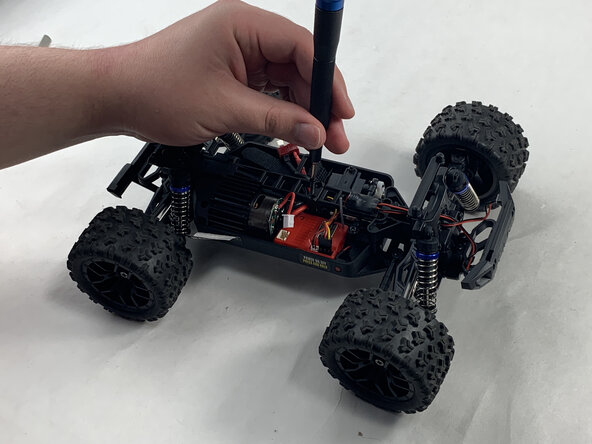
- Lift the hard plastic shell off of the RC car.
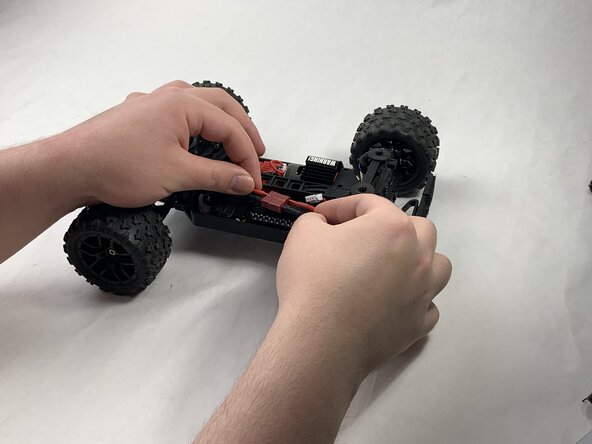
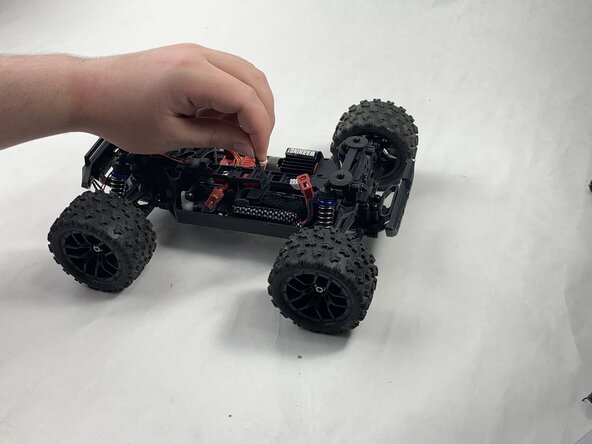
- Disconnect the Lego-style battery connector by gripping either side and pulling them away from each other, slowly and consistently.
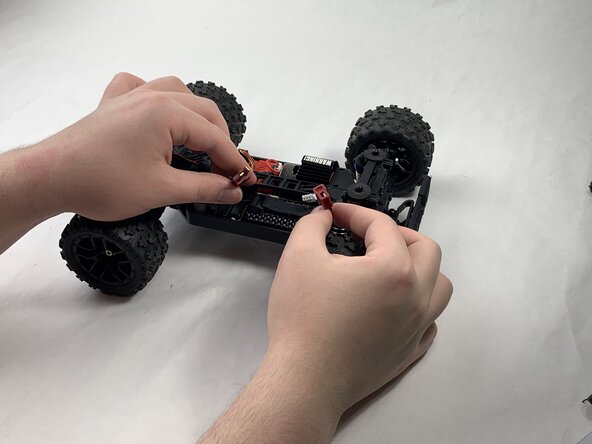
- Unfasten the Velcro strap that secures the battery.
- Remove the battery.
- Unplug the motor from the receiver.
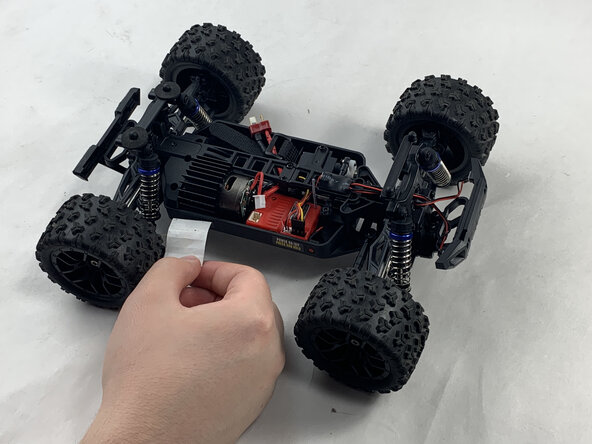
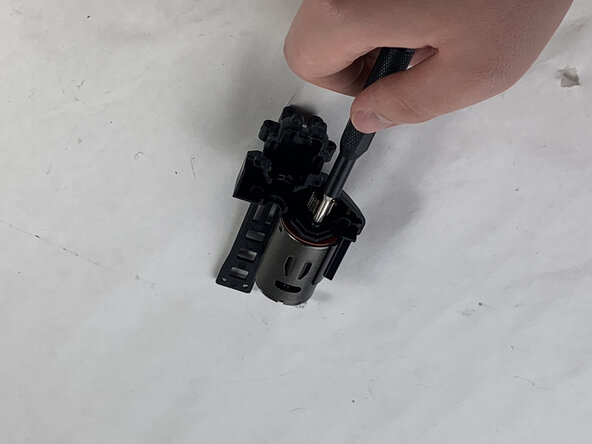
- Peel back the warning tape covering the motor.
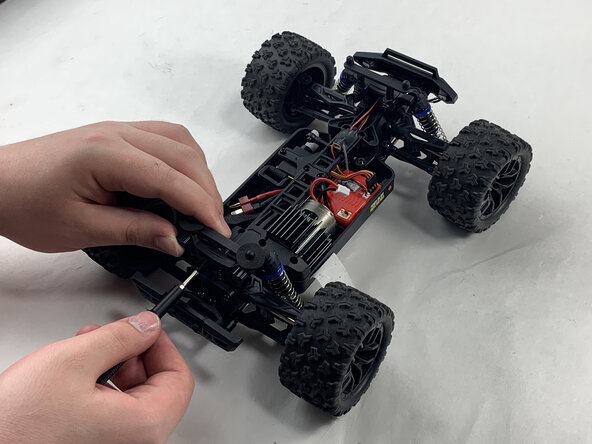
- Unscrew the 10 mm Phillips #0 screws holding down the motor. This includes the shaft attached down the middle.
- Place the mounting screws where you won't lose them, such as in a plastic bag or container.
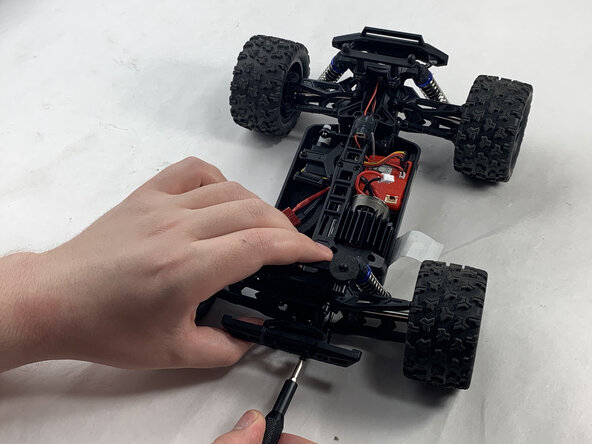
- Unscrew the 16 mm Phillips #1 screws at the rear of the Haiboxing.
- Remove the upwards facing rear-most 8 mm Phillips #1 screws.
- Remove the trapezoid-shaped part.
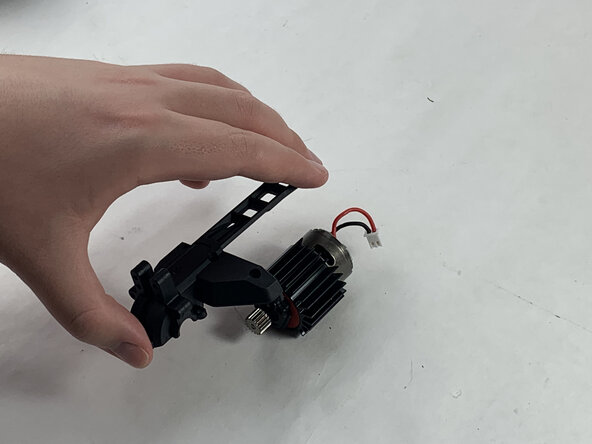
- Lift out the motor and the shaft it is attached to.
- Remove the 6 mm Phillips #0 screw holding the motor to the black, plastic shaft.
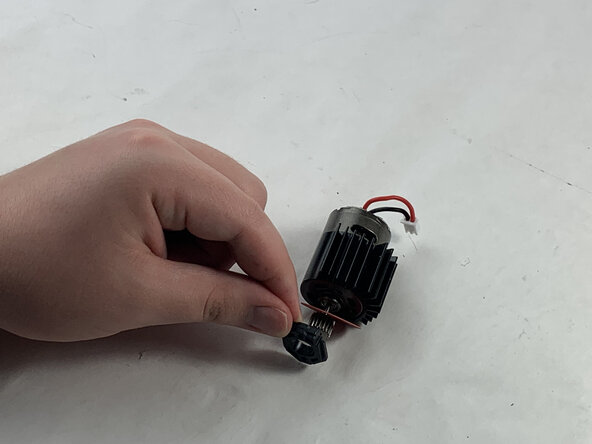
- Flip over.
- Detach the shaft from motor.
- Remove the remaining 6 mm Phillips #0 screw holding black, plastic washer in place.
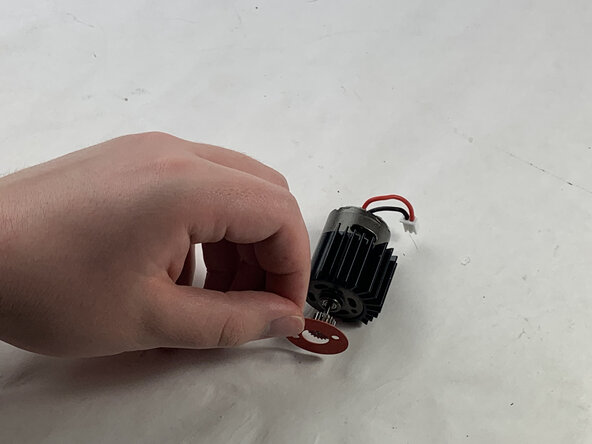
- Remove the black, plastic washer.
- Remove the red, paper washer.