Edifier W820NB Plus Battery Replacement
ID: 185702
Description: If your Edifier W820NB Plus will not charge or...
Steps:
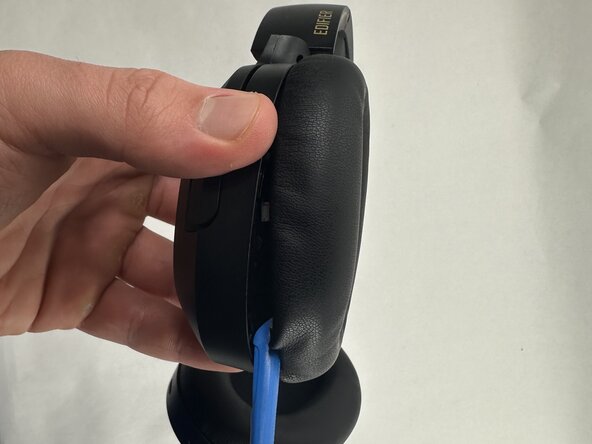
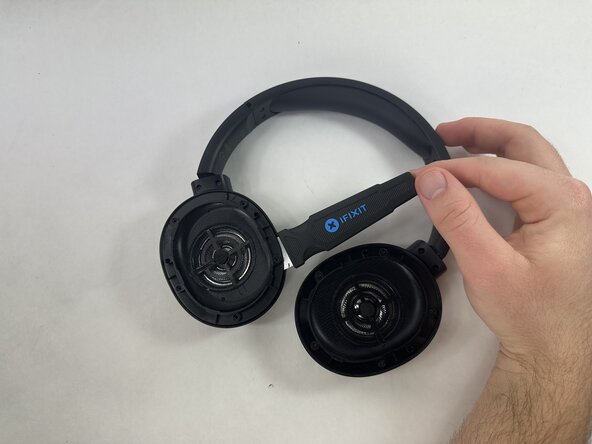
- Start with the headphones face up and the earpads visible.
- Hold the driver housing in one hand and insert an opening tool into the seam between the earpad and driver housing.
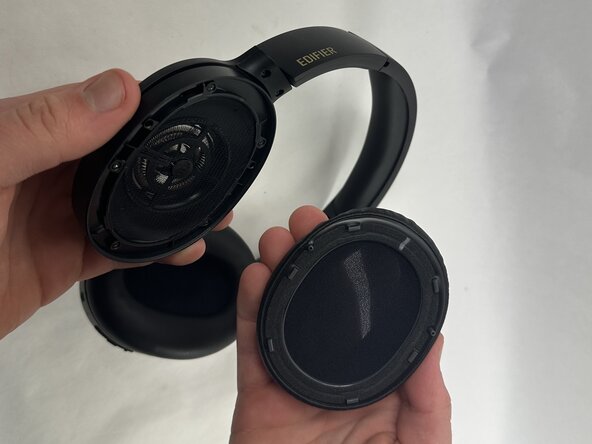
- With your inserted opening tool, pry around the perimeter of the ear pad until it fully releases.
- Repeat this procedure for the other side if necessary.
- Repeat for the other side if necessary.
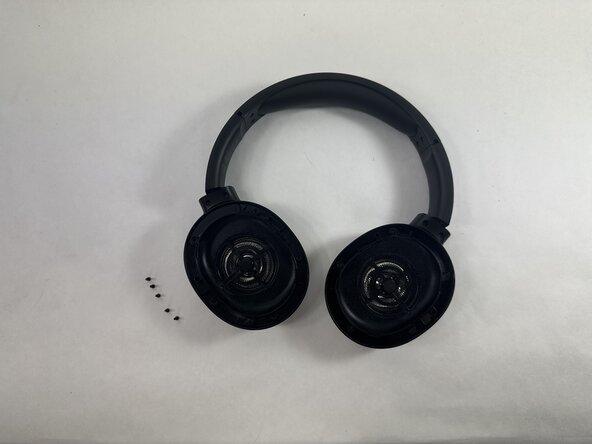
- Identify the driver you wish to replace.
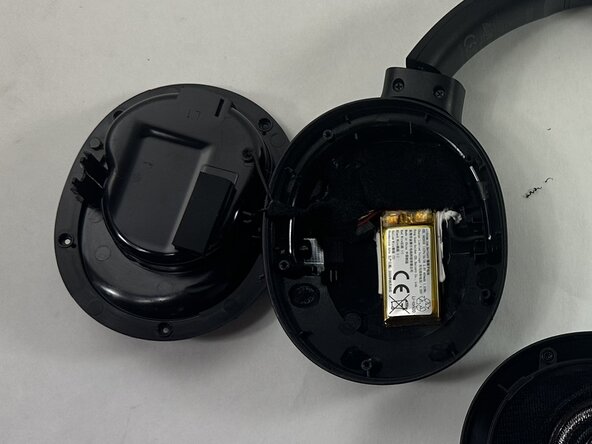
- This guide will use the left driver as an example but the same steps can be mirrored when replacing or removing the right driver. The battery is under the left driver, while the motherboard and daughterboard are under the right driver.
- Remove all five 5 mm Phillips #0 screws that secure the driver assembly.
- Note that the wires for the drivers are on the outermost edge. Try to avoid pushing or cutting them when taking the driver out.
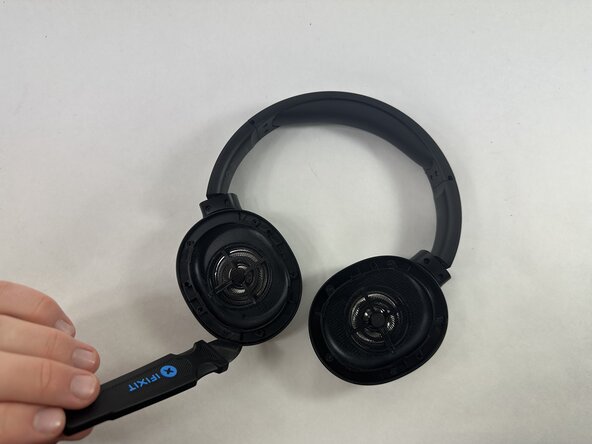
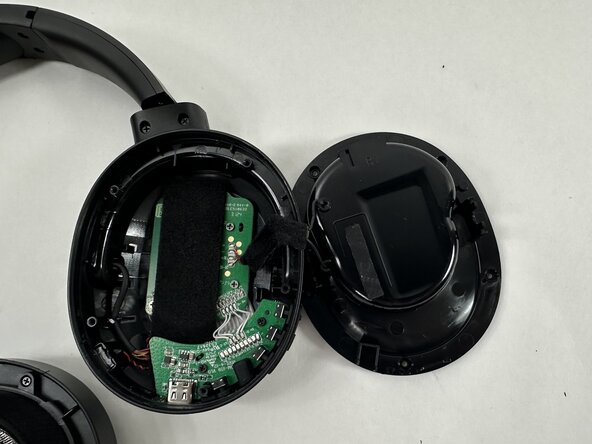
- Insert a Jimmy in the seam between the driver assembly and driver housing.
- Rotate the Jimmy along the entire perimeter of the innermost edge to pry it out of place.
- Gently remove the driver assembly from the rest of the headphone, with care not to strain the connected wire.
- Skip this step if you are completing a battery replacement.
- Repeat the procedure for the other driver if necessary.
- Desolder the four driver connections from the motherboard.
- Remove the driver assembly.
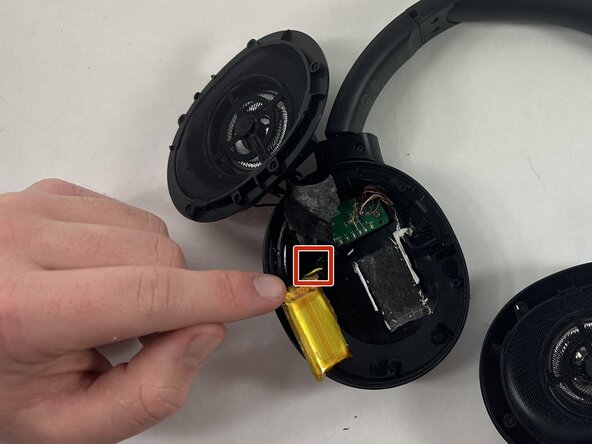
- Use an iFixit Opening Tool to gently pry off the battery.
- Do not bend, twist, or puncture the battery.
- Note that the battery is stuck on with adhesive so it may be difficult to remove. Feel free to lighly heat the battery with a hairdryer or iOpener to loosen the adhesive.
- Desolder the battery connections.