Anker Soundcore Motion Boom Plus Battery Replacement
ID: 185716
Description: Use this guide if you’re experiencing issues...
Steps:
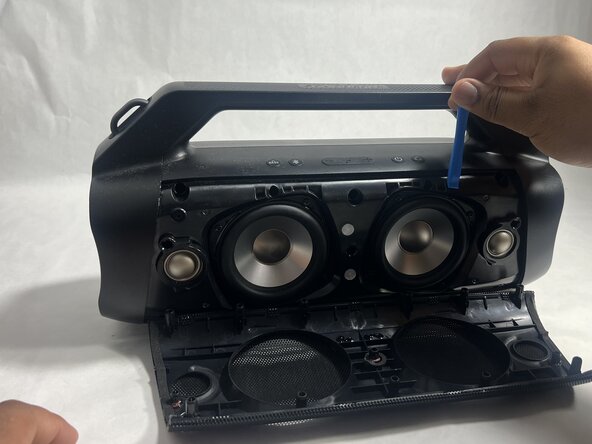
- Insert an opening tool into the seam between the speaker grille and the chassis.
- Pry the tool around the top, bottom, and sides until the grille fully releases.
- Apply gentle pressure to avoid damaging the grille.
- Remove the grille.
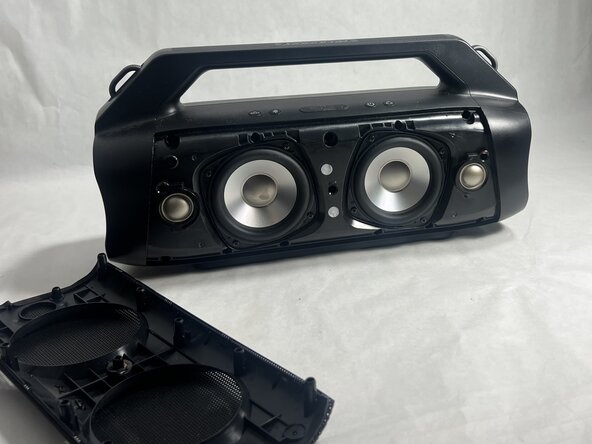
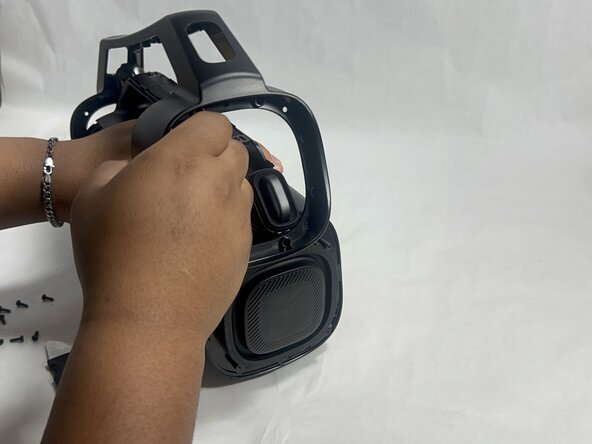
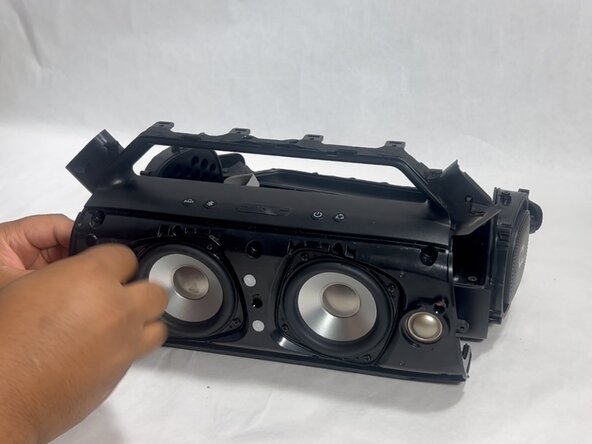
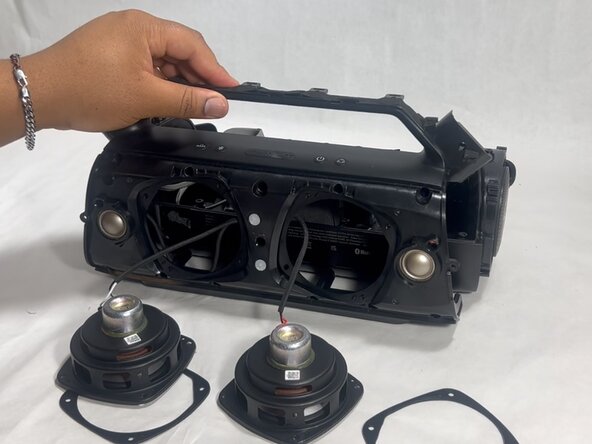
- Remove the two passive radiators on either side of the device.
- Avoid pulling too hard or with too much force to prevent breaking the passive radiators.
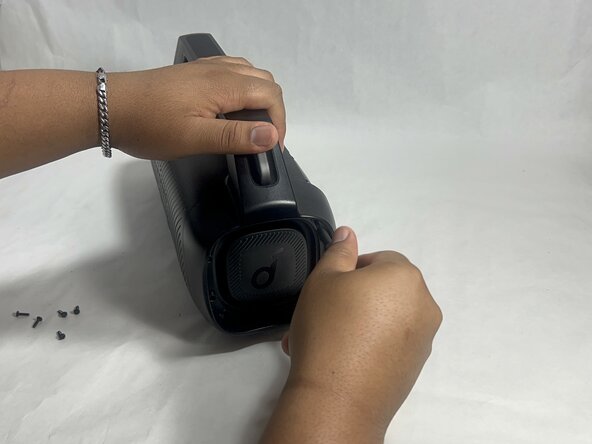
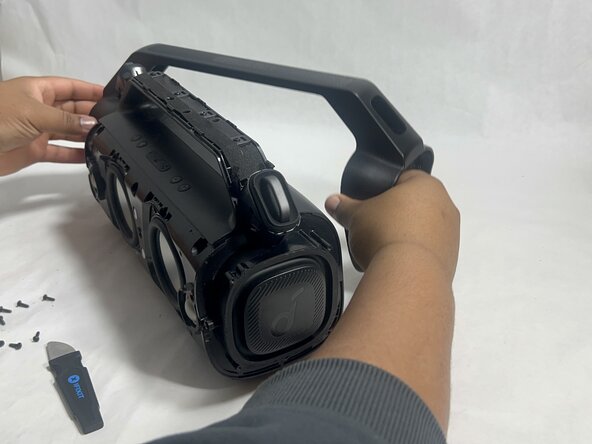
- Remove the sixteen 14 mm Phillips screws, eight on each end of the speaker.
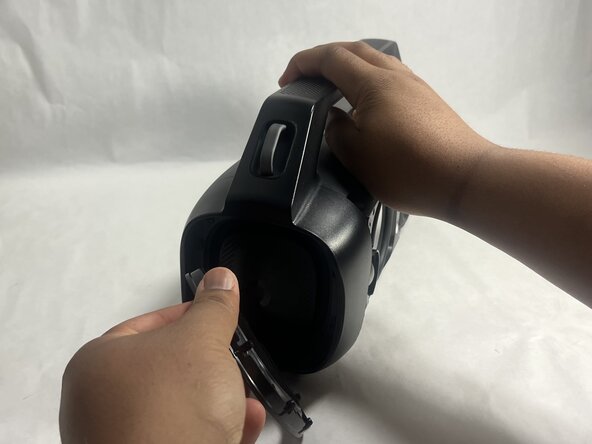
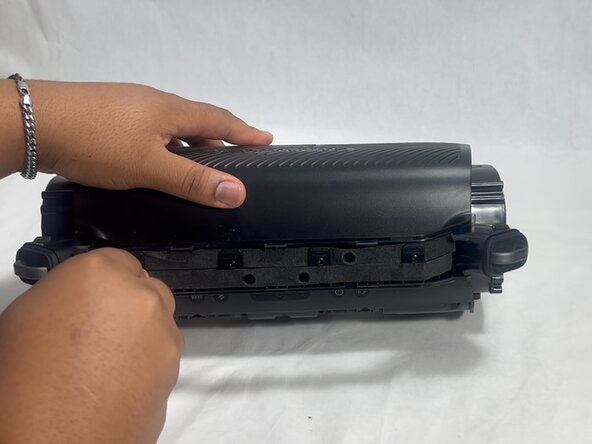
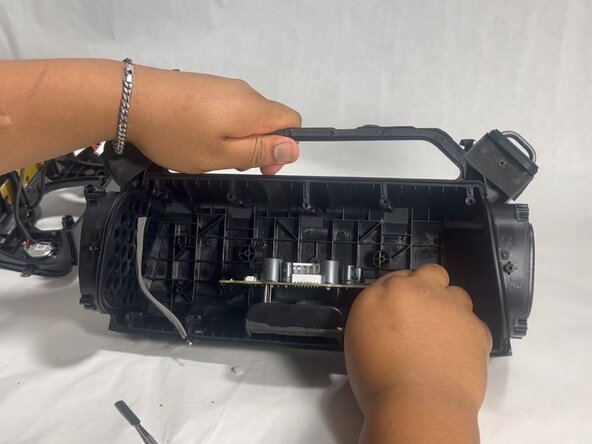
- Gently remove the handle from the device by clicking off the handles from the sides and then pulling it off.
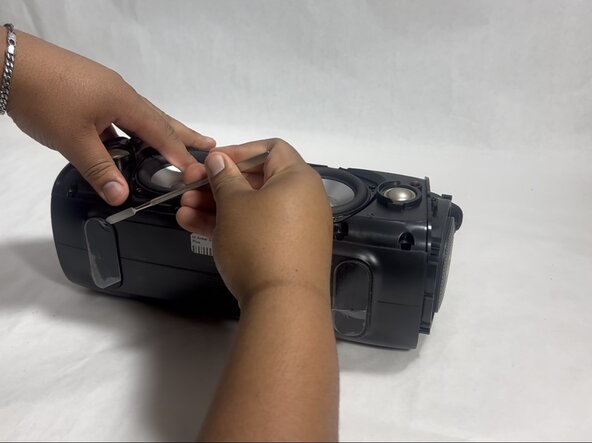
- Flip the speaker onto its side and use a spudger to remove the two rubber feet on the bottom of the device.
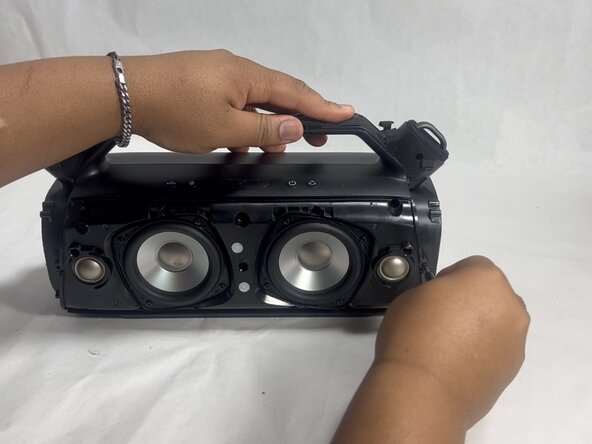
- Remove the eleven 13 mm Philips screws that secure the driver housing.
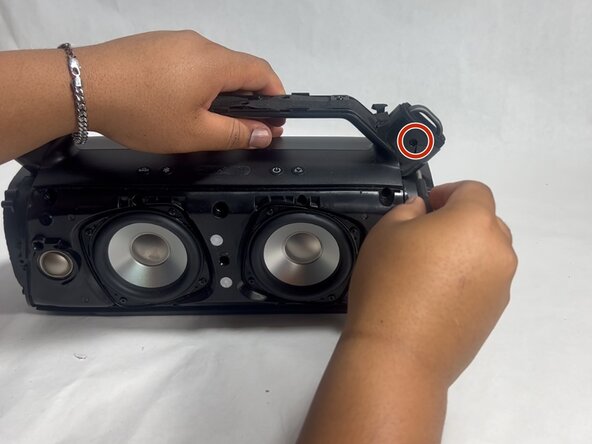
- Remove the two 14 mm Phillips screws located on each side of the handle, near the clip points.
- Remove the four 14 mm Philips screws on the top of the device.
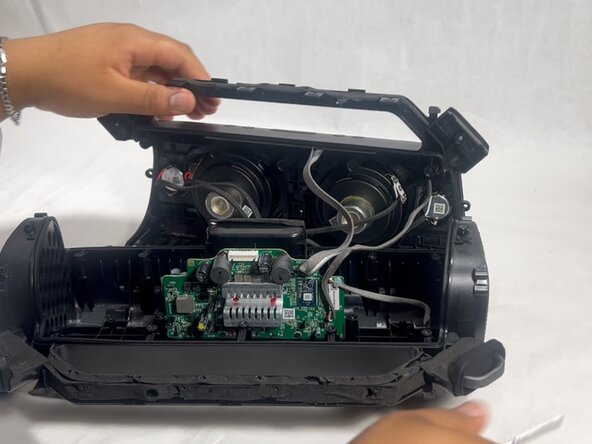
- Insert a spudger into the seam on top of the device.
- Gently pry the casing open.
- Disconnect each of the three cables by gently pulling the connectors out of their sockets.
- Do not pull with force. The ribbon cables are fragile and easily break.
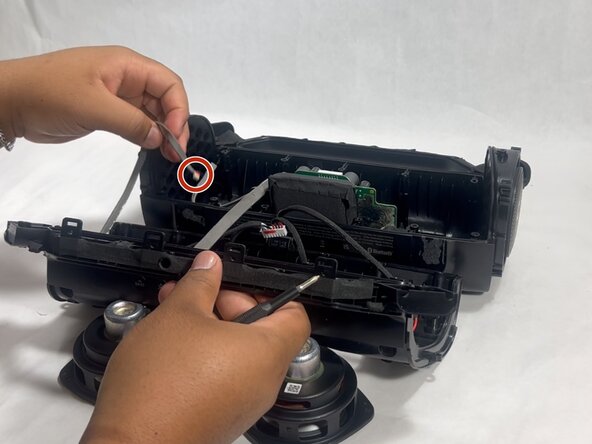
- Remove the four 11 mm Phillips screws securing the subwoofer.
- Gently pull the subwoofer out of the device.
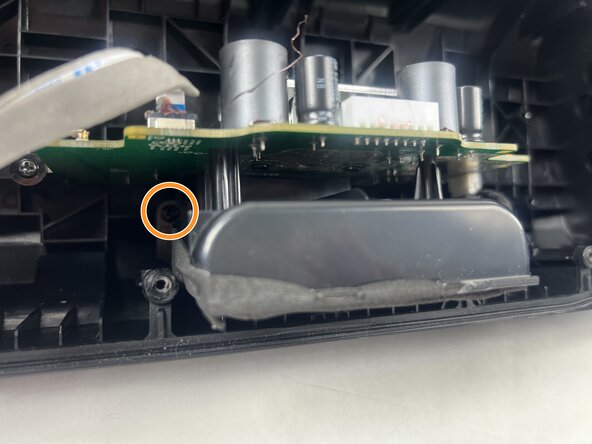
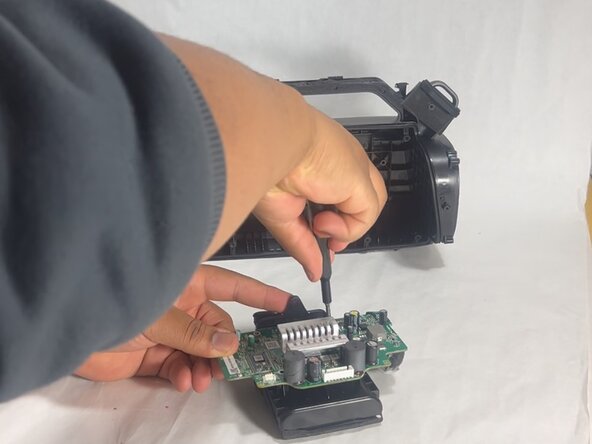
- Remove the three 12 mm Phillips screws surrounding the motherboard using a screwdriver.
- Remove the two 10 mm Phillips screws surrounding the battery.
- Flip the speaker over and push the charging port inwards.
- Slide the motherboard and battery out by pushing through the charging port.
- The motherboard and battery assembly should detach easily.
- Remove the five 10 mm Phillips screws securing the motherboard and battery together.
- Gently lift the motherboard from the battery once all screws are removed.
- Handle with care to avoid damaging any of the components.
- Gently pull the motherboard and battery apart.
- Position and reconnect the new battery where the old battery was located.