HP 14-dq5009nr Speakers Replacement
ID: 185741
Description: Laptop speakers are an essential component of...
Steps:
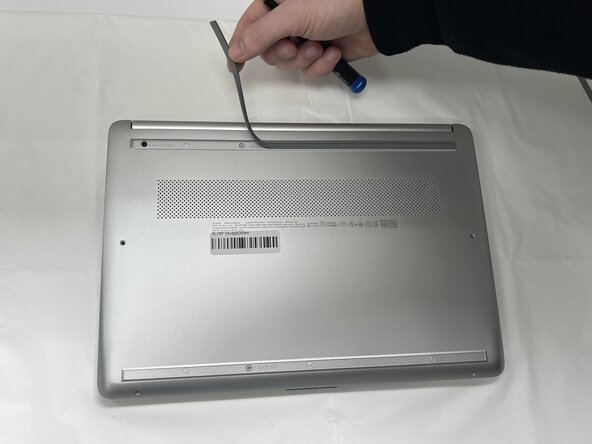
- Peel the rubber feet off the bottom casing to reveal hidden screws.
- Keep the rubber feet for reassembly.
- Make sure the device is completely powered off before replacement.
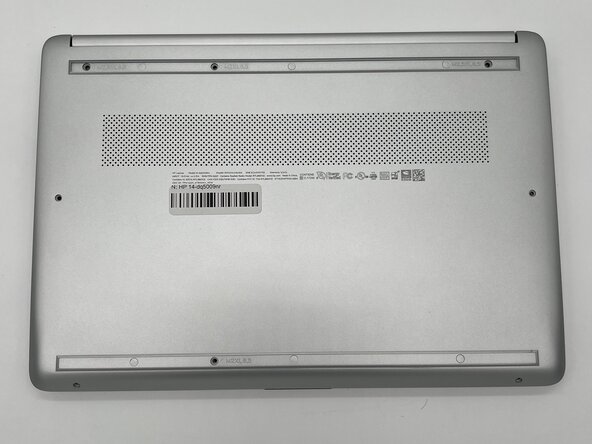
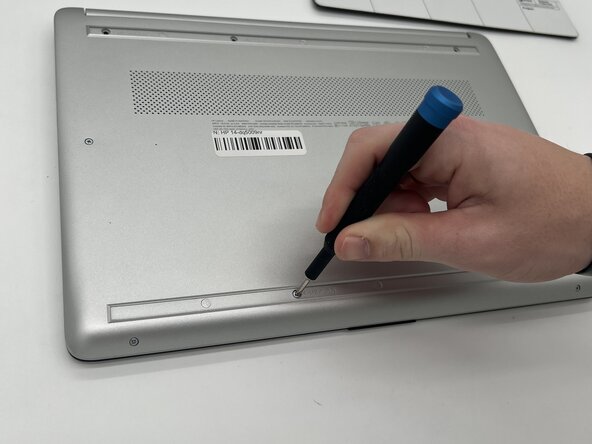
- Use a Philips #0 screwdriver to remove the eight screws from the back case.
- Six 7 mm-long screws.
- Two 4.8 mm-long screws
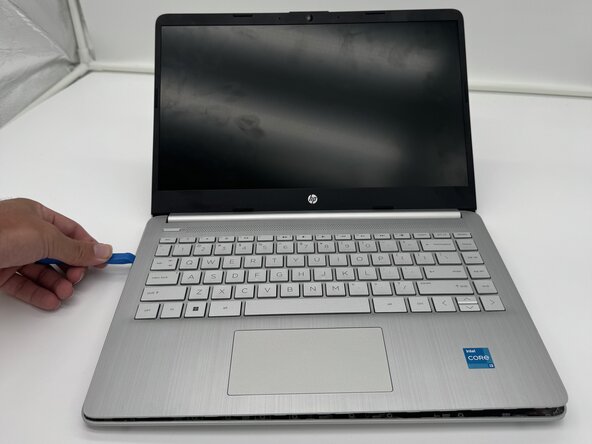
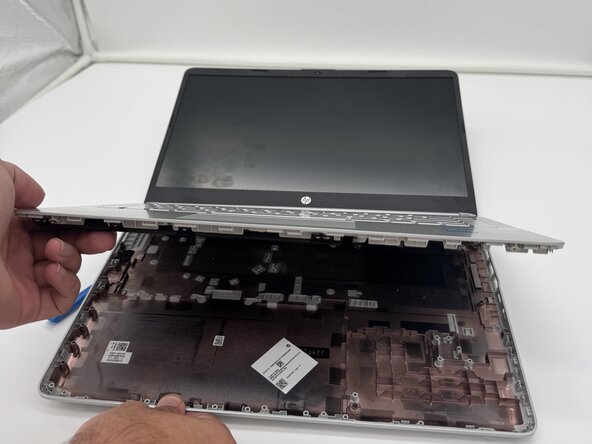
- Use a plastic opening tool to separate the back case from the palmrest keyboard assembly. Gently pry the back cover from the device.
- Start from a corner of the device and run the opening tool along the edge of the cover to release the clips before you separate them.
- Be careful to not bend or crack the back cover.
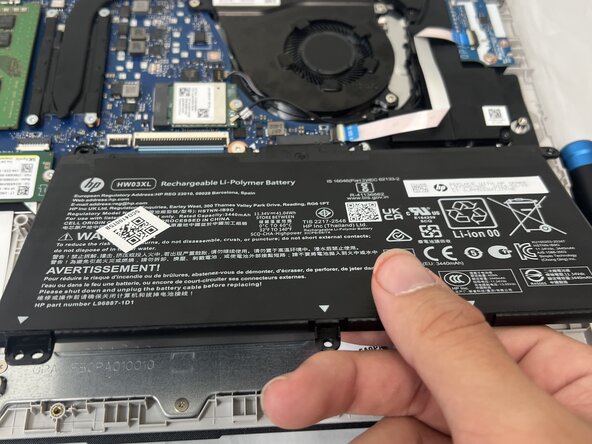
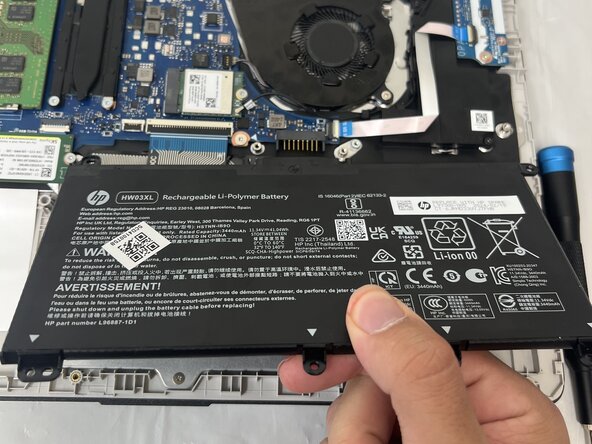
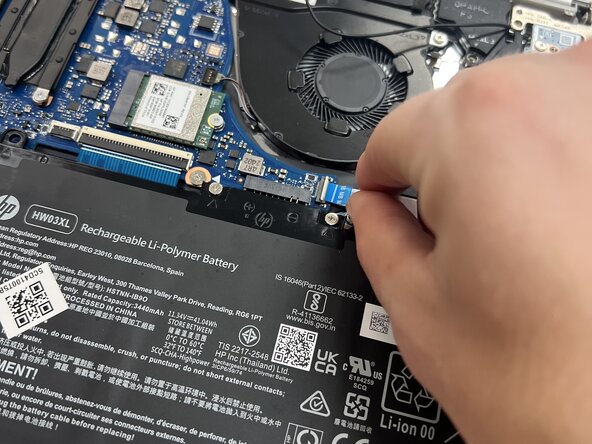
- Use a Phillips #0 screwdriver to remove the four 3 mm screws that secure the battery to the chassis.
- Angle the battery up slightly and gently pull it from the socket on the motherboard.
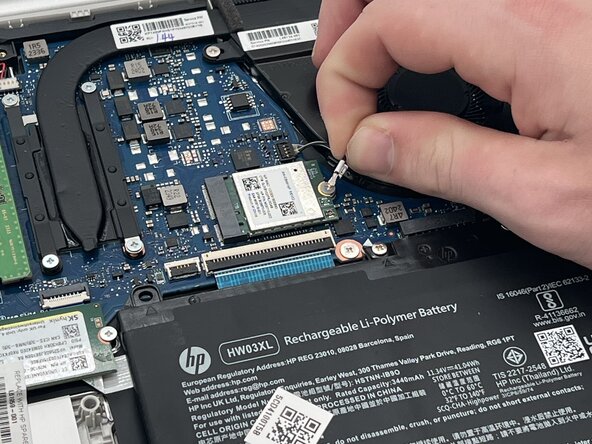
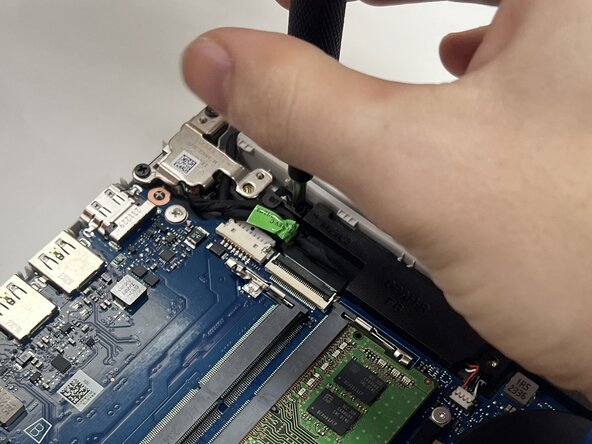
- Slide a thin, ESD-safe pry tool or angled tweezers under the metal neck of the Wi-Fi connectors (as close to the head as possible) and lift straight up from the board.
- When working with coaxial cable connectors, it's key to always lift the head straight up. If pried on at an odd angle, you risk breaking the socket off of the board underneath.
- Use tweezers to hold the connector in place over its socket and gently press down with your finger or a spudger—the connector should "snap" into place. If you're having trouble, reposition the head and try again.
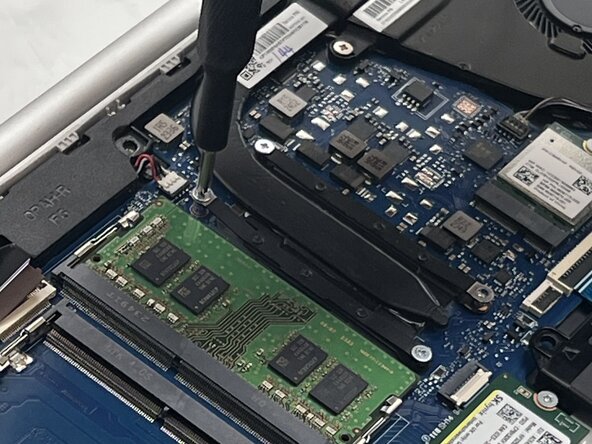
- Use a spudger or a clean fingernail to flip up white the locking flap—this is the unlocked position.
- Use tweezers or your fingers to gently pull the cable out of its socket.
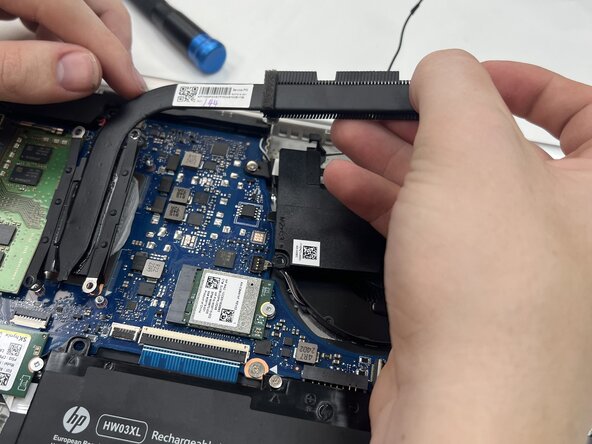
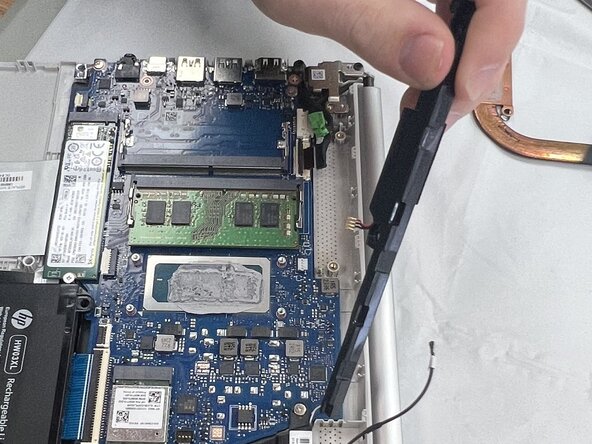
- Use a Phillips #0 screwdriver to remove the four 2.9 mm heat sink screws in a x-pattern.
- Carefully lift the heat sink off the motherboard.
- If it doesn't come off easily, use a spudger to gently pry near the screws holes. The thermal paste may cause it to stick to the motherboard.
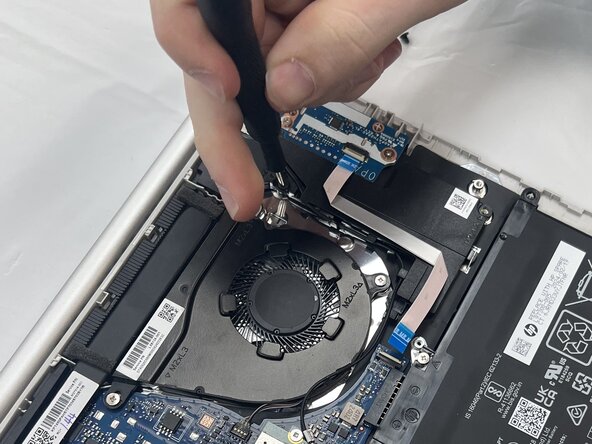
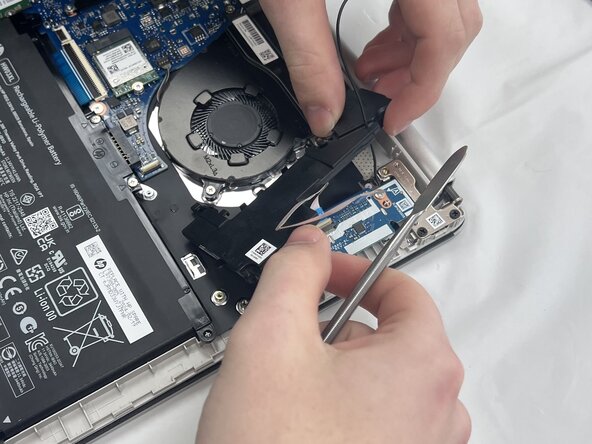
- Use a Phillips #0 screwdriver to remove the three 3.9 mm speaker screws.
- Disconnect the speaker cables from the motherboard.
- Carefully remove the speakers and the wires that connect the two from your laptop.
- The removed speakers.