Sony ULT WEAR I/O Board Replacement
ID: 185742
Description: The Sony ULT Wear needs functioning buttons and...
Steps:
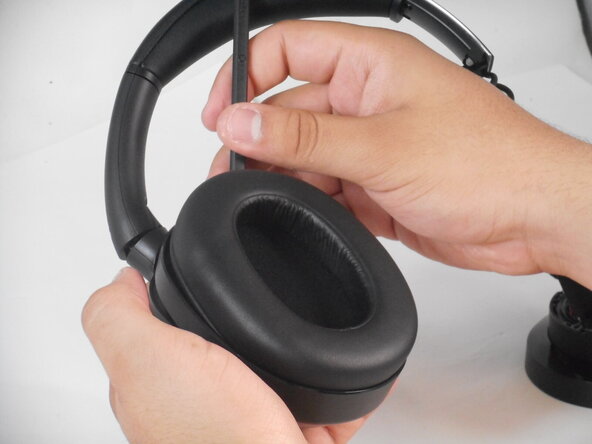
- Remove the affected driver's ear pad from the can to reveal 8 8.2 mm screws.
- If you're replacing the I/O board, remove the left ear pad.
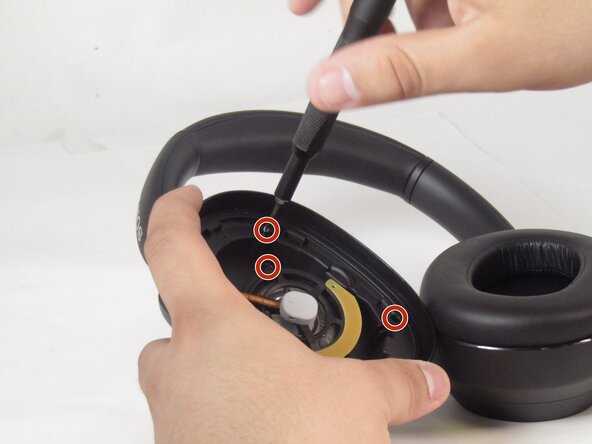
- Unscrew all eight Phillips #00 screws from the driver housing.
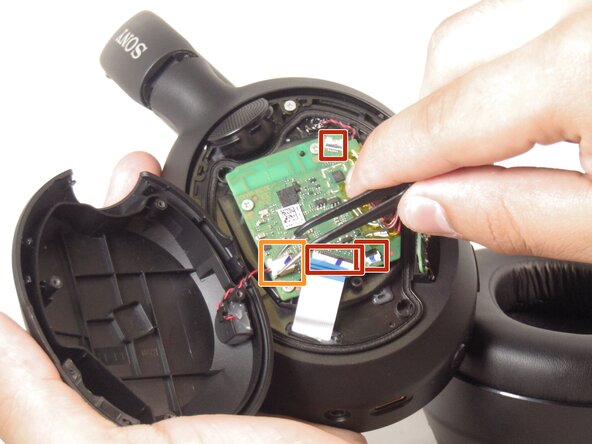
- Flip the can upside down, so the top of the PCB is facing upwards.
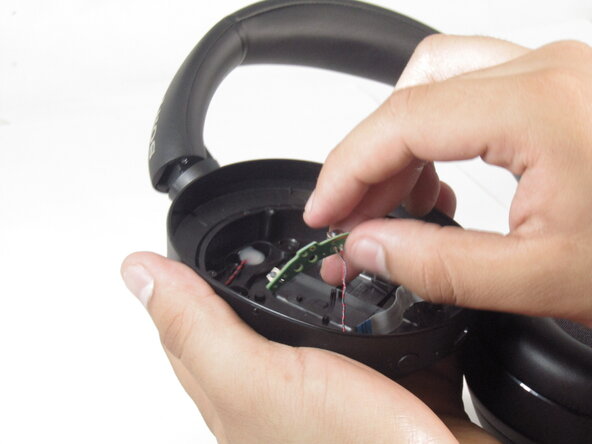
- Flip up the three black ZIF locking flaps and disconnect each of the three ribbon cables with tweezers.
- Grip and pull the white connector directly out of its socket.
- Safely remove the driver from the driver diaphragm.
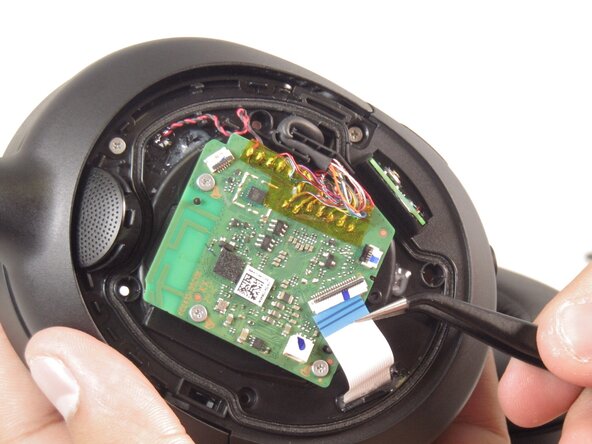
- Flip the can so that the back of the PCB is visible.
- Disconnect the white ribbon cable.
- Remove the PCB from the housing.
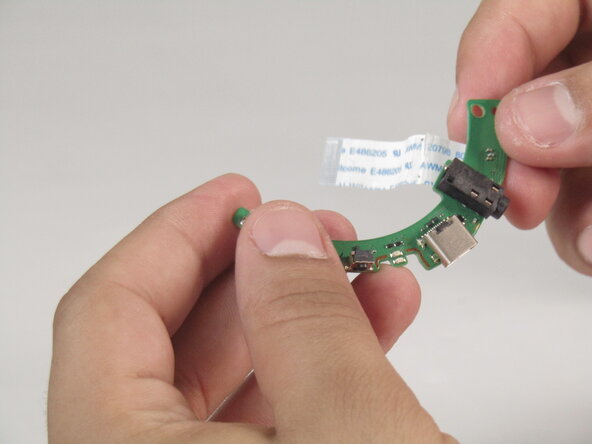
- There is a secondary board soldered to the PCB. Detach this board by carefully pulling it off with your fingers.
- Lift and pull the PCB to remove it carefully, while making sure not to damage the ribbon cable.
- The secondary PCB needs to be re-soldered.