Sony SRS-XG300 Button Board Replacement
ID: 185923
Description: If the buttons on your Sony SRS-XG300 are not...
Steps:
- Before beginning, make sure to unplug and power off your speaker.
- With the Sony label on the left, roll the speaker horizontally to the bottom of the speaker with the rubber stands.
- Remove four 12 mm screws with a Phillips #1 screwdriver.
- Remove the loose rubber feet.
- Insert the metal spudger tool at 90-degree angle into the right part of seam.
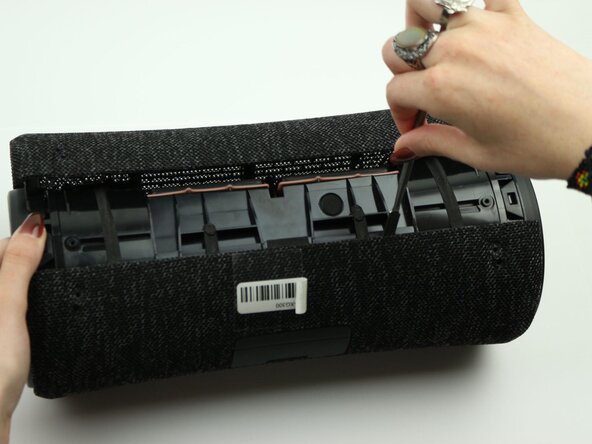
- Pry off the top part of the fabric cover using the metal spudger.
- Follow the seam to completely detach the top part of the fabric cover.
- Repeat to remove the bottom part of the fabric cover.
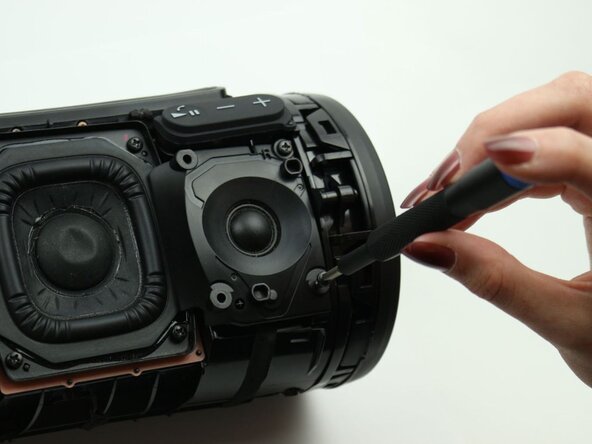
- Remove the four 12 mm screws on the corners of the right tweeter using the Phillips #1 screwdriver.
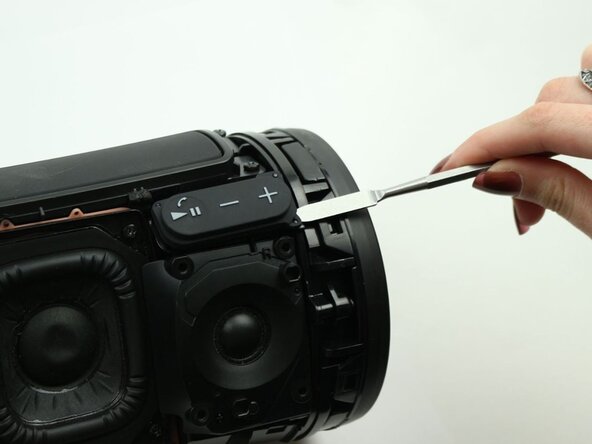
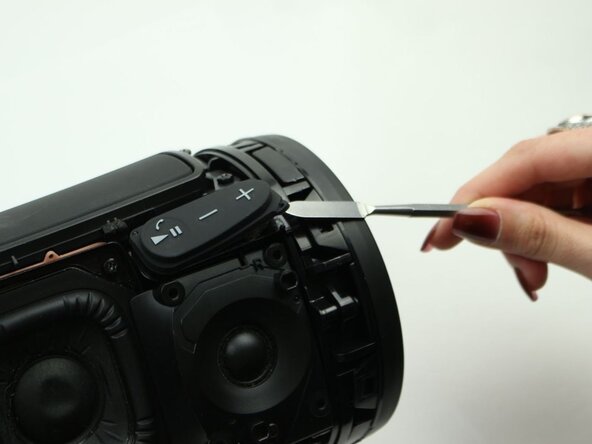
- Use the metal spudger to peel off the adhesive button (volume, play/pause button) to access the control panel underneath.
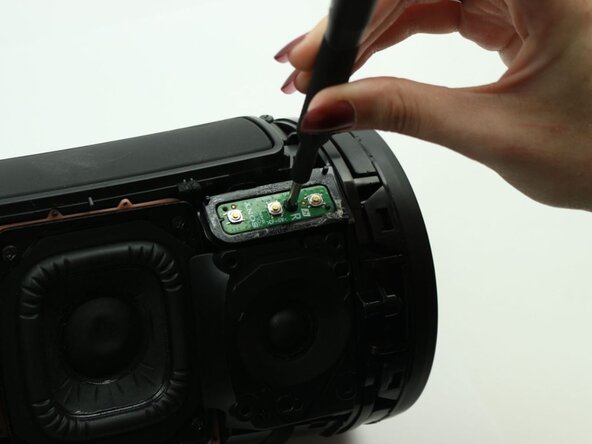
- Remove the one 7.5 mm screw in the middle of the control panel using the Phillips #1 screwdriver.
- Use the metal spudger to carefully lift up the control panel.
- Make sure to do this slowly and not lift it all the way up, as it can tear the cables.
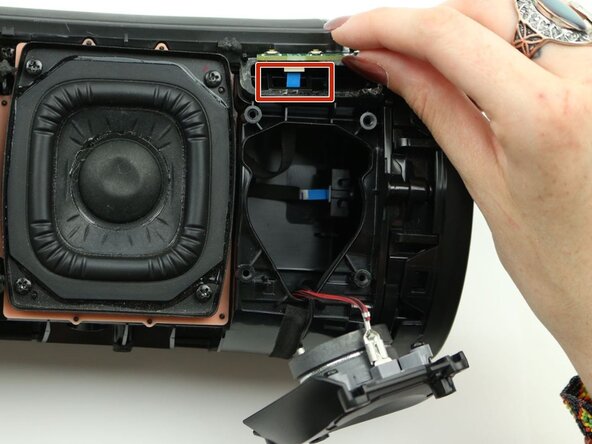
- Detach the blue ribbon cable from the button board.
- If not visible, lift the right tweeter to see a better view of the cable internally.
- Remove the button board from the speaker.