Disassembling Nvidia Shield Pro Android TV Nvidia Shield Remote (2017)
ID: 185946
Description: This guide is for the disassembly of the Nvidia...
Steps:
- Plastic spudgers/opening tools
- T2 Torx Screwdriver
- Use a narrow-tipped object (such as a ballpoint pen or the tip of the T2 Torx Screwdriver) to depress the dimple on the battery compartment to release it
- Replacement batteries are two (2) CR 2032 coin cell batteries.
- Gently pry along the edges of the remote using your fingers and prying tools to release the plastic clips.
- It works best to start from the battery compartment and slowly work your way up to the top of the remote where the IR blaster is located.
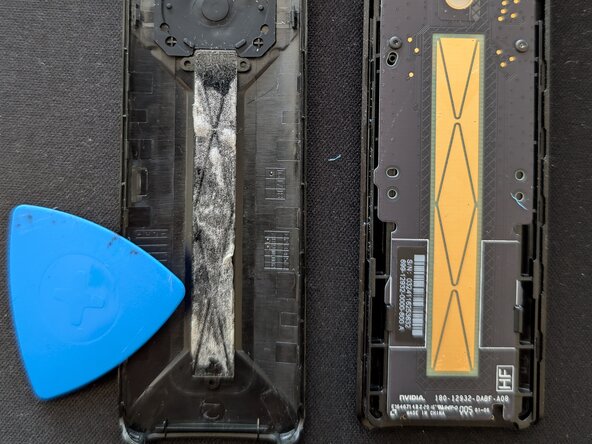
- Once the plastic clips are released, there is adhesive along the length of the volume sensor bar holding the front face in place. Slowly pry the face away from the rest of the remote and adjust your grip to avoid snapping the thin plastic face.
- There are (6) T2 Torx screws holding the mainboard to the frame of the remote.
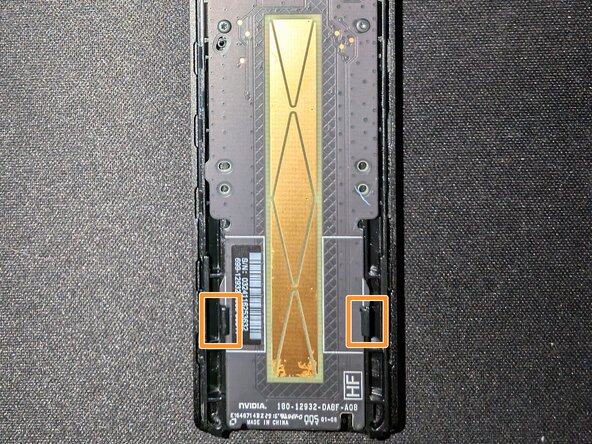
- Two clips hold the mainboard in place. Slightly lift the top of the mainboard up and slide it towards the top of the remote to remove it from the frame.
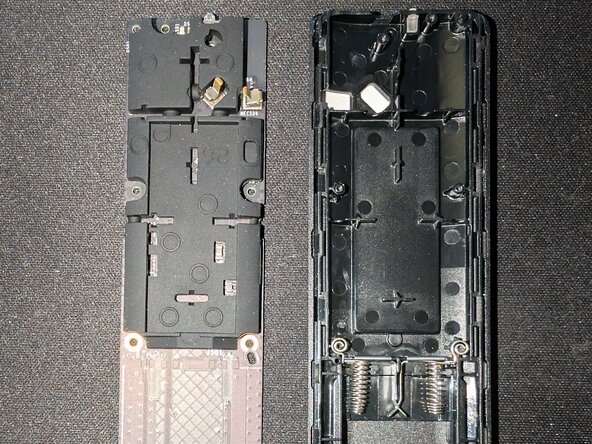
- The remote should now be fully disassembled.