Shark ION RV754 Suction Motor Replacement
ID: 186026
Description: This guide demonstrates how to remove the...
Steps:
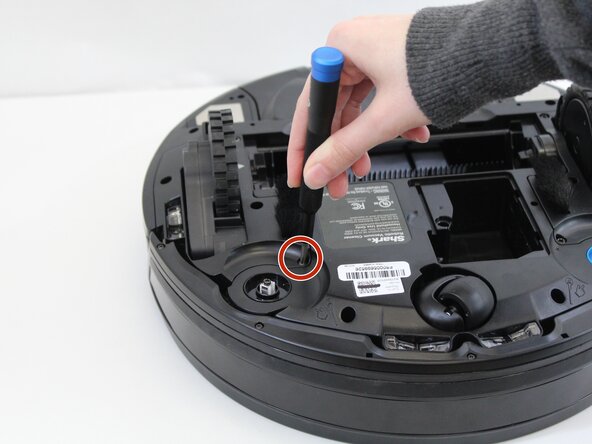
- Place the unit on its back with the wheels facing up.
- Use a Phillips #1 screwdriver to remove the single screw securing the battery compartment door.
- Use your finger to lift off the battery door using the small indent next to it.
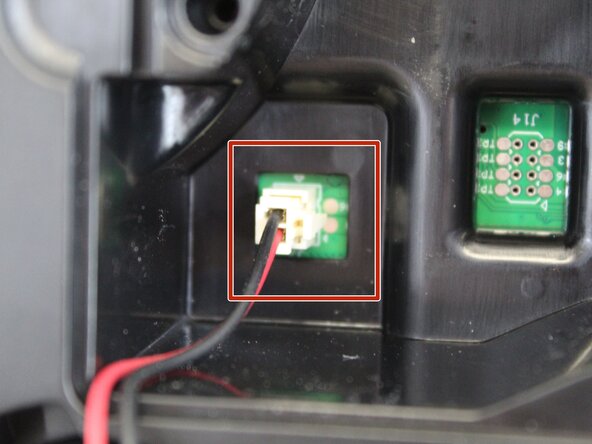
- Lift the battery out just above the compartment to access the battery connector.
- Squeeze the tab against the connector and pull it straight up to disconnect it.
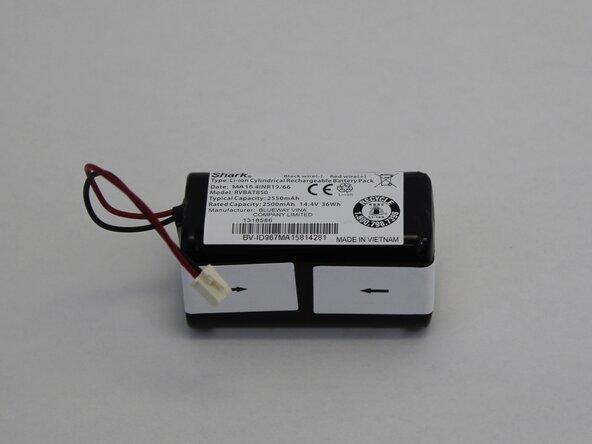
- Remove the battery completely.
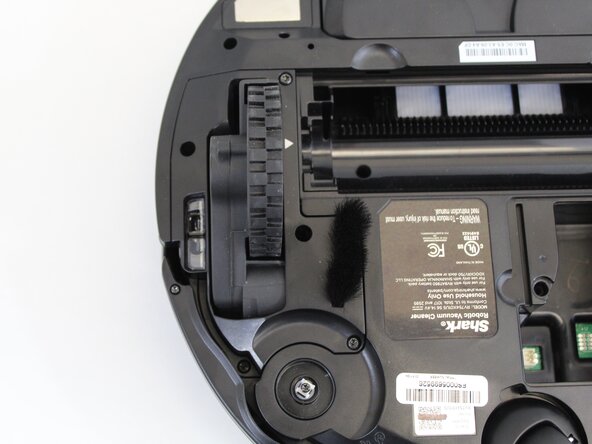
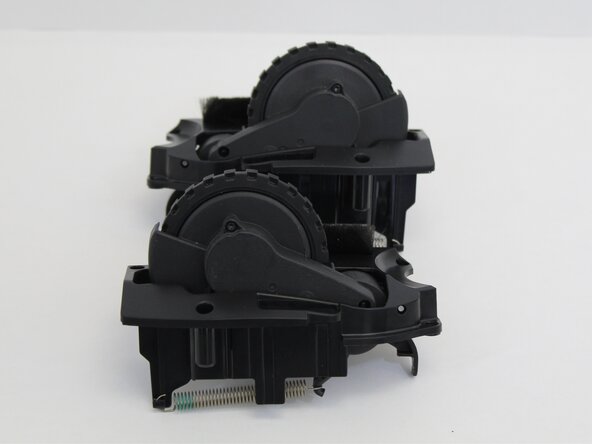
- Use a TR15 Torx security screwdriver to remove five 13.85 mm screws from the left and right wheel assemblies.
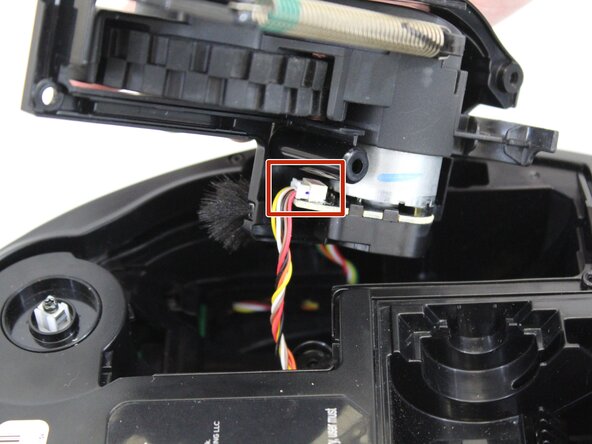
- Lift the wheel assembly out to access the cable connectors that are attached to the wheels.
- Squeeze the tab against the connector and pull it straight out to disconnect it from the wheel.
- Remove the wheel assembly.
- Repeat the steps to remove the other wheel.
- Press the dust bin latch and slide the bin out to remove it.
- Remove the 5 9.30 mm screws securing the bumper trim using a Torx TR8 screwdriver.
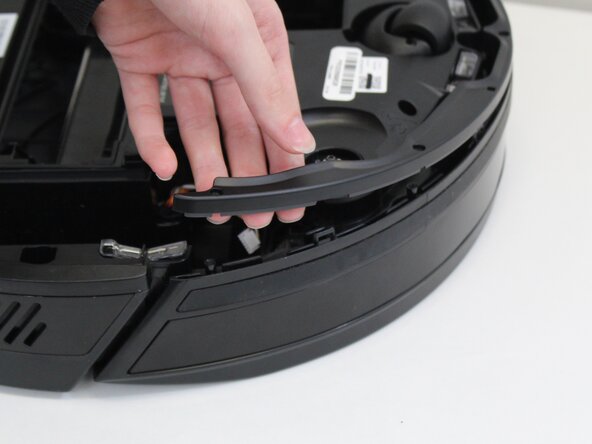
- Use an opening tool or spudger to release the clips securing the bumper trip.
- Carefully pull the bumper trim off the vacuum.
- Lift the front bumper off of the vacuum.
- Use a TR8 Torx Security screwdriver to remove the five 13.9 mm screws from the bottom of the vacuum.
- These 13.9 mm screws are in deep recesses and the TR8 screwdriver will need an extension or a narrow shaft to reach them.
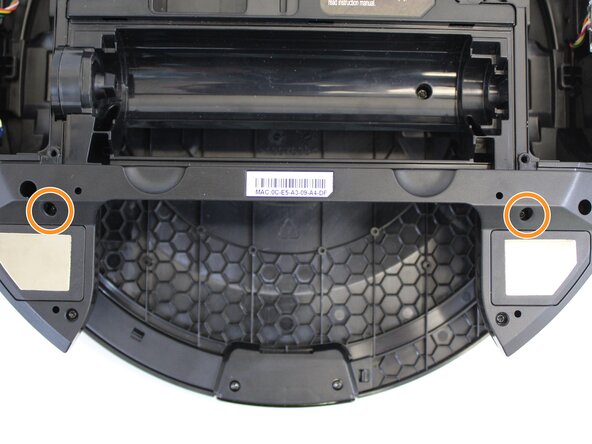
- Remove the two 9.3 mm screws from the bottom of the vacuum near the dust bin cavity using a TR15 Torx Security screwdriver.
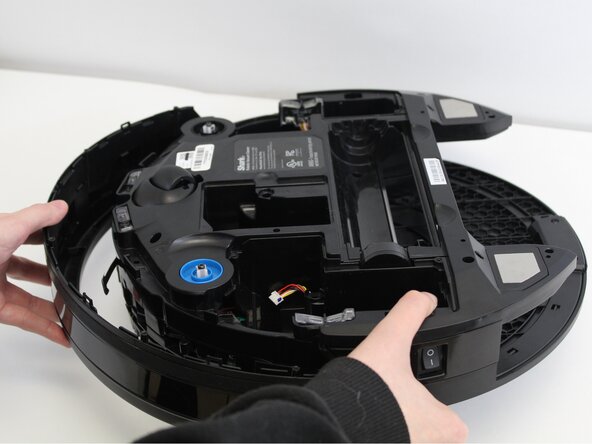
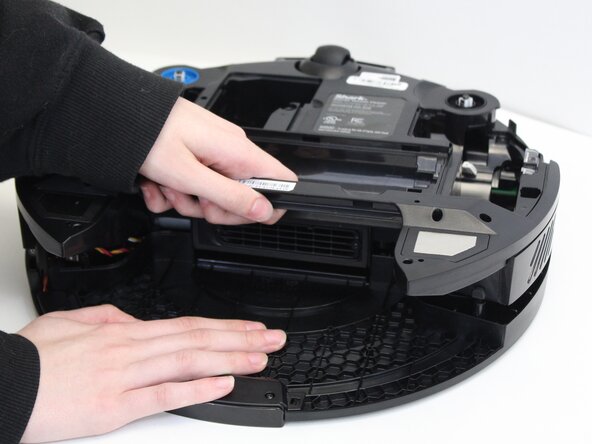
- To separate the vacuum body, place one hand on the bottom and pull with the other from the brush roll recess.
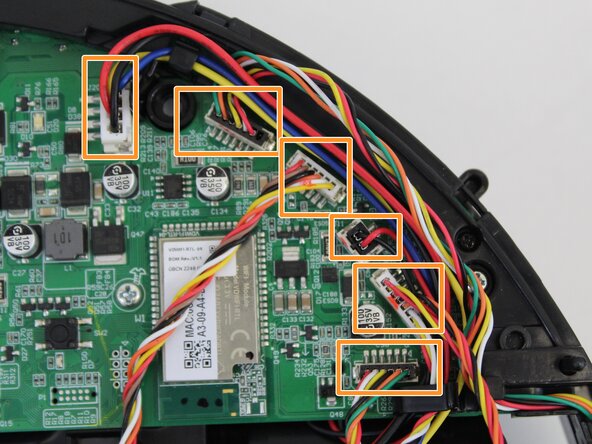
- Remove the 6 circuit board wire connectors on the left side of the board as shown.
- Remove the 6 circuit board wire connectors on the right side of the board using the same method.
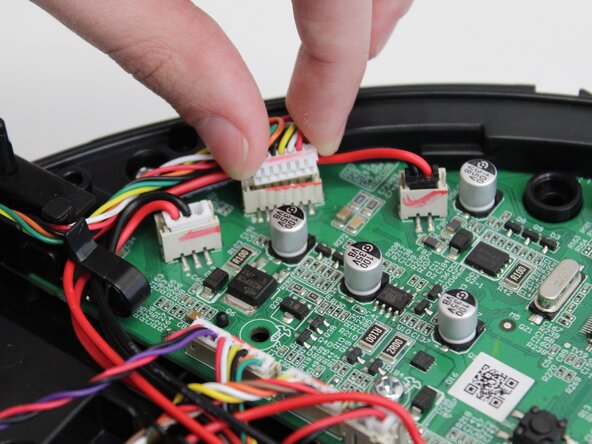
- For helpful tips on removing the cables from the board, take a look at the Recognizing and Disconnecting Cable Connectors guide.
- Be careful when disconnecting the wire connectors from the circuit board to avoid damage to the wires, sockets, or circuit board.
- It is a good idea to keep a reference picture for reattaching the wires later, since many of them are very similar in color and size.
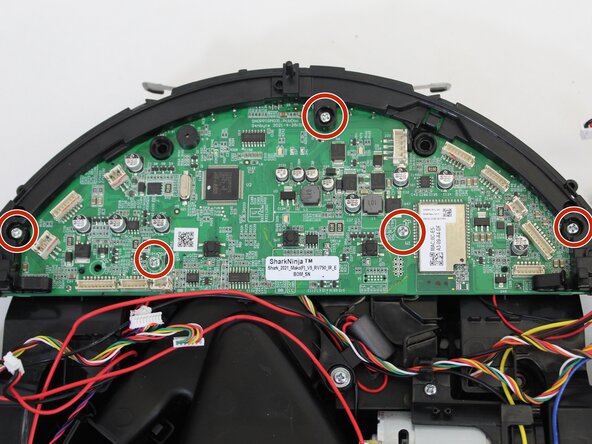
- Use a Phillips #1 screwdriver to remove the five 9.80 mm screws from the circuit board.
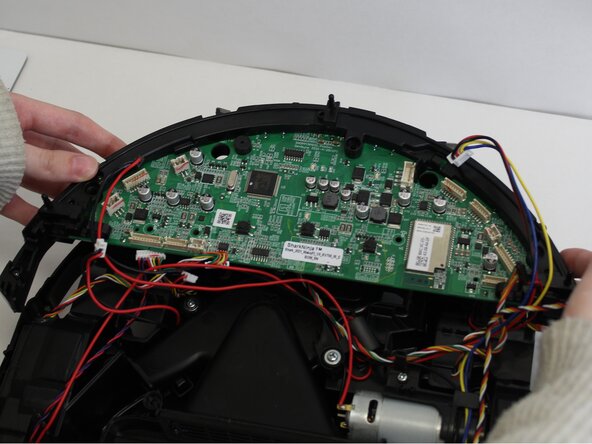
- Gently remove the circuit board by pulling up on it as shown and set it aside.
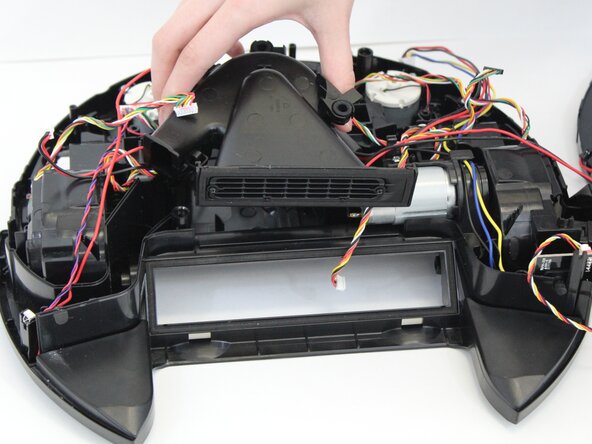
- Remove the three 11.6 mm screws securing the suction motor using a Phillips #1 screwdriver.
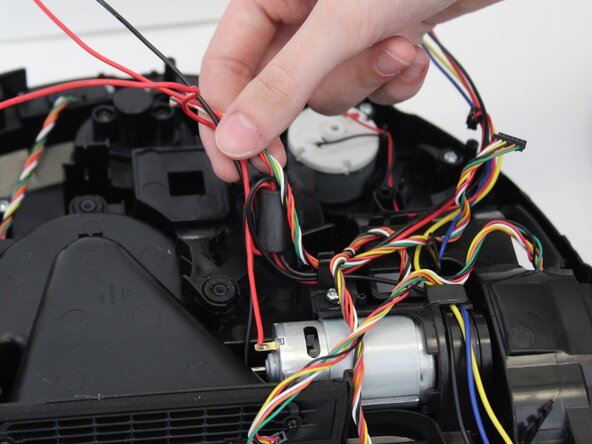
- Disconnect the remaining wires connected to the suction motor and move the wires aside to avoid pulling on them when removing the suction motor.
- Pull up on the suction motor to remove it.