Acer Aspire 3 A315-24PT-R288 Heat Sink Replacement
ID: 186060
Description: If your Acer Aspire 3 A315-24PT-R288 is...
Steps:
- For your safety, unplug all peripheries, discharge the battery below 25%, and power down your device before beginning disassembly.
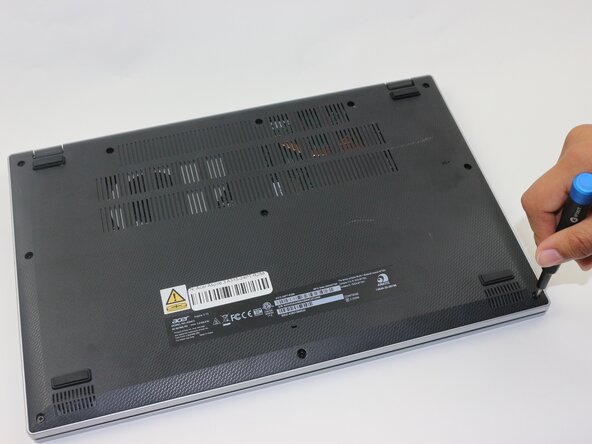
- Use a Phillips screwdriver to remove the eleven 2 mm screws that secure the lower case.
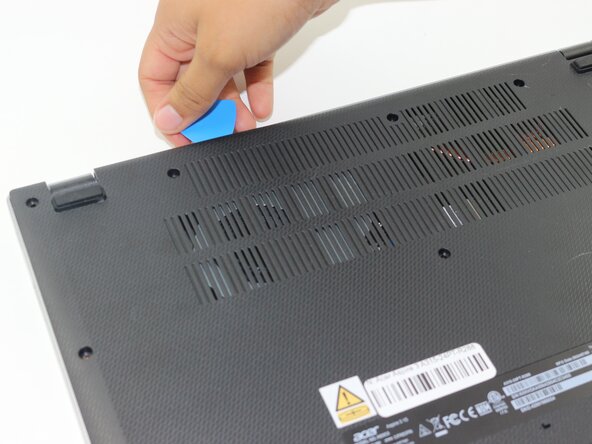
- Insert an opening pick in the seam between the chassis and the lower case.
- Slide the opening pick around the entire perimeter, prying every couple of centimeters, to release all of the retaining clips that secure the lower case.
- Remove the lower case.
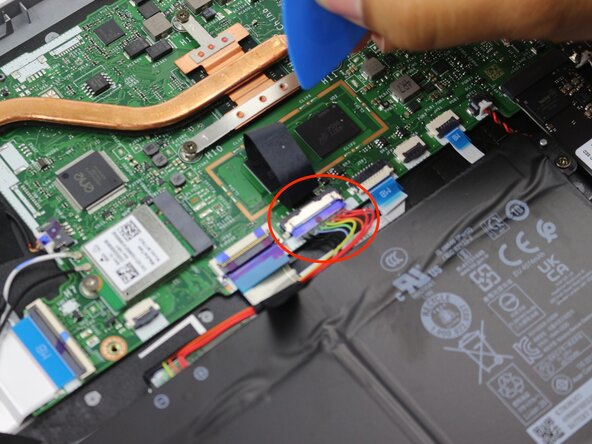
- Remove the tape on the battery connector using tweezers or your fingers.
- Use an opening pick or the flat end of a spudger to gently push the battery connector out of its motherboard socket.
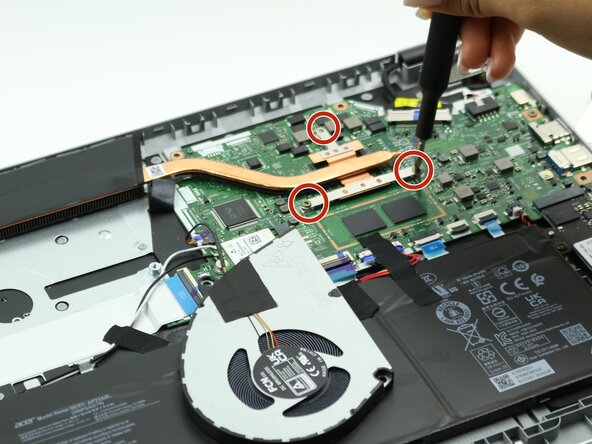
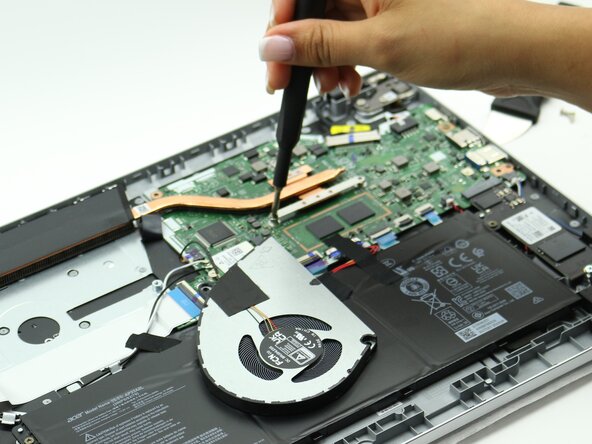
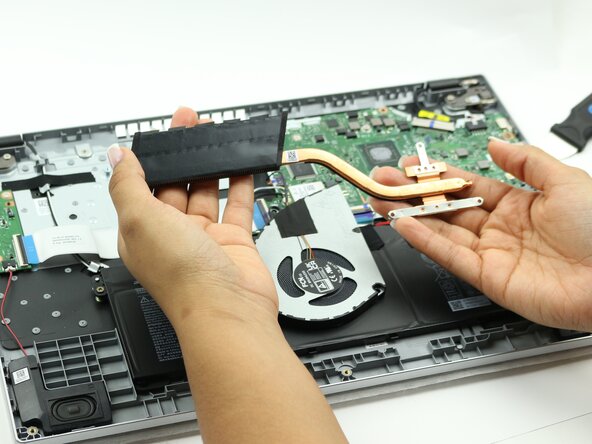
- Despite the images, it's not necessary to remove the fan prior to removing the heat sink.
- Remove the three 2mm Phillips #1 screws from the heat sink.
- When installing your new heat sink, be sure to fasten the screws in the numerical order stamped on the heatsink bracket.
- Lift the heat sink up and out of the chassis.