Epson PictureMate Pal PM 200 Motherboard Replacement
ID: 186133
Description:
Steps:
- Be certain that device is powered off and unplugged as to not damage any of the internal components before beginning.
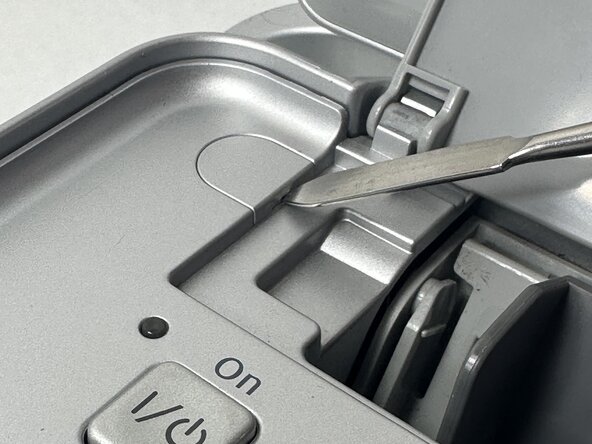
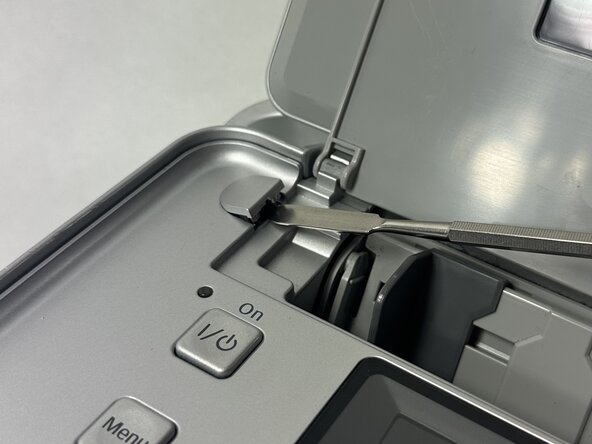
- Power off device and use a metal spudger to remove each of the two caps over the screws that hold the top plate to the device.
- Remove the two 6 mm Phillips screws.
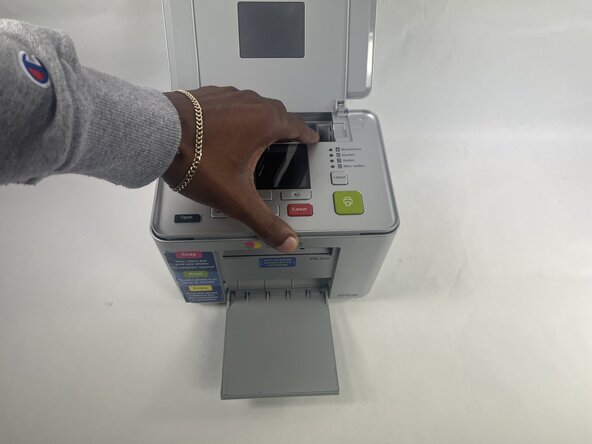
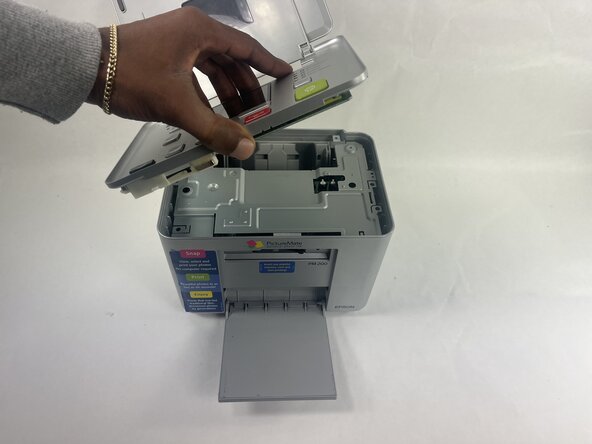
- Gently lift the lid and turn it to face the daughterboard underneath.
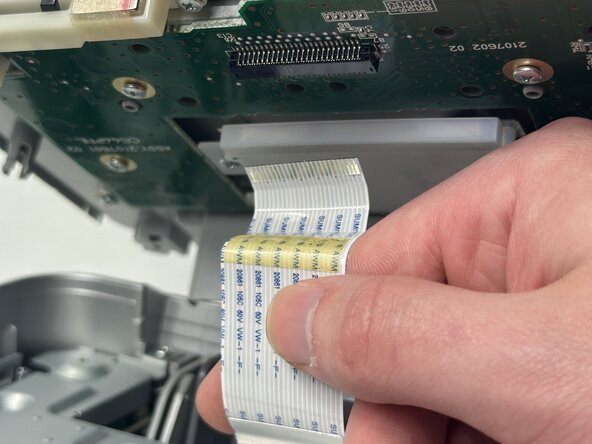
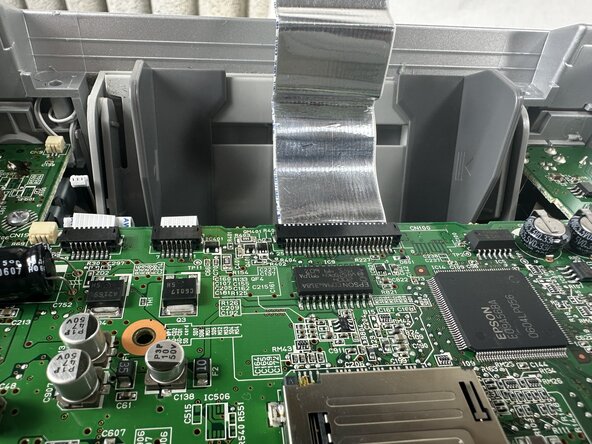
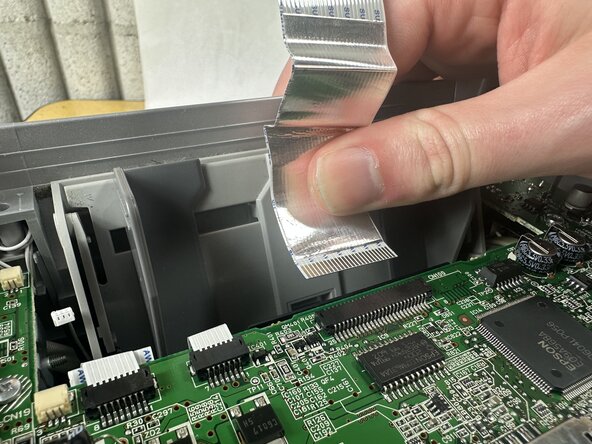
- Gently pull the no-fuss ribbon cable out from its connector.
- The other end of the ribbon cable is still in the device's motherboard. Only remove the end connected to the daughterboard unless stated in a later step in order to not lose it due to unnecessary removal.
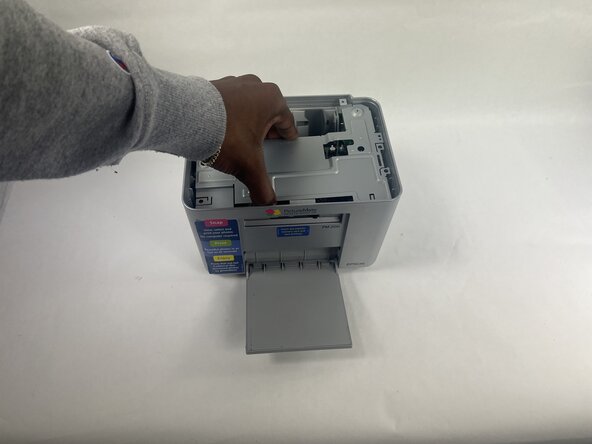
- Remove the printer top plate.
- Remove the following Phillips screws:
- Six 8 mm screws
- Four 6 mm screws
- Remove the metal bracket.
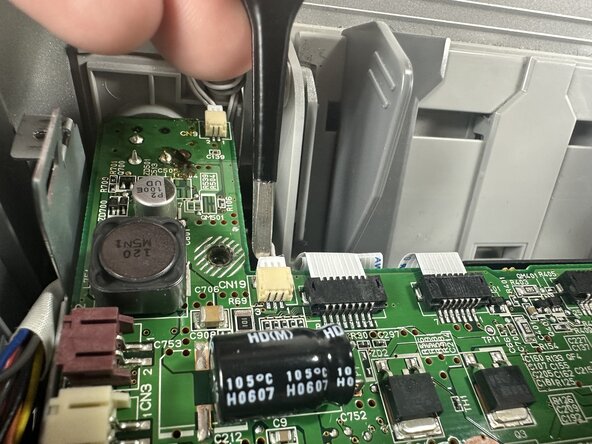
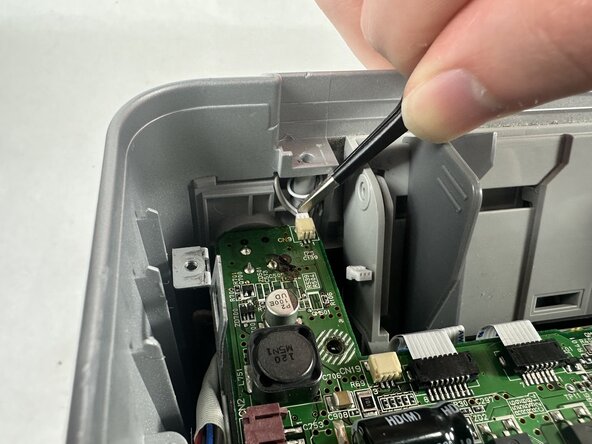
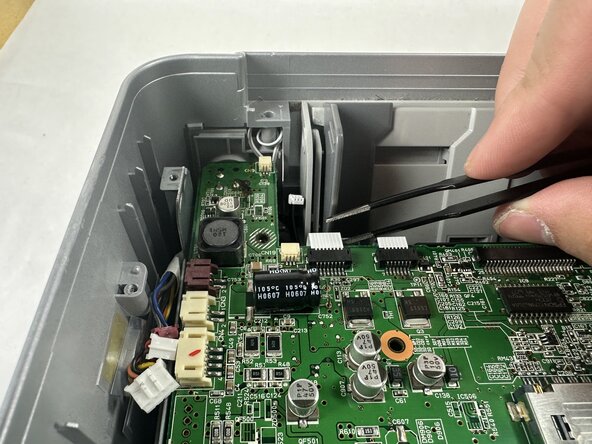
- Remove connectors from their sockets with tweezers.
- It is recommend to grab the connectors by the plastic and not grabbing the wires they are connected to as this can cause damage to the wire insulator or loosen the wire from the connector.
- Disconnect the ribbon cable that connects to the daughterboard by pulling it out horizontally in line with the connector.
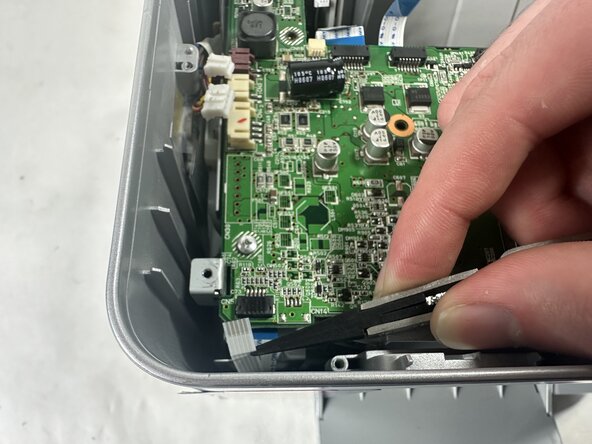
- Remove all other ribbon cables with tweezers. You can use the nylon-tipped reverse tweezers to make it harder to damage the cable.
- There are some ribbon cables that are attached to the under side of the board, but they are in the same area as the others.
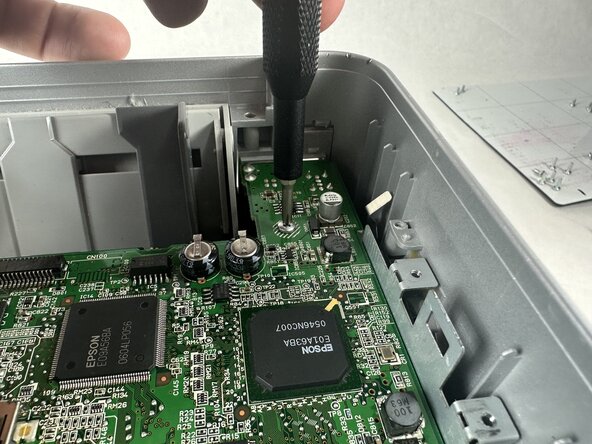
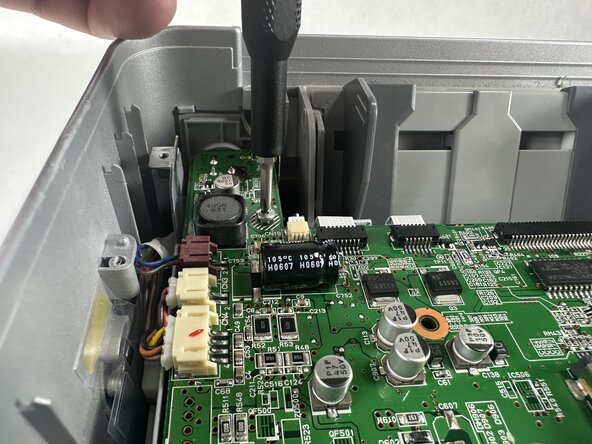
- Remove the four 8mm screws Phillips screws that secure the motherboard.
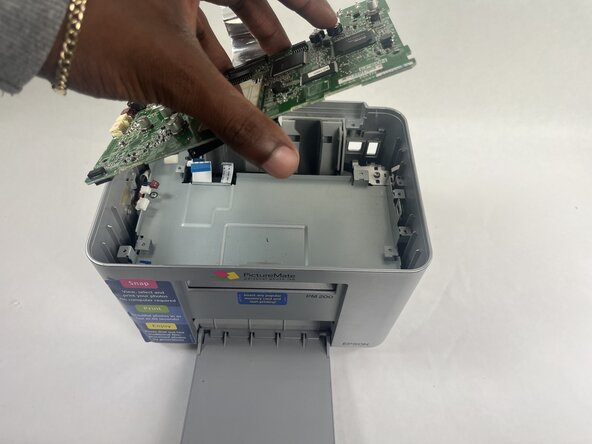
- To remove the board, you will have to gently pry the outer casing as shown in the image to get the power jack and USB connector to clear the plastic. From there, simply slide out at an angle to get the board free. You should be left with the board as shown in the second picture