Epson PictureMate Pal PM 200 Display Replacement
ID: 186134
Description: The user interface is given on the 53mm LCD...
Steps:
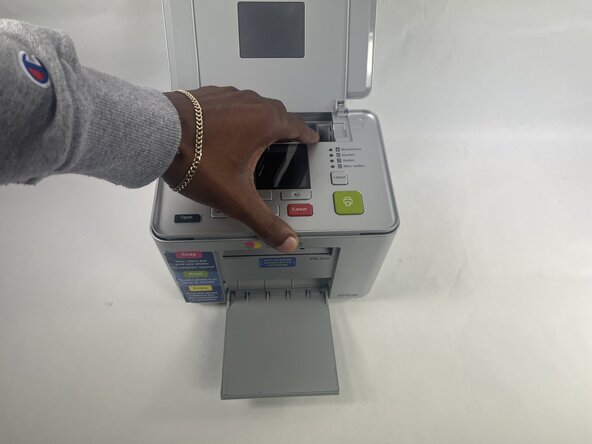
- Be certain that device is powered off and unplugged as to not damage any of the internal components before beginning.
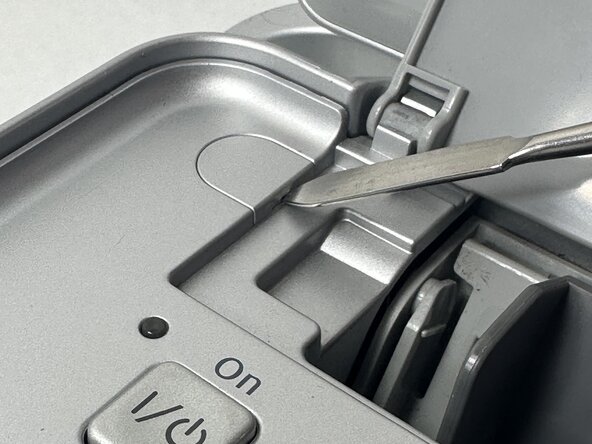
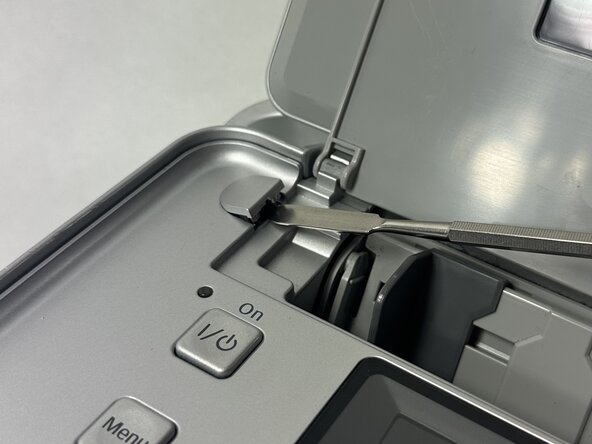
- Power off device and use a metal spudger to remove each of the two caps over the screws that hold the top plate to the device.
- Remove the two 6 mm Phillips screws.
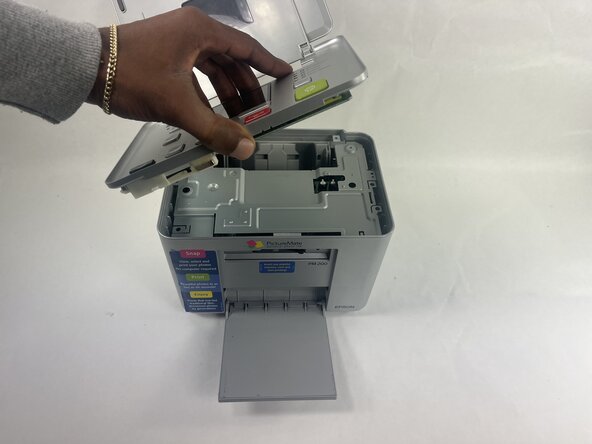
- Gently lift the lid and turn it to face the daughterboard underneath.
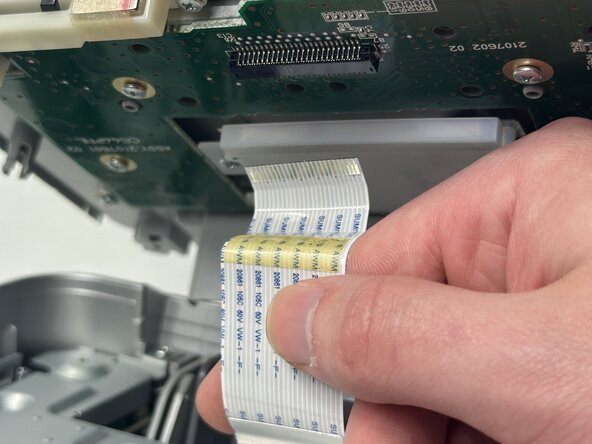
- Gently pull the no-fuss ribbon cable out from its connector.
- The other end of the ribbon cable is still in the device's motherboard. Only remove the end connected to the daughterboard unless stated in a later step in order to not lose it due to unnecessary removal.
- Remove the printer top plate.
- Set the panel to the side on a neat, flat surface.
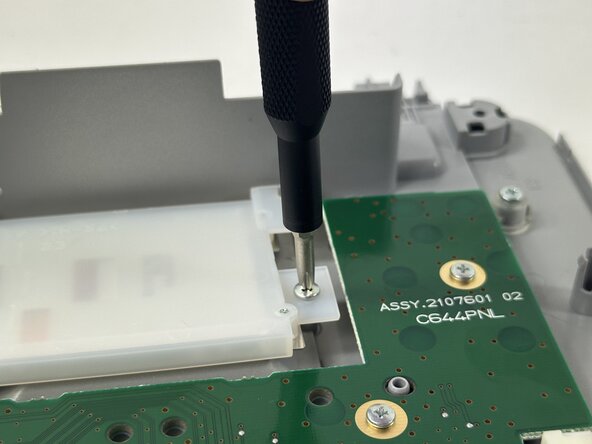
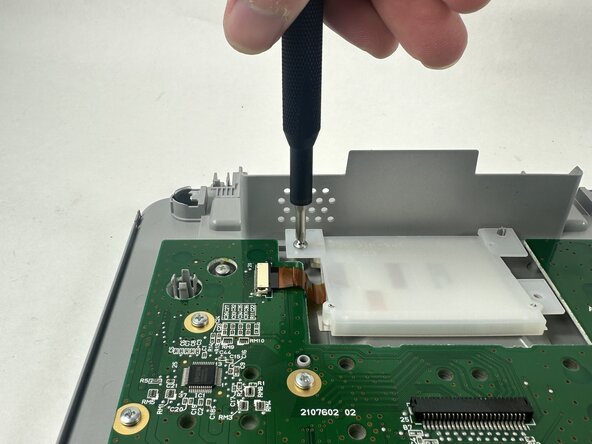
- Remove the two 8 mm Phillips screws securing the display assembly to the top panel.
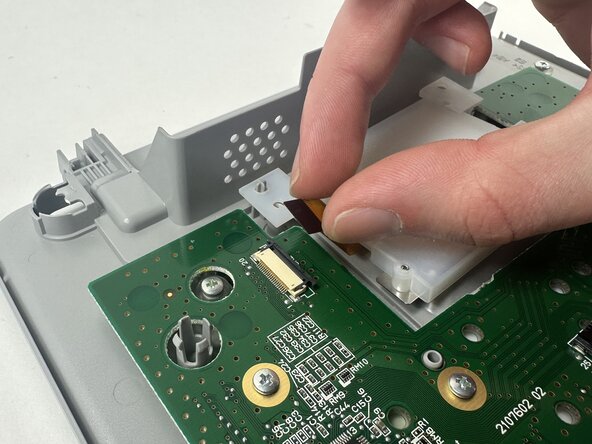
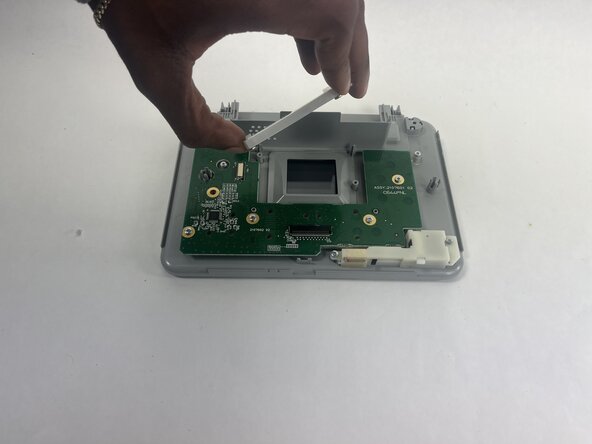
- Pull the black ZIF locking flap toward the ribbon cable.
- Disconnect the ribbon cable from the daughterboard.
- Remove the display assembly from the top panel.
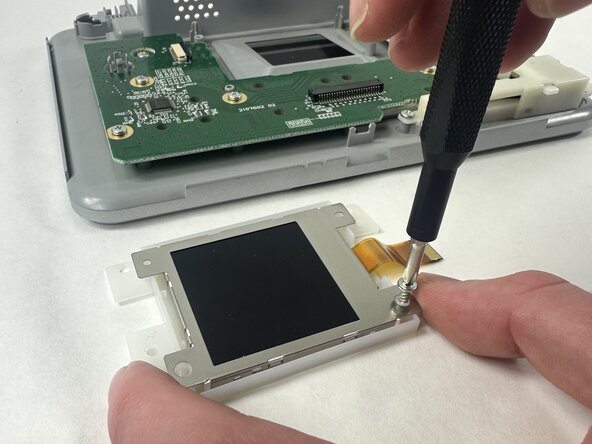
- Remove the two 8 mm screws that secure the display to the housing.
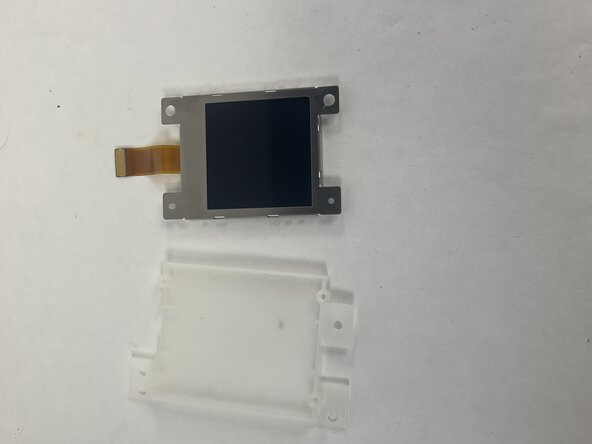
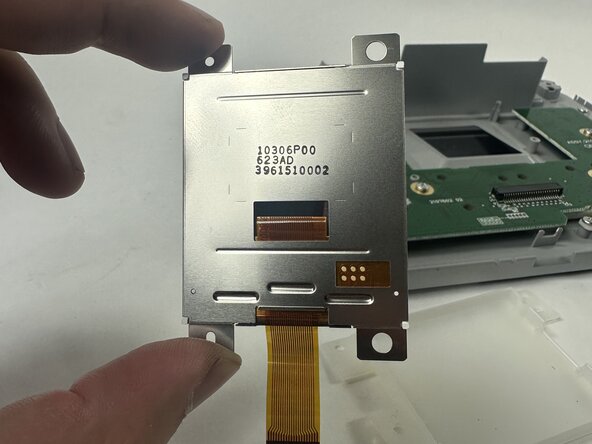
- Remove the display from the housing.