Bed Head Curlipops Heating Element Replacement
ID: 186141
Description: It can be difficult to use this product if the...
Steps:
- Remove all four of the 4 mm Phillips screws on either side of the casing.
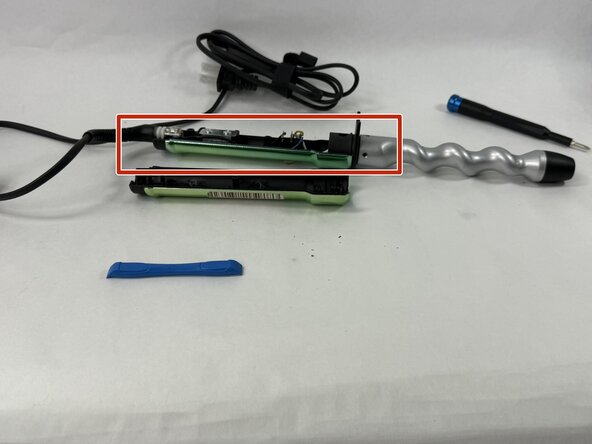
- Using an opening tool, insert it along the seam where both halves of the casing meet, and slowly pry the left side of the casing from the right.
- Gently pull back the right side of the casing from the center molding.
- Move wiring or other components away from the main soldering field.
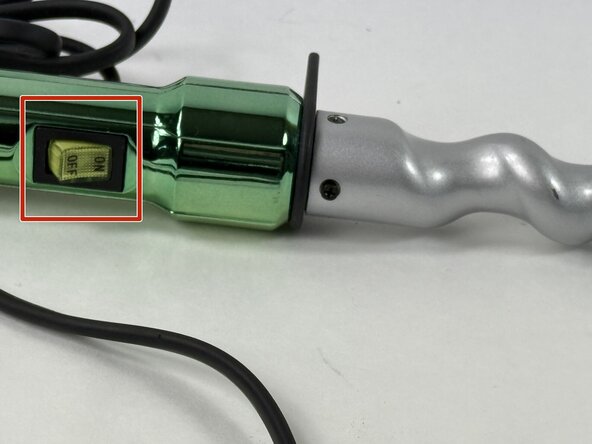
- Release the securing tabs on the switch to the center molding.
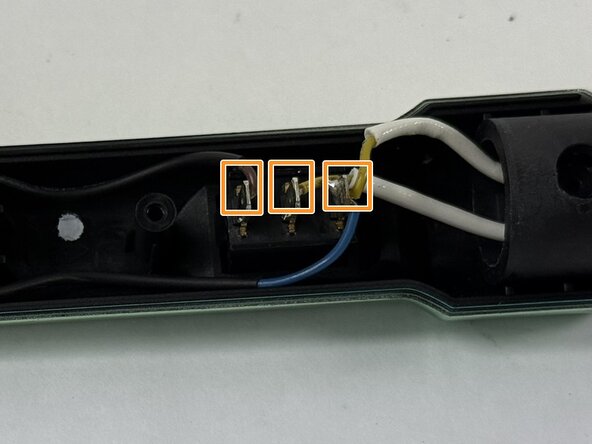
- Use a 4mm flat head screwdriver to break off the solder where the wires meet the switch.
- Press the new switch back into the center molding and use a soldering iron to solder the wires on the new switch.
- Remove the four 4 mm Phillips screws shown on the heating element housing.
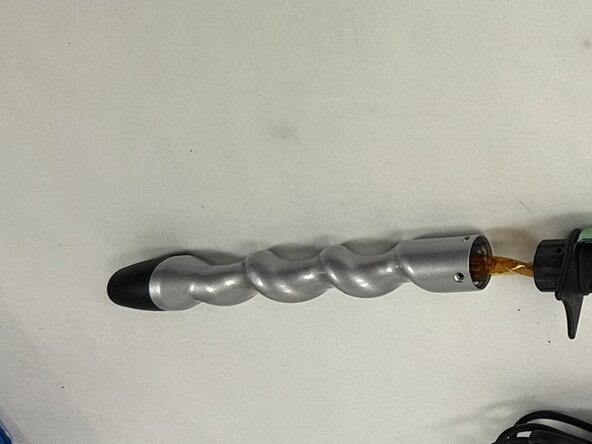
- Pull back on the heater housing to release it from the main handle molding.
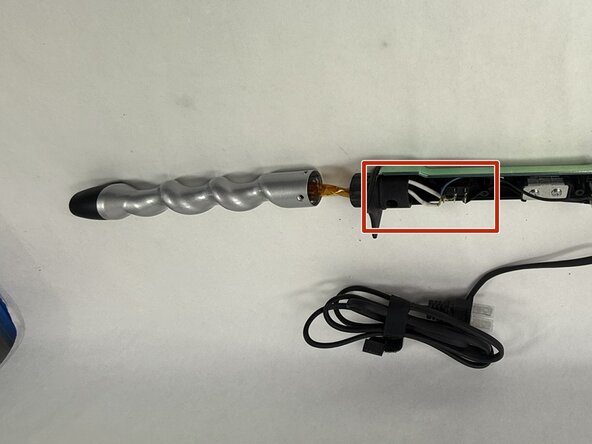
- Locate the wiring of the heating element on the switch.
- Remove the solder from both wires.
- Once both wires are released, pull back on the heating element to release it from the assembly.
- Use a soldering iron to reconnect the heating element wires to the metal tabs on the switch.