Primo 601258-C Temperature Sensor Replacement
ID: 186171
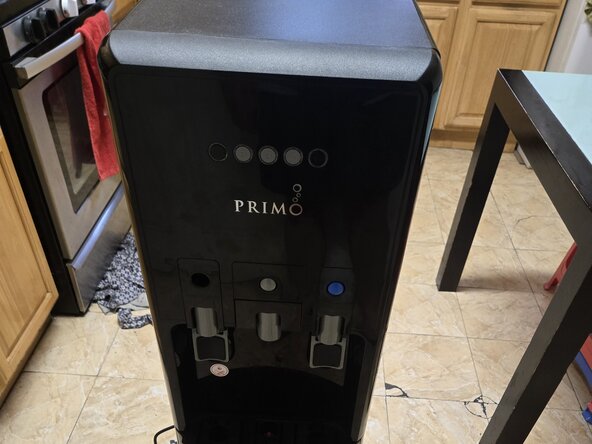
Description: If your Primo water dispenser (model 601258-C)...
Steps:
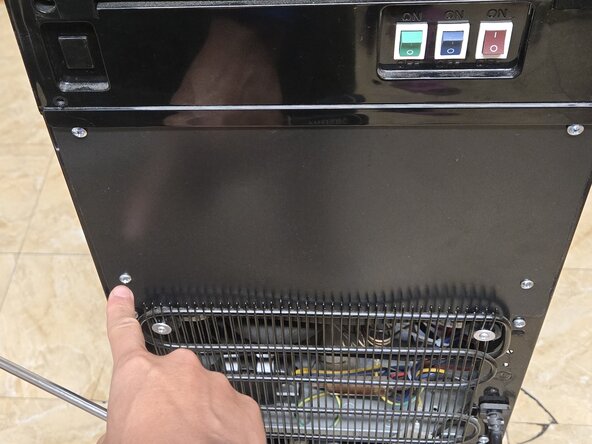
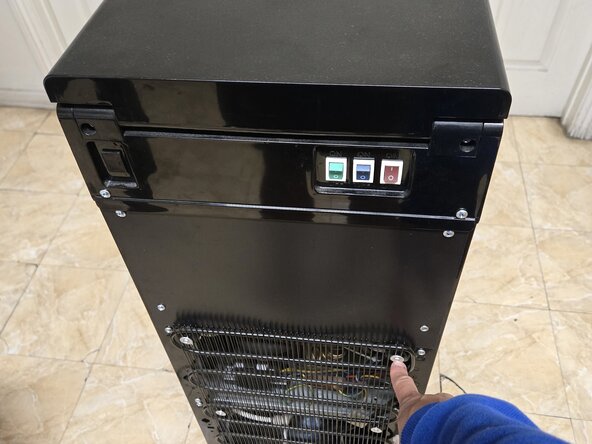
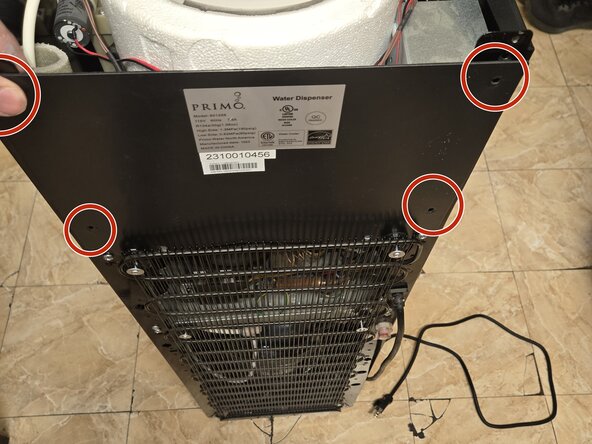
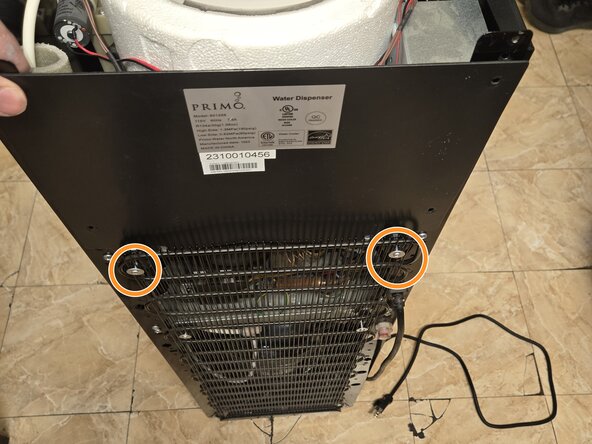
- Remove six 9 mm Phillips screws from the back of the water cooler to detach the back panels.
- Loosen the two 25 mm Phillips screws securing the radiator, allowing you to remove the backing.
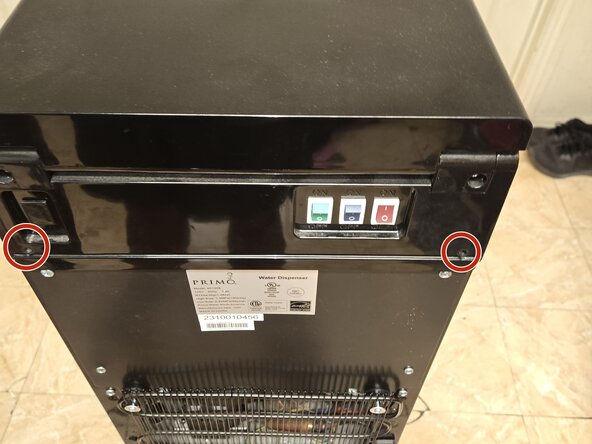
- Remove the top of the cooler.
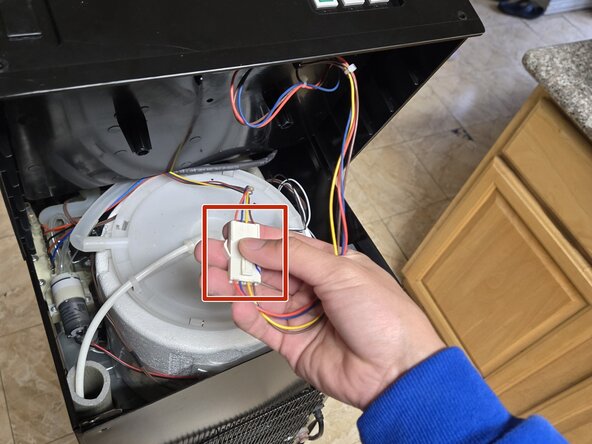
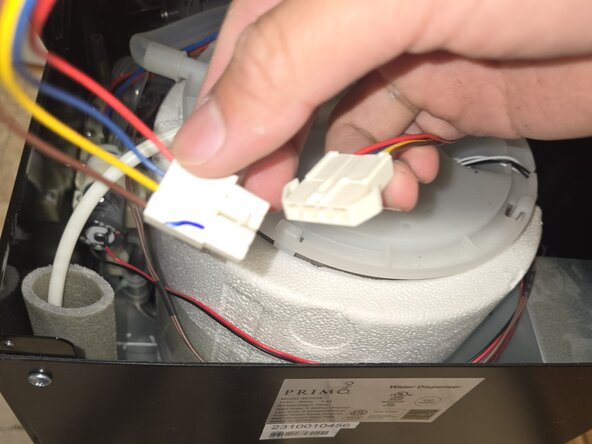
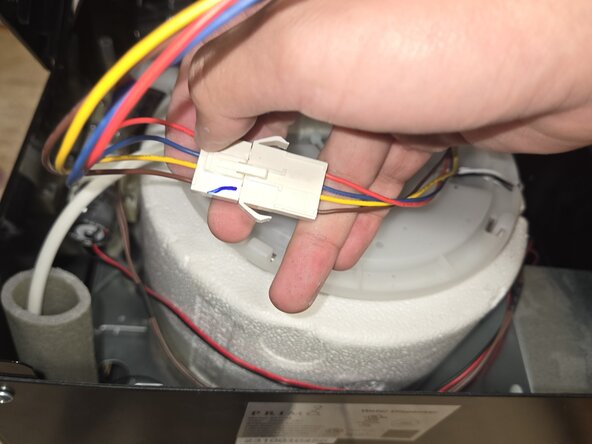
- Press the tab and unplug the temperature switch from the lid.
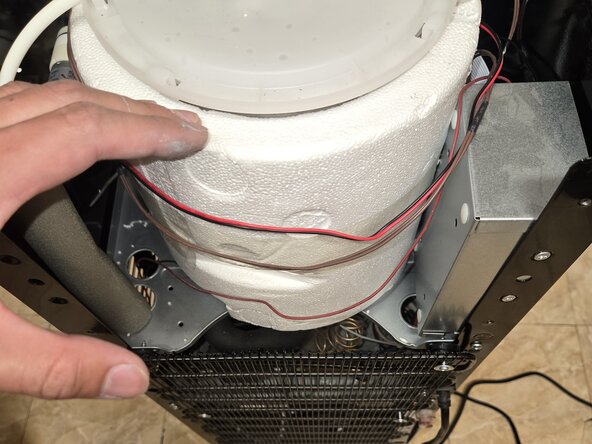
- Remove the back panel.
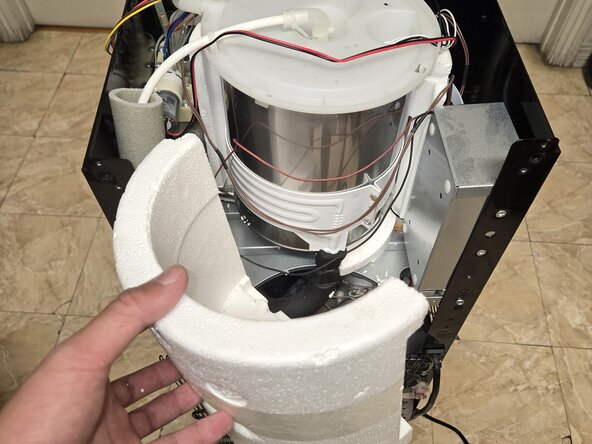
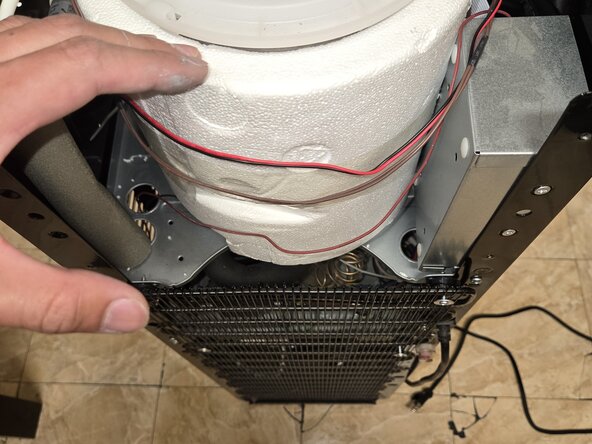
- Carefully remove the insulating foam.
- It can easily break apart.
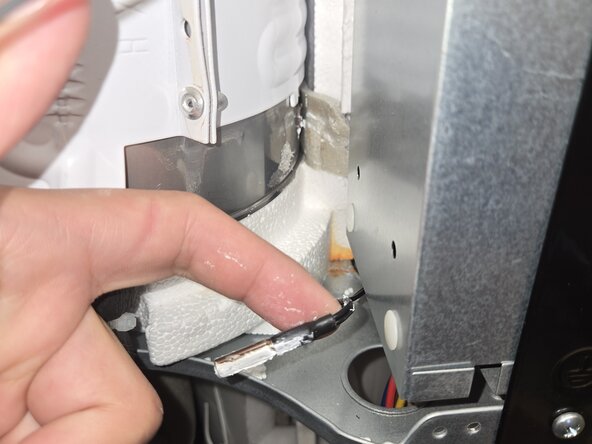
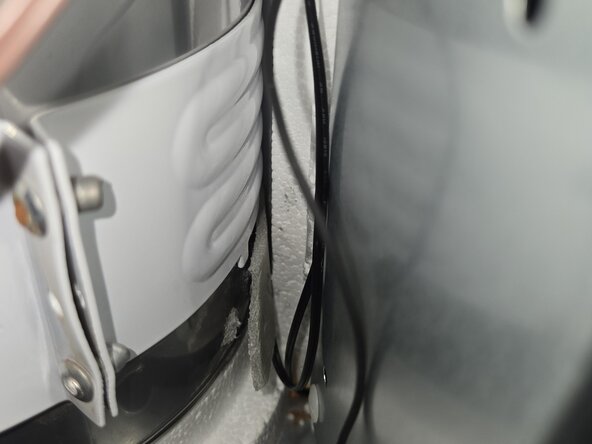
- Remove faulty temperature sensor.
- Removing the old sensor requires moving some of the existing insulation tape.
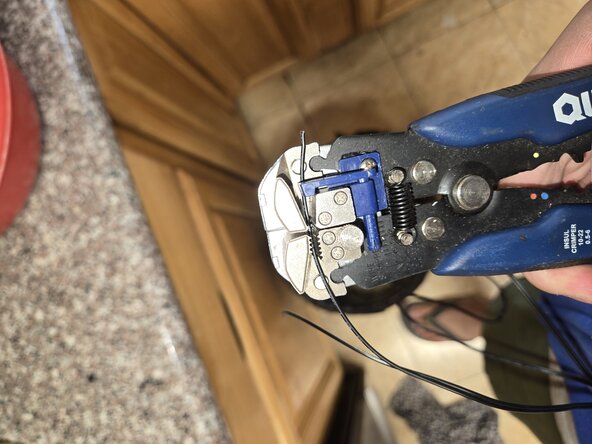
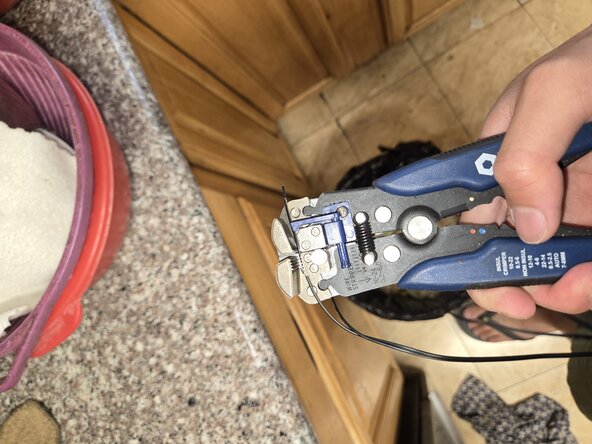
- Use a wire stripper to strip the wire on both the old and new temperature sensors.
- Here is a guide for Wire Stripping.
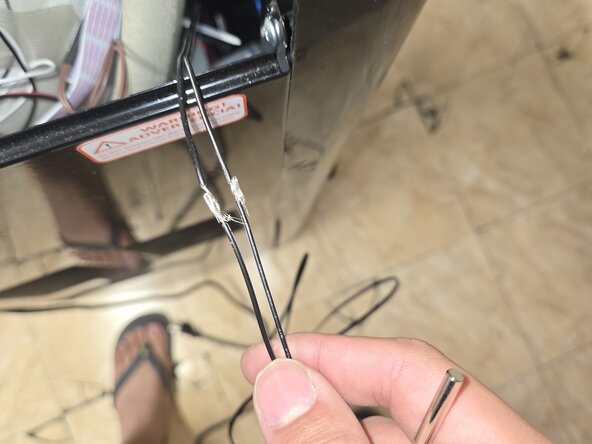
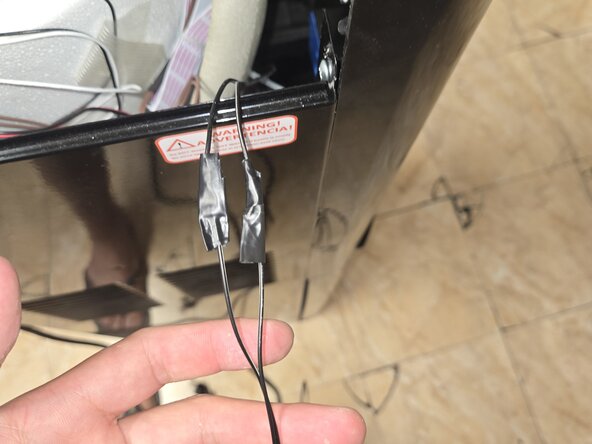
- Twist the ends of the wires stripped wires together and wrap them with electrical tape.
- Alternatively, you can solder the wires and secure them with heat-shrink tubing. For tips on soldering and using heat shrink tubing, refer to these guides: How to Solder Wires Together and How to Use Heat Shrink Tubing.
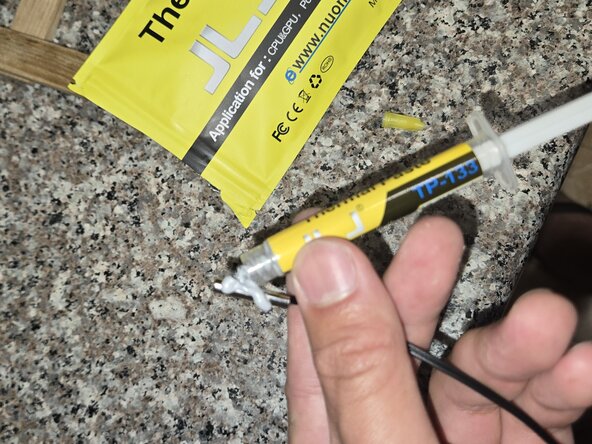
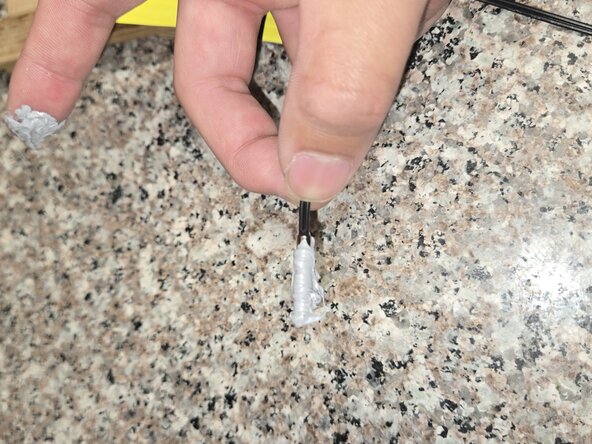
- Apply thermal paste to the new temperature sensor.
- Insert the newly connected thermal paste-covered sensor into the slot where the old sensor was.
- Place the old insulation back.
- Reattach the backing and secure it with four 9 mm Phillips screws.
- Tighten the two 25 mm Phillips screws.
- Reconnect the temperature control.
- Secure the top panel with two 9 mm Phillips screws.
- You have replaced the temperature sensor.