Acer Chromebook CB315-4H-P8FZ Motherboard Replacement
ID: 186185
Description: The motherboard in the Acer Chromebook...
Steps:
- For your safety, unplug all peripheries, discharge the battery below 25%, and power down your device before beginning disassembly.
- Lay the device down with the lower case facing up.
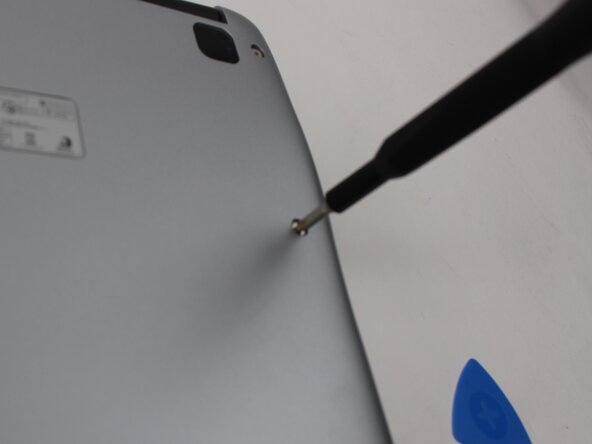
- Remove the ten 6 mm Phillips screws that secure the lower case.
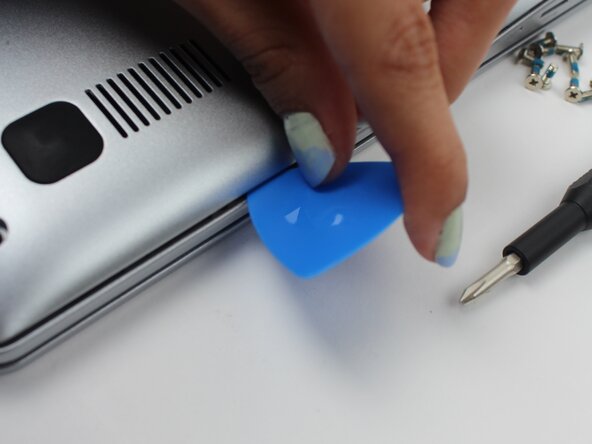
- Insert an opening pick in the seam between the lower case and chassis.
- Slide the opening pick around the perimeter of the device, prying every couple of centimeters, until the lower case fully releases.
- Remove the lower case.
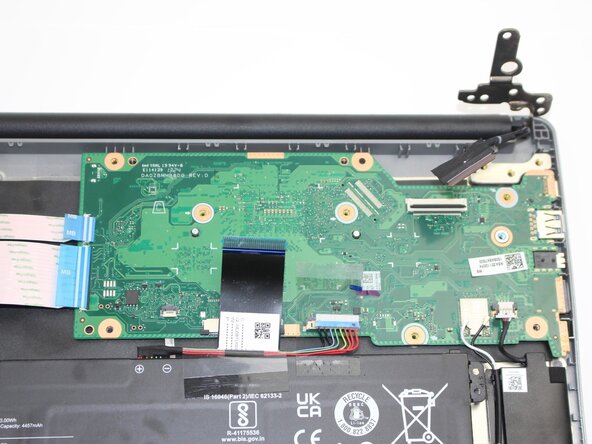
- Peel back the black tape over the battery connector. Use your fingernails to disconnect the battery connector from its motherboard socket.
- Peel back the black tape over the ribbon cable to the left of the battery connector. Release the black locking tabs that secure the ribbon cable. Disconnect the ribbon cable.
- Flip up the two black ZIF locking flaps that secure the two I/O board's motherboard ribbon cable connectors. Disconnect the two ribbon cables.
- Flip up the black ZIF locking flap that secures the touchpad ribbon cable. Disconnect the touchpad ribbon cable.
- Use the pointed edge of a spudger to lift and disconnect the two wireless card coaxial connectors.
- Use your fingernails to disconnect the white speaker connector from its motherboard socket.
- Flip up the black ZIF locking flap that secures the display cable. Disconnect the display cable.
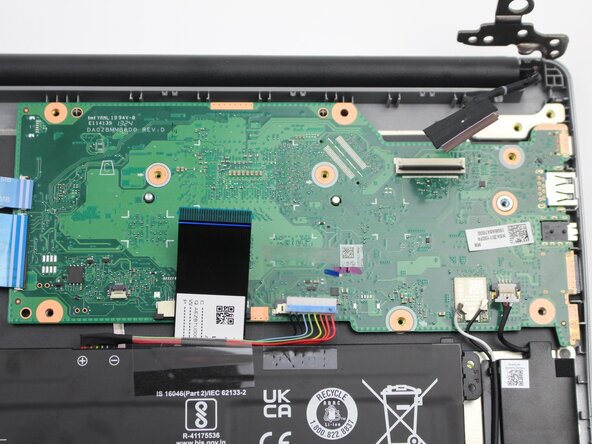
- Use a Phillips screwdriver to remove the seven Phillips screws that secure the motherboard.
- Lift up the right hinge.
- Grip the left edge of the motherboard and gently pull it a couple of millimeters to the left to unseat the ports from the chassis.
- Lift the motherboard up and out of the chassis.