Abask A8 Speaker Replacement
ID: 186217
Description: One of the greatest features of the Abask A8...
Steps:
- Use a Phillips #00 screwdriver to remove the four 1.6 mm screws on the front plate.
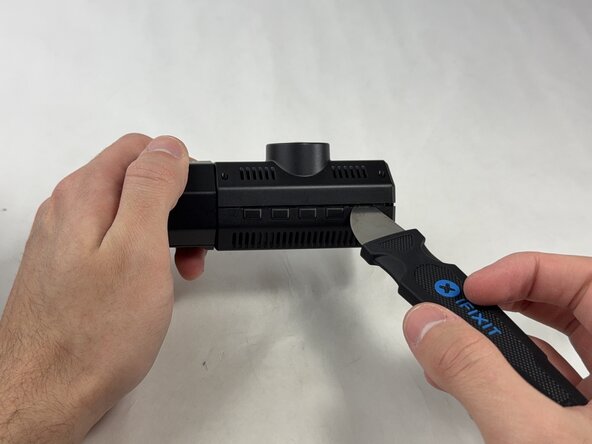
- Gently insert a pry between the front panel and the main body, working around the edges to pop it off.
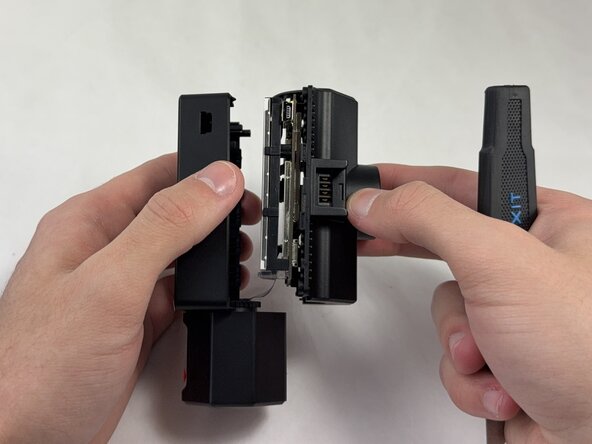
- Pull the main body from the shell.
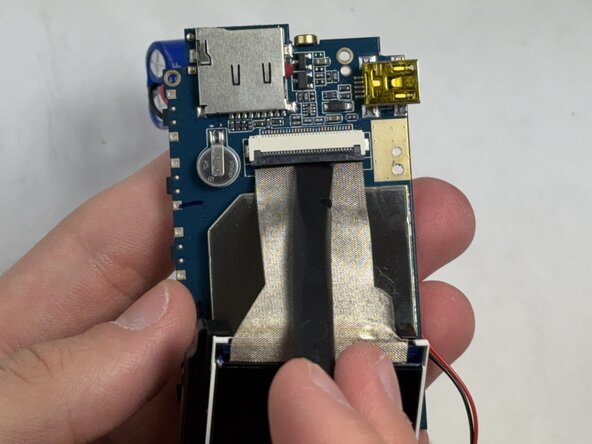
- Be careful not to damage the ribbon cable, as they are very fragile. Ribbon cables look like thin pieces of silver duct-tape.
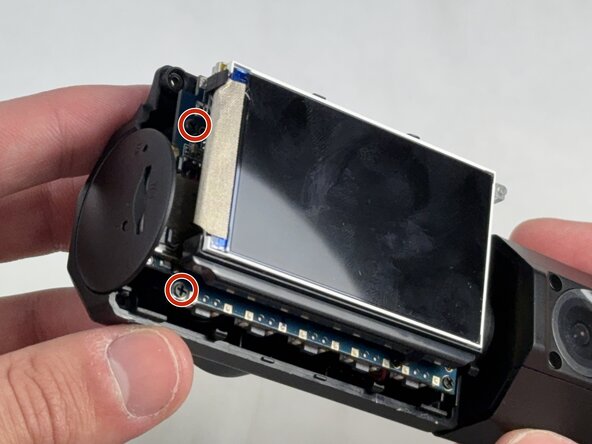
- Use a Phillips #00 screwdriver to remove the four 1.6 mm screws that secure the screen.
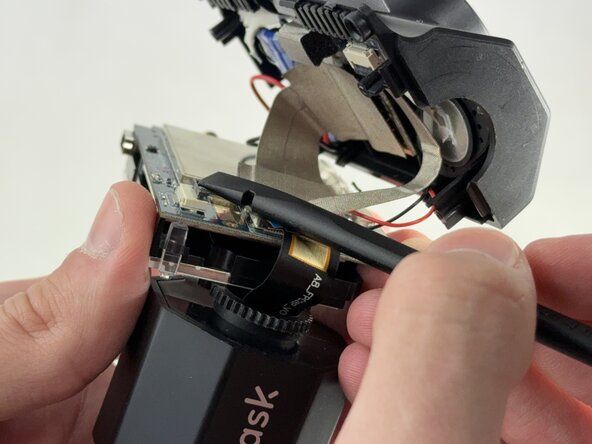
- Remove the internal facing camera with care not to strain the connected ribbon cable.
- Lift up the black ZIF locking flap and disconnect the ribbon cable.
- Lift the camera connector ZIF locking flap.
- Gently remove the ribbon cable from the connector and fully remove the camera.
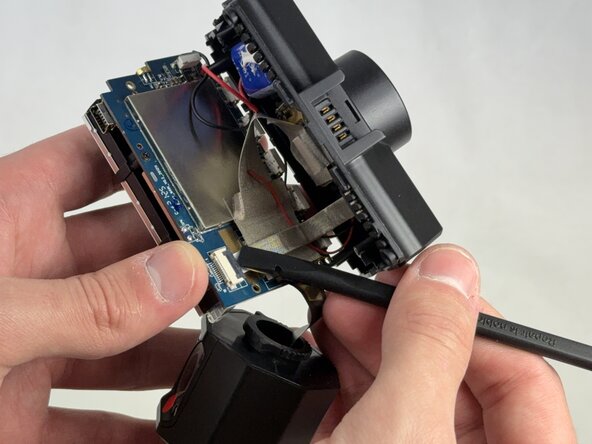
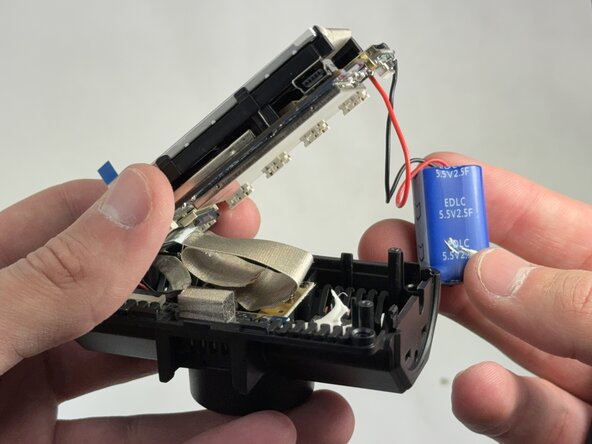
- Using a Jimmy prying tool, lift the supercapacitor out of its slot.
- Be careful not to puncture the supercapacitor.
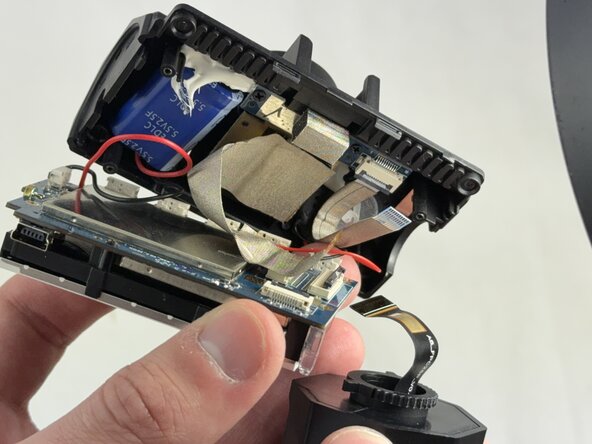
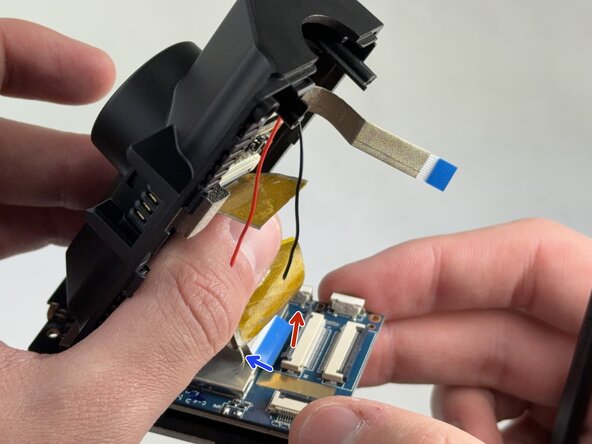
- Lift the ZIF locking flap that is securing the ribbon cable connecting the motherboard to the shell.
- Gently lift the ribbon cable locking flap and disconnect the ribbon cable from the motherboard.
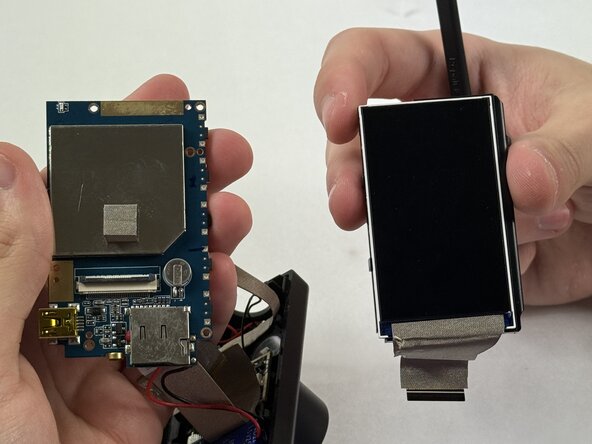
- Carefully separate the motherboard from the screen.
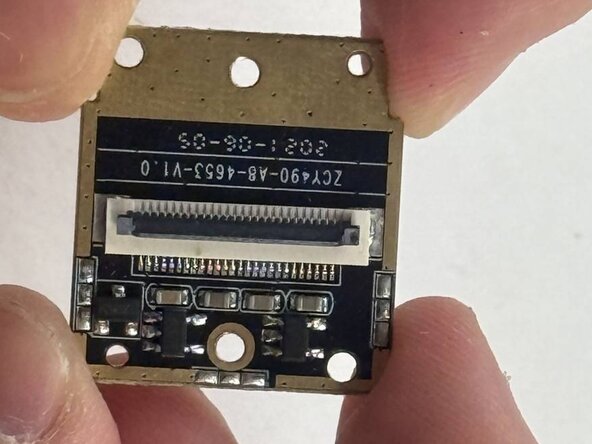
- Gently release the silver locking flap that is holding the ribbon cable connecting the photodiode to the motherboard.
- Carefully pull the flat ribbon cable out of the connector.
- Use a Phillips #00 screwdriver to remove the four 1.6 mm screws that secure the photodiode.
- Carefully lift the old photodiode out of its base.
- To avoid damaging the photodiode, make sure to place it face down on a clean, static-free surface when not handling it.
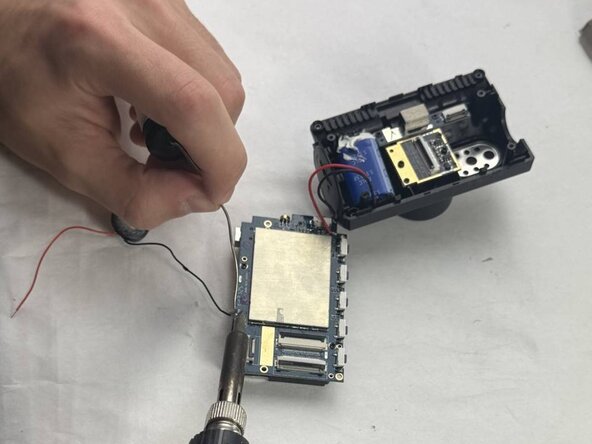
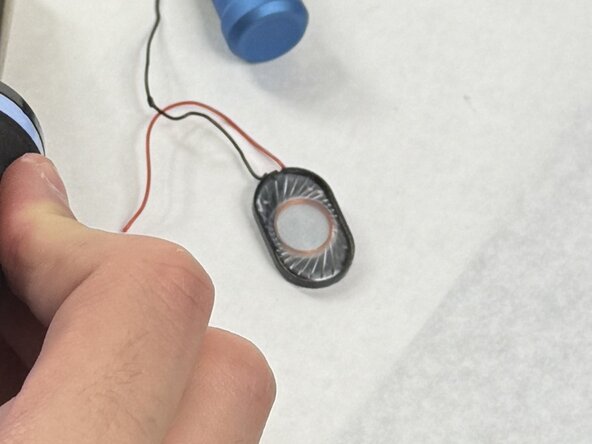
- Removing the photodiode will expose the speaker, connected by wires.
- Using a soldering iron, desolder the speaker connections from the motherboard.