iPhone 16e Microphone Installation
ID: 186218
Description:
Steps:
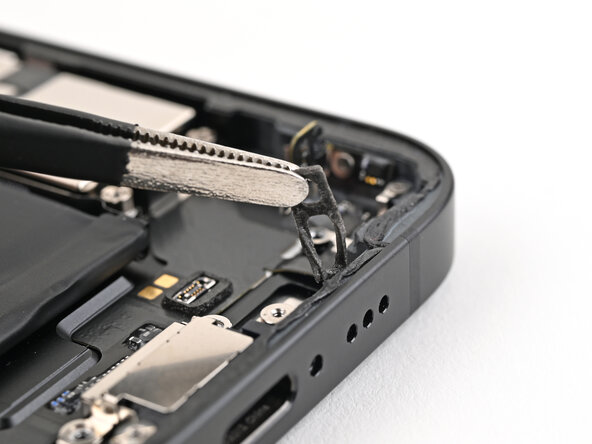
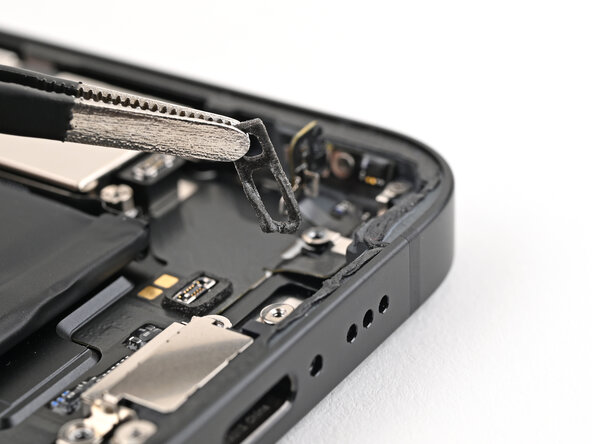
- Use tweezers or your fingers to remove the old adhesive from the bottom of the frame.
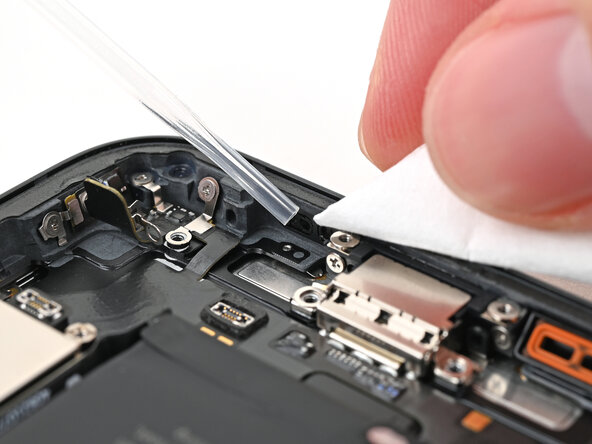
- If there's adhesive residue on the frame, use high concentration isopropyl alcohol (greater than 90%) and a coffee filter or lint-free cloth to clean it.
- If your microphone comes with adhesive installed, skip the next two steps.
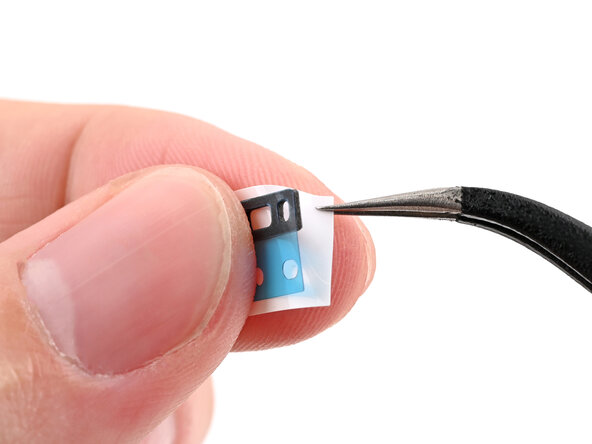
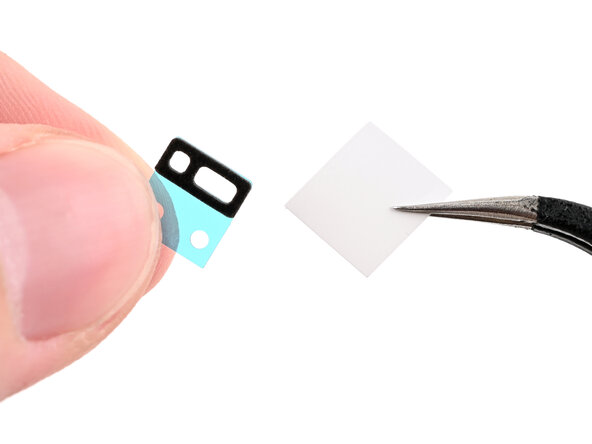
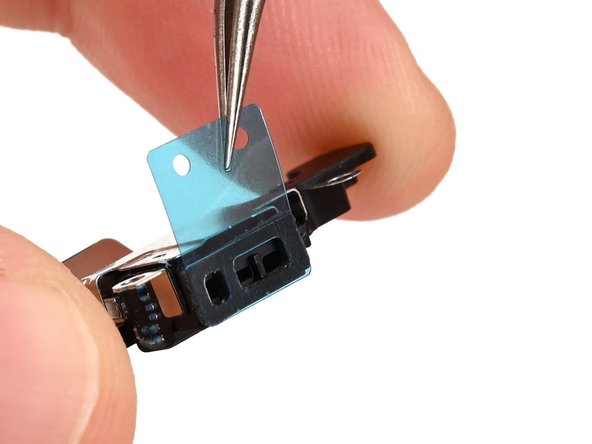
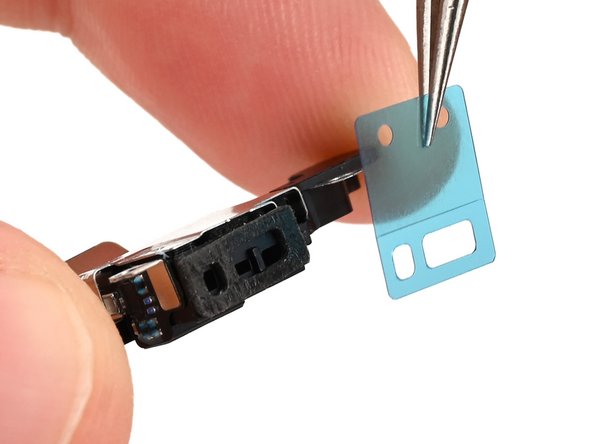
- While holding the microphone adhesive with one hand, use your fingers or a pair of tweezers to remove the white liner from the adhesive.
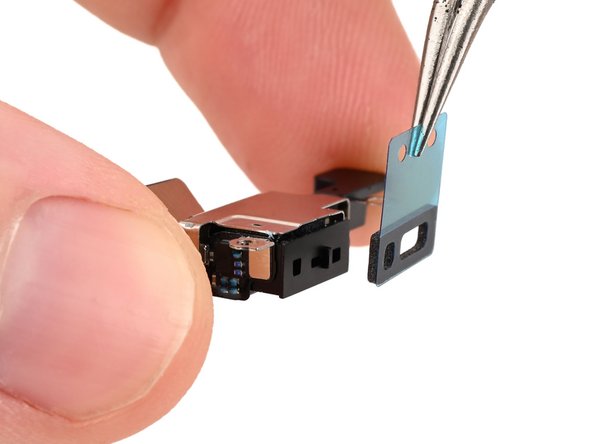
- Hold the microphone so the metal side is facing up.
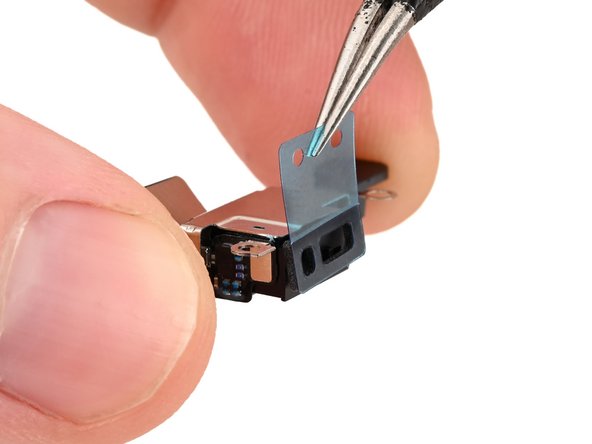
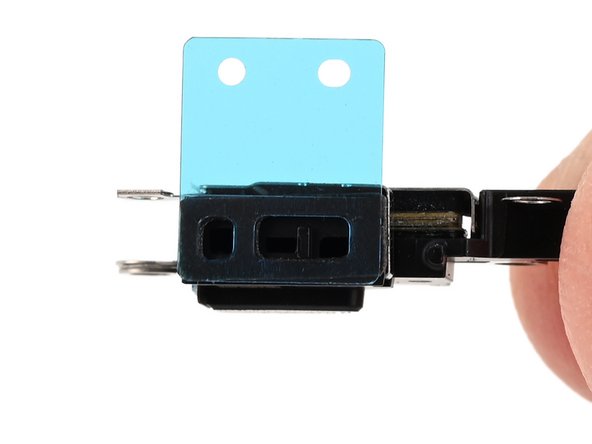
- Apply the adhesive to the microphone with the pull tab pointing up.
- Remove the blue liner from the microphone adhesive.
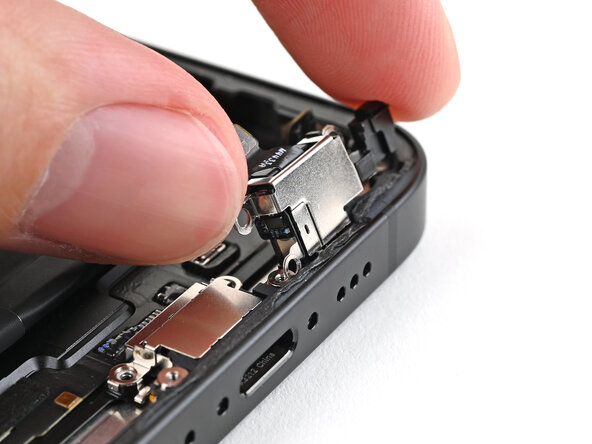
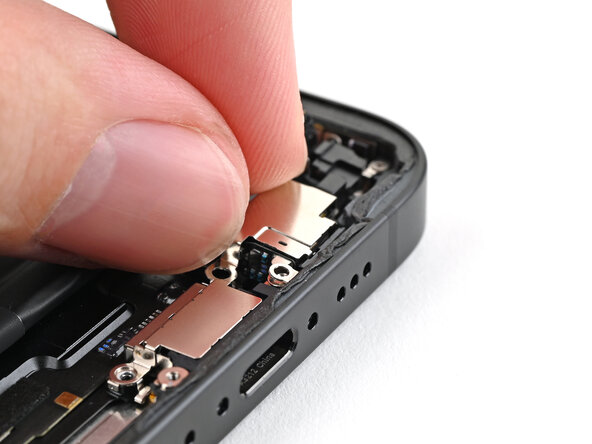
- Insert the microphone at a downward angle so the adhesive adheres firmly to the frame around the sound channel.
- Press the microphone firmly into place.
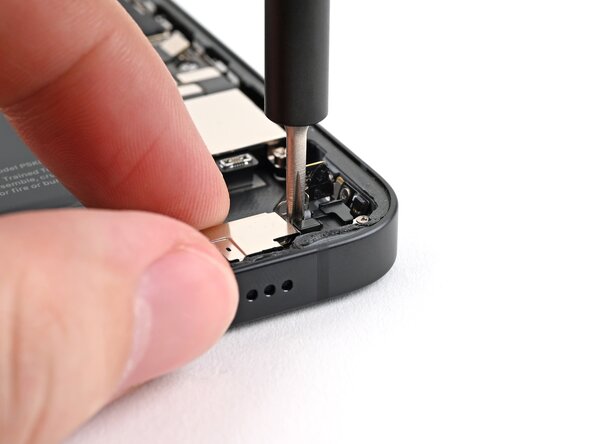
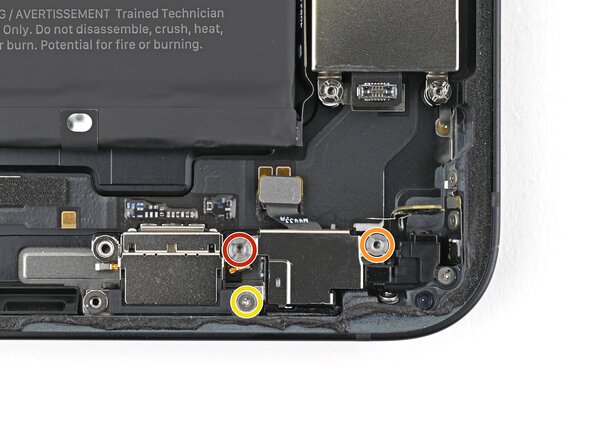
- While pressing the microphone against the frame, use a standoff screwdriver to install two screws securing the microphone:
- One 3.0 mm‑long screw
- One 2.8 mm‑long screw
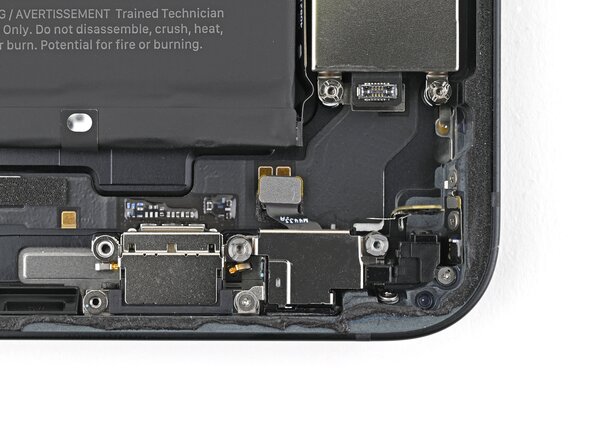
- Use a tri-point Y000 screwdriver to install the one 1.0 mm‑long screw securing the microphone.
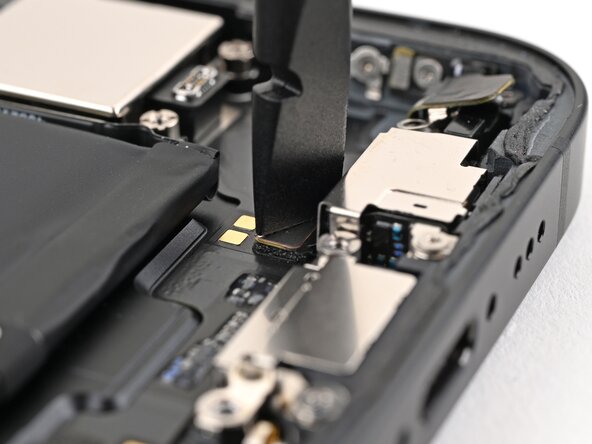
- Use the flat end of a spudger to connect the microphone press connector.
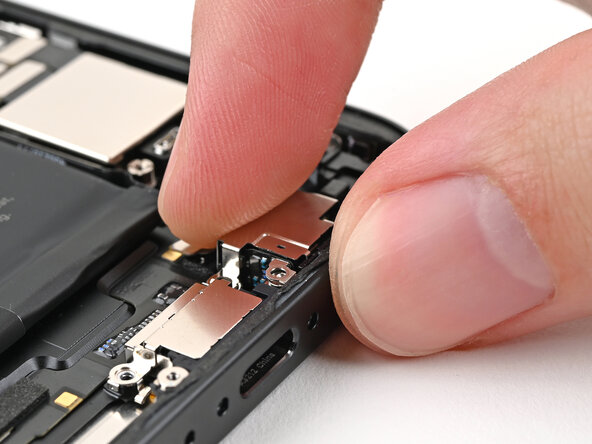
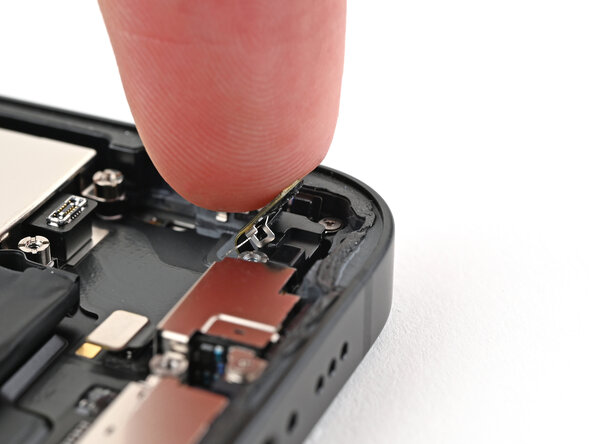
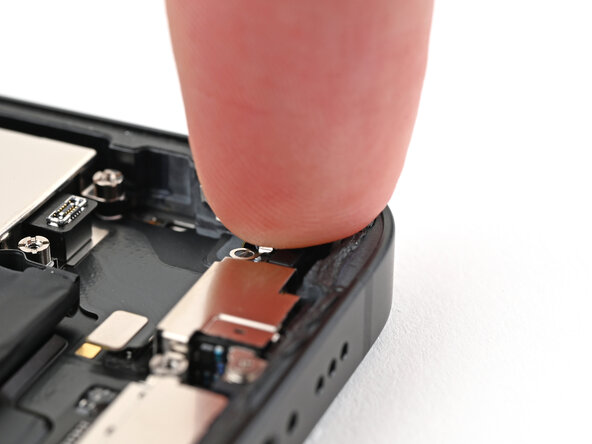
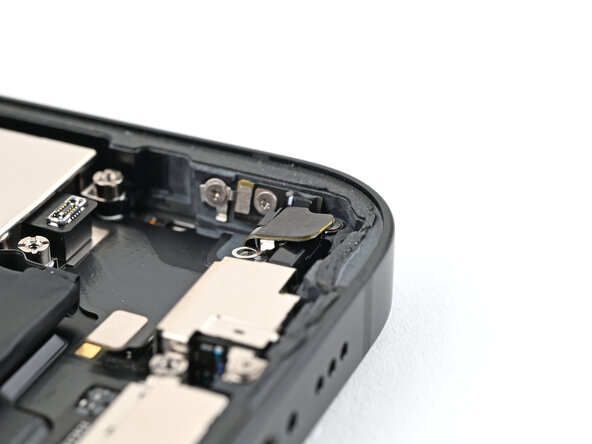
- Use your finger to press the screw cover back into place.
- You should hear and feel a "click" when the clip engages.
- If the remaining adhesive on the screw cover isn't sticky enough, replace it with a small piece of double sided tape, like Tesa Tape.
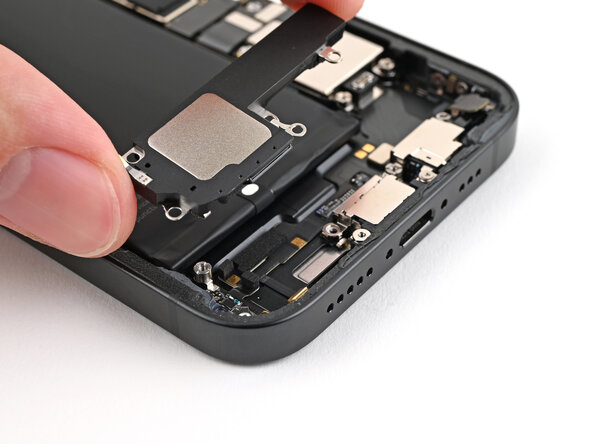
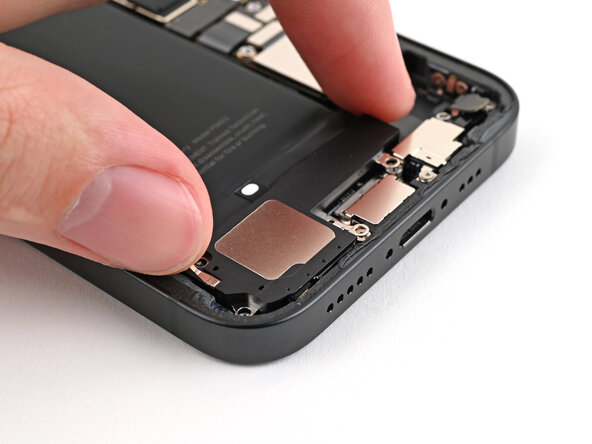
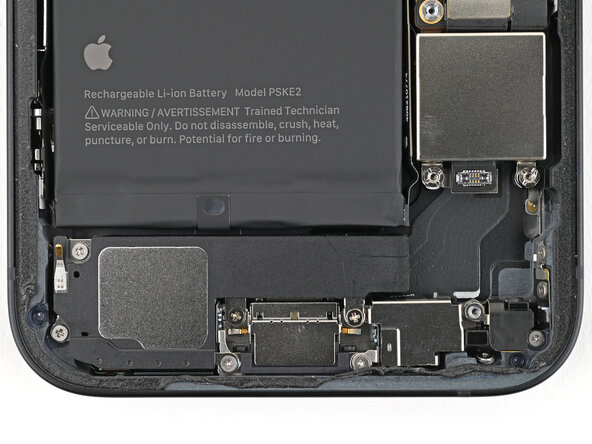
- Place the loudspeaker into its cutout in the frame.
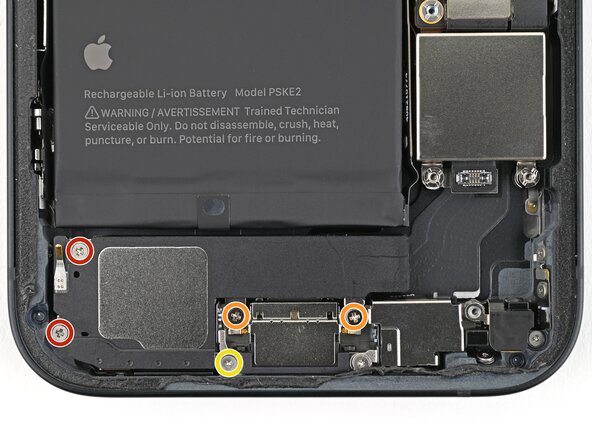
- Use a Phillips screwdriver to install four of the screws securing the loudspeaker:
- Two 1.4 mm‑long screws
- Two 1.7 mm‑long screws
- Use a tri-point Y000 screwdriver to install one 1.3 mm‑long screw.