HP Elitebook 840 G8 Battery Replacement (Revivekit)
ID: 186231
Description: Use this guide to replace a dead or worn‑out...
Steps:
- Before starting your repair, allow your laptop's battery to drain below 25%—a charged lithium-ion battery is a potential safety hazard if accidentally damaged.
- Save your work, fully shut down your laptop, and unplug all cables.
- Despite the standards, Phillips screwdrivers can vary in size and shape—two drivers labeled as the same size may fit differently in the same screw. Use the size that fits the most snug into the screw head to avoid stripping it.
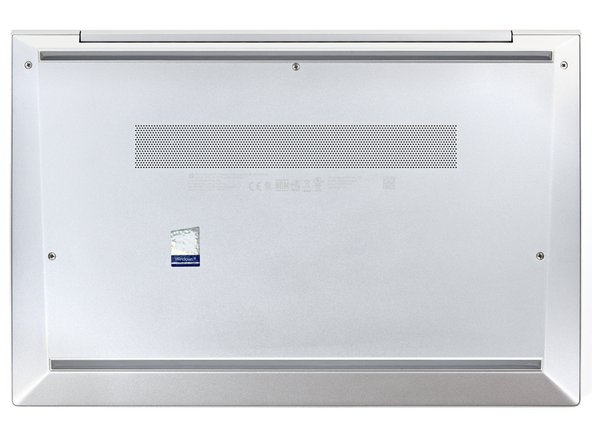
- Use a Phillips screwdriver to fully loosen (but not remove) the five captive screws securing the bottom cover.
- Position your laptop so the rear edge (with the screen hinge) is closest to you.
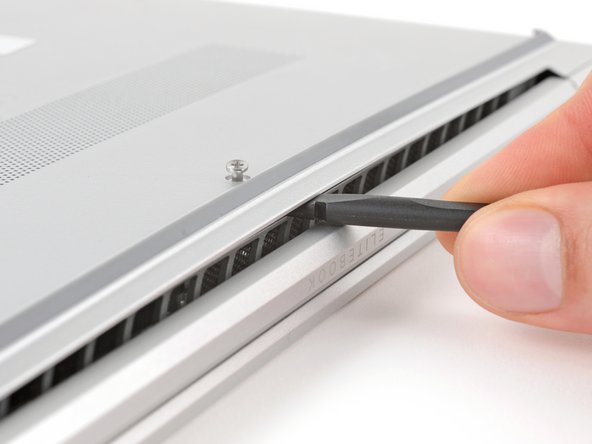
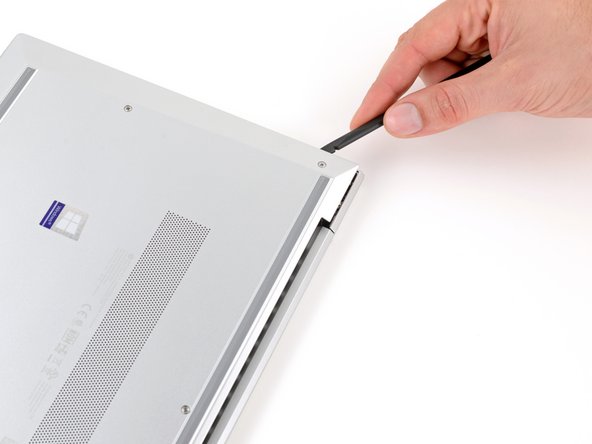
- Insert the flat end of a spudger between the rear edge of the bottom cover and the frame, near the middle screw and ELITEBOOK text.
- If you're having trouble inserting your spudger, make sure the screw is fully loosened. If necessary, use your fingers to gently pull the screw up.
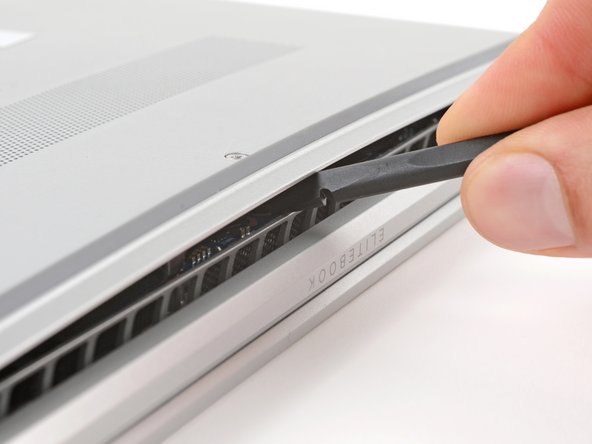
- Use your spudger to pry up the cover to release the clip securing it.
- Leave the spudger inserted under the bottom cover for the next step.
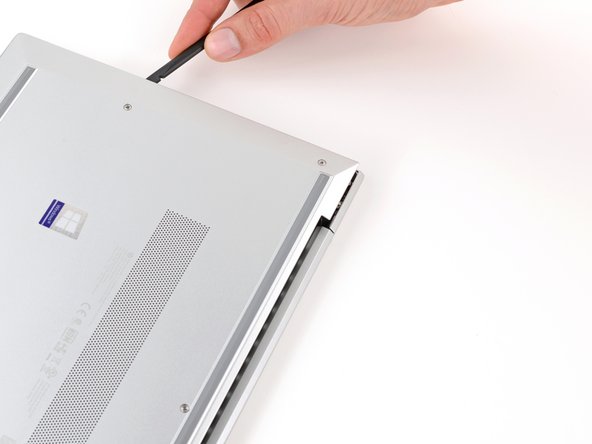
- Slide your spudger along the rear edge toward one of the corners to release the rear edge clips.
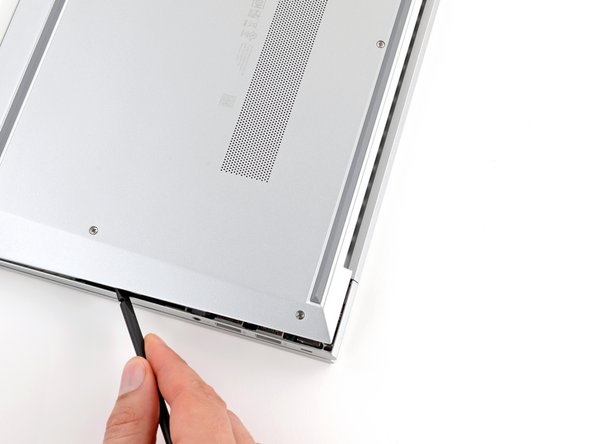
- Rotate your spudger around the corner and up the edge to release the clips securing the short edge of the cover.
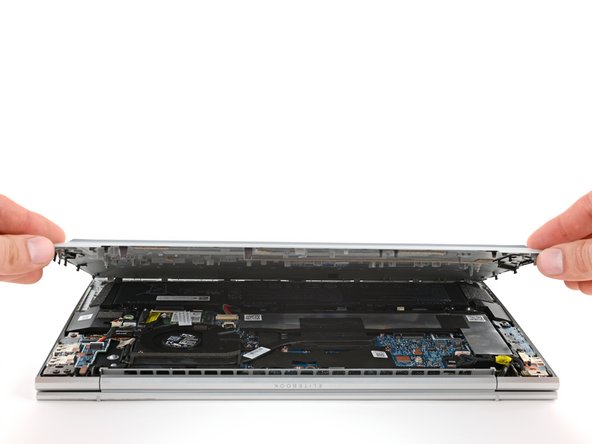
- Reinsert the flat end of a spudger near the ELITEBOOK text.
- Repeat the previous step for the other side of the cover to release the remaining clips.
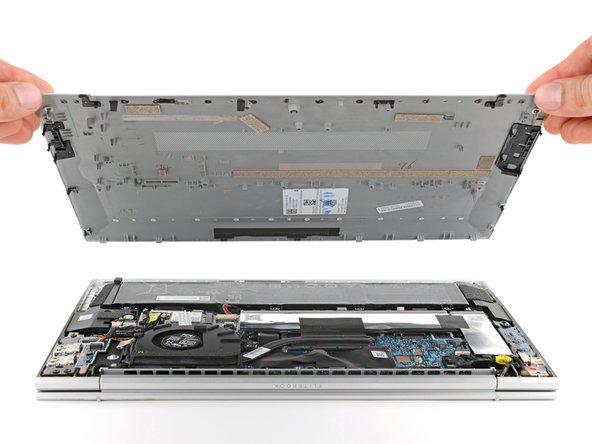
- Lift and remove the bottom cover.
- The cover should lift away easily. If you feel resistance, use the flat end of a spudger to release any remaining clips, and check that all screws are fully loosened.
- During reassembly, slide the clips along the front edge of the cover (opposite the hinge) into their slots on the frame, then lay the cover down. Press firmly around the perimeter to engage all of the clips.
- Position your laptop so the front edge (opposite the screen hinges) is closest to you.
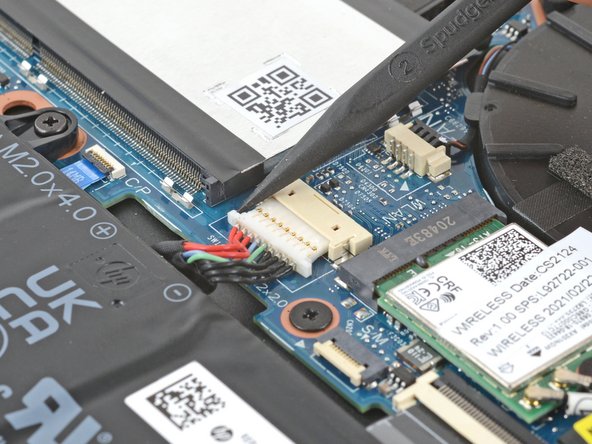
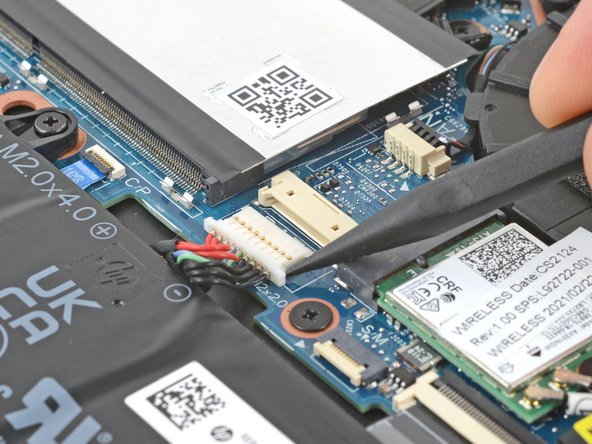
- Use the point of a spudger or your fingernail to push on alternating sides of the battery's sliding connector to walk it completely out of its socket.
- Be careful not to bend, crease, deform, poke, or puncture the battery with your tool—a damaged battery is a potential fire hazard.
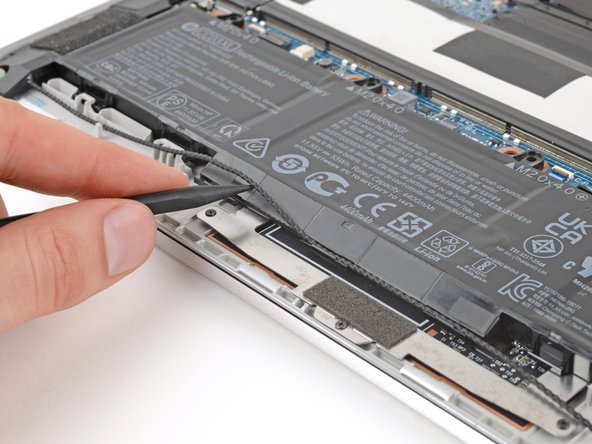
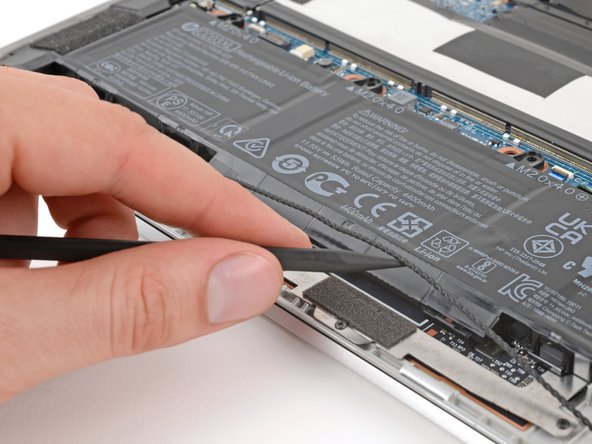
- Use a spudger or your fingers to lift the speaker cable out of its clips on the bottom edge of the battery.
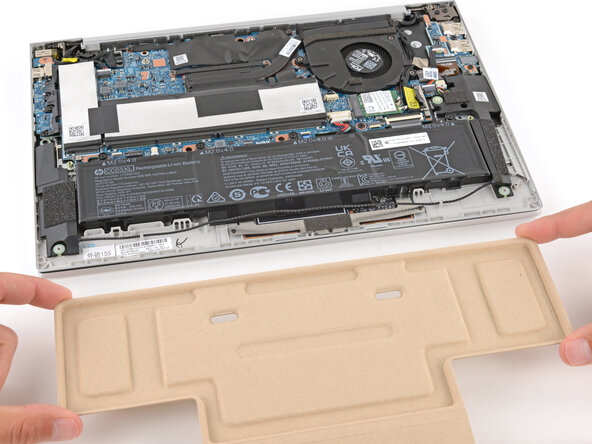
- Open your Revivekit and grab the empty cardboard tray.
- This tray will be used to remove and safely store your old battery.
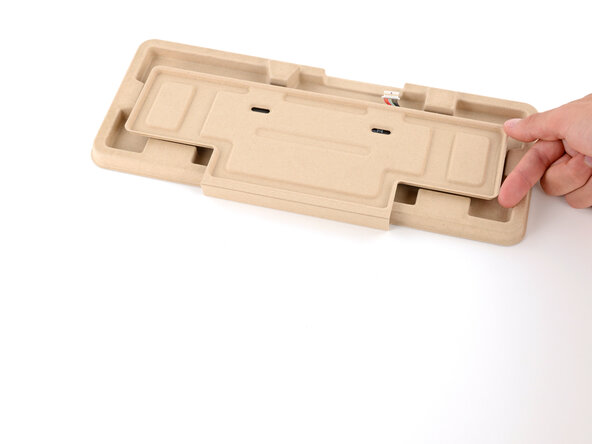
- Open the cardboard tray.
- Remove the plastic liners from both adhesive strips.
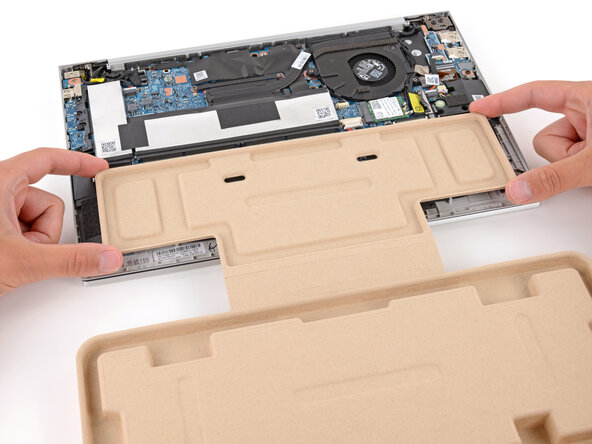
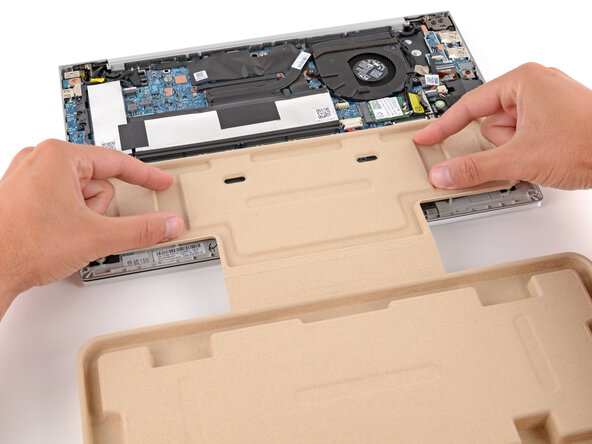
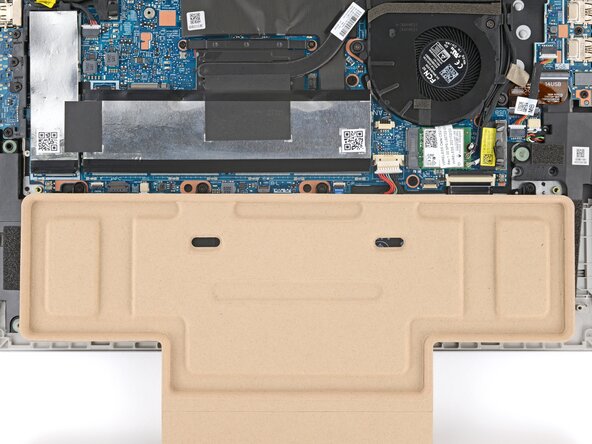
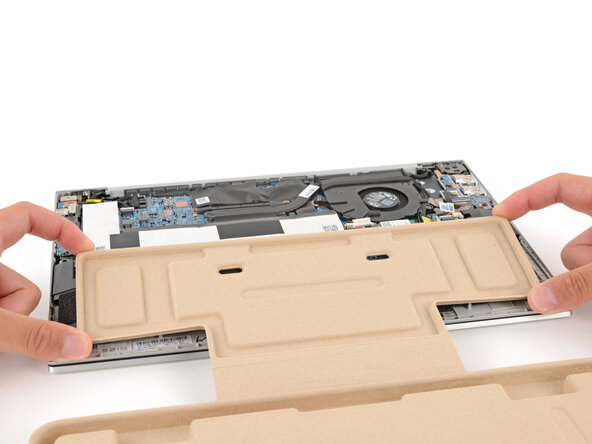
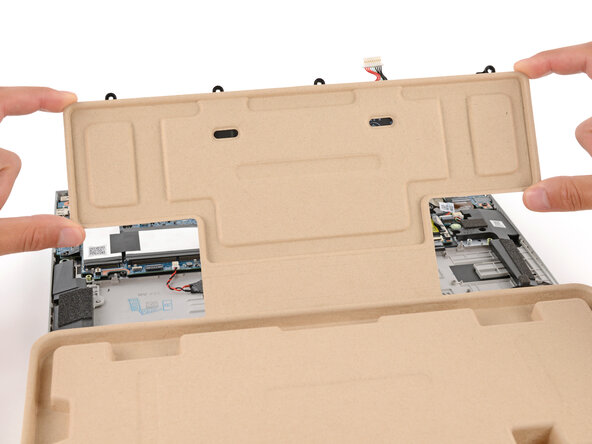
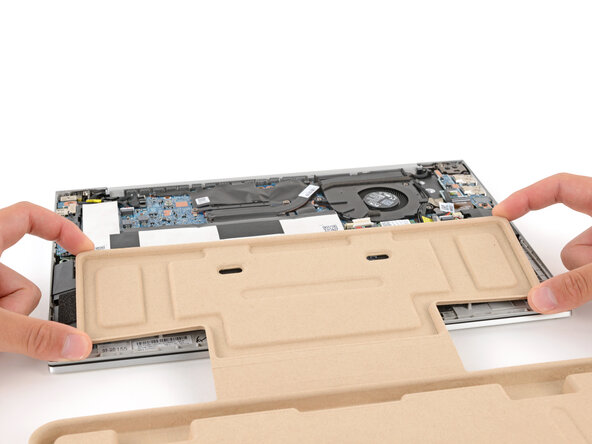
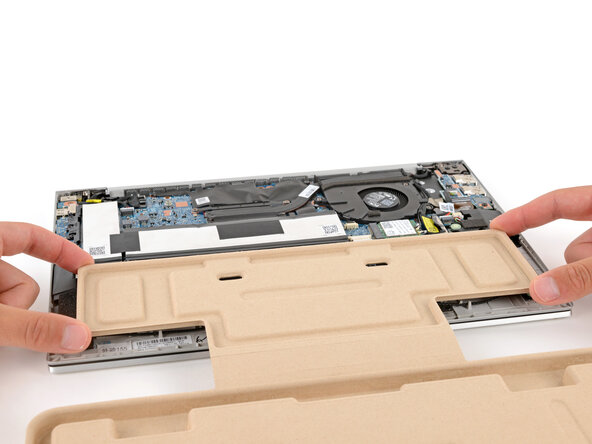
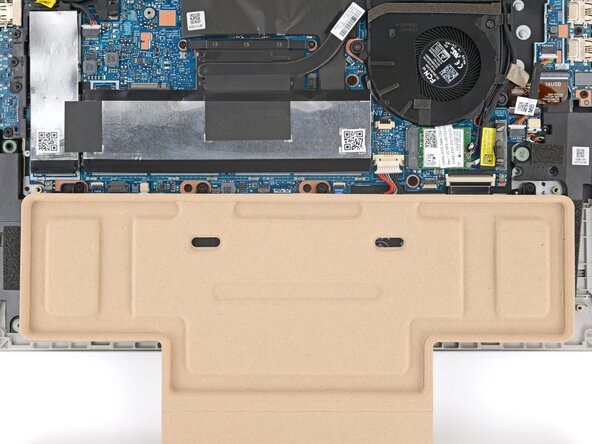
- Align the top edge of the cardboard with the top edge of the battery, without covering the battery screws. Make sure the battery is fully covered.
- Once properly aligned, secure the cardboard to the battery with the adhesive strips by firmly pressing it into place with your fingers.
- Be careful not to bend, crease, deform, poke, or puncture the battery with your tool—a damaged battery is a potential fire hazard.
- Use a Phillips screwdriver to remove the four 4.5 mm‑long screws securing the top edge of the battery.
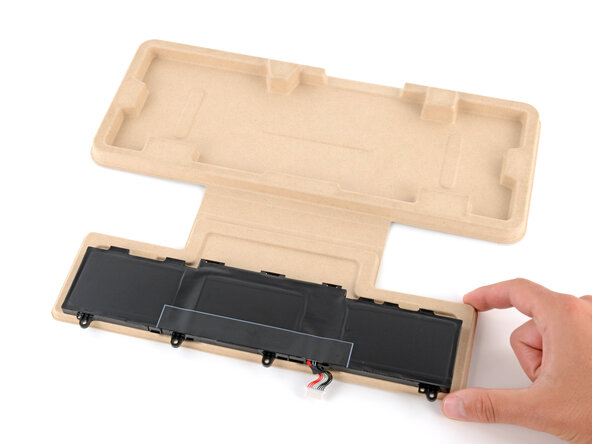
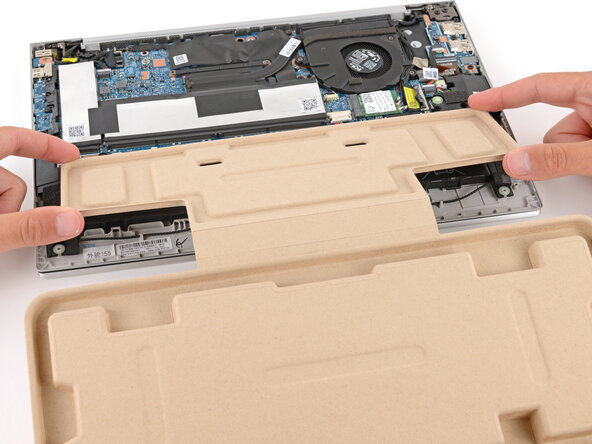
- The battery should stay adhered to the cardboard tray—be gentle when removing it.
- Lift the top edge of that battery and slide the tabs on the bottom edge out of their slots.
- Remove the battery.
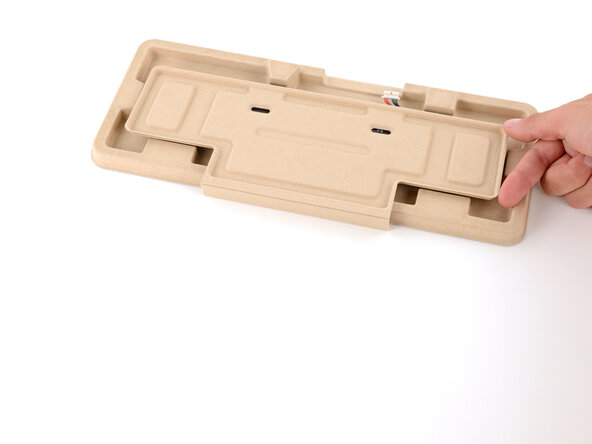
- Close the cardboard tray so the old battery is safely enclosed, then set it aside.
- Take your old battery to an R2 or e-Stewards certified recycler. Depending on your region, used HP devices and parts can be returned for reuse or recycling through the HP Planet Partners program. Follow any instructions included with your Revivekit.
- Remove the cardboard tray with your replacement battery enclosed and carefully open the tray.
- Lay the battery into its recess so the tabs on the bottom edge go into their clips.
- Be careful not to bend, crease, deform, poke, or puncture the battery with your tool—a damaged battery is a potential fire hazard.
- Use a Phillips screwdriver to install the four 4.5 mm‑long screws along the top edge of the battery.
- Slowly peel the cardboard away from the battery and remove it.
- Place the tray with your old battery into the Revivekit's cardboard box.
- After your repair, ship or bring this box to a certified recycler so the battery can be safely recycled.