JBL Xtreme 4 Motherboard Replacement
ID: 186297
Description: The motherboard houses all the essential...
Steps:
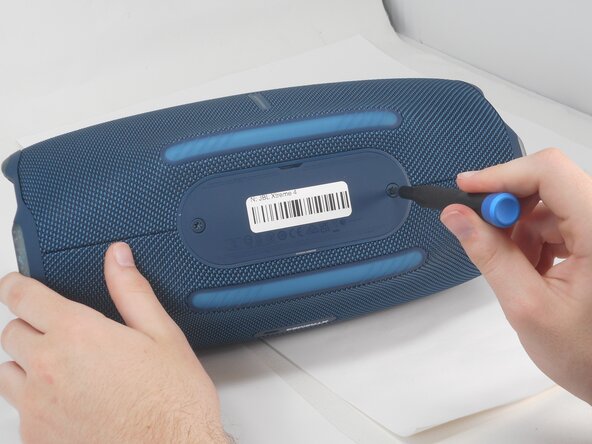
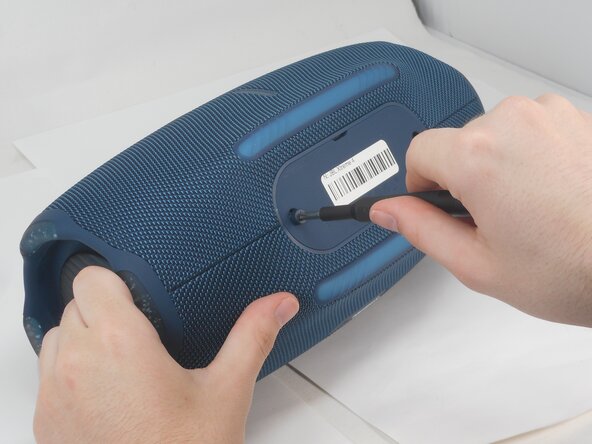
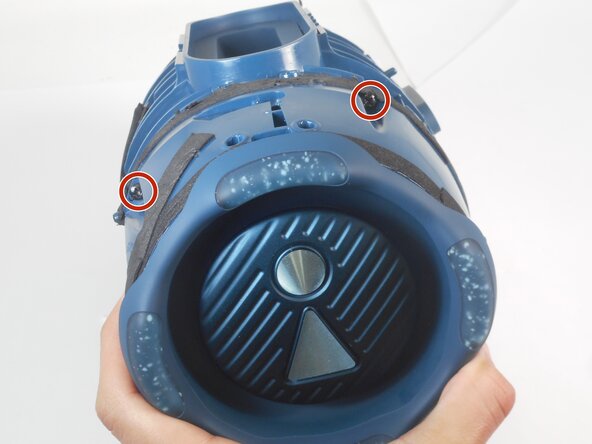
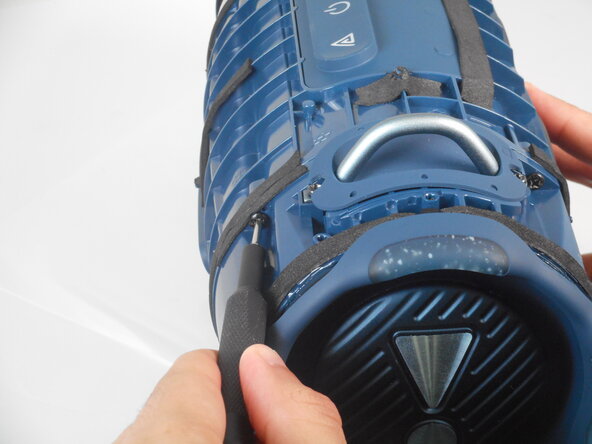
- Use a T20 Torx screwdriver to remove the two 12.5 mm screws that secure the battery cover.
- Using your fingernail or a spudger, pry open the battery cover.
- Remove the battery by pinching the orange ribbon and gently pulling the battery upwards and out of its slot.
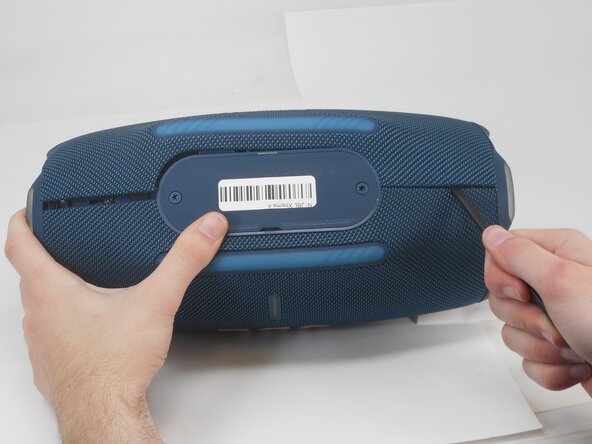
- Insert the flat end of a spudger into the mesh cover seam beside the battery compartment.
- Pry on both sides of the battery compartment until the mesh cover releases.
- Use a Phillips screwdriver to remove the two 8.5 mm screws on either side of the battery compartment.
- Lift the speaker out of the cover.
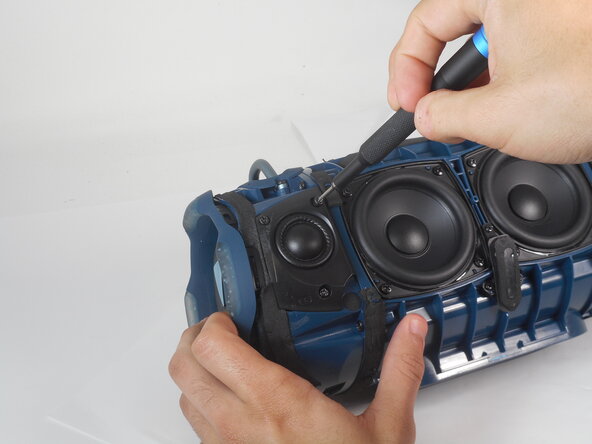
- Use a Phillips screwdriver to remove the three 8.5 mm screws on the tweeter.
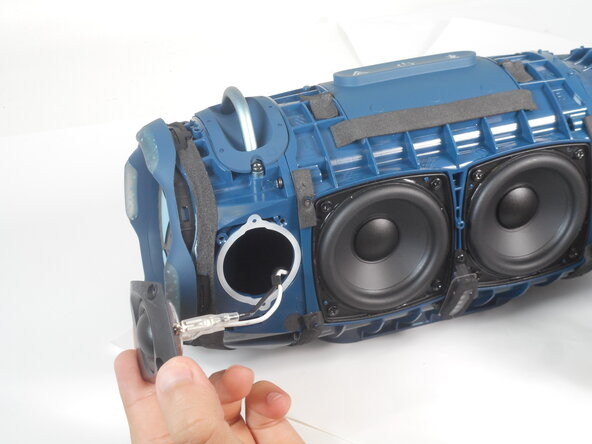
- Pull the tweeter out from the device.
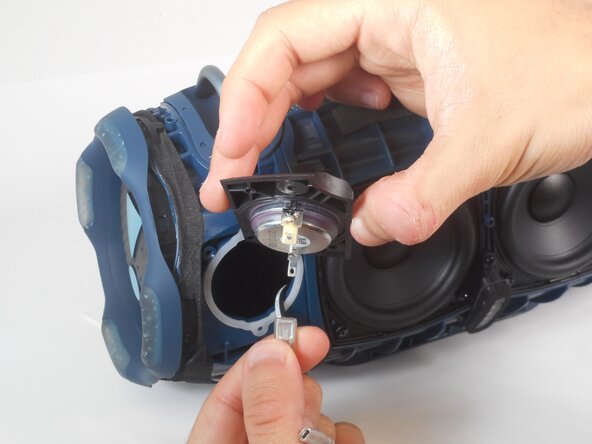
- Pinch the cable connection for the tweeters and pull off.
- Repeat the previous bullet for the second cable.
- Use a Phillips the four 12.4 mm screws that secure the passive radiator.
- Remove the passive radiator from the body of the speaker.
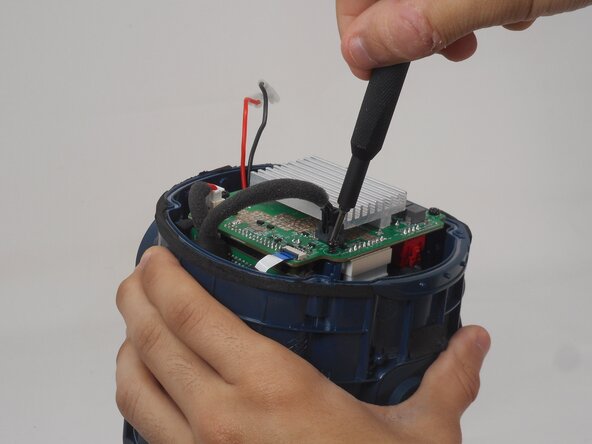
- Use a screwdriver to remove four 8.5 mm screws that secure the power supply board.
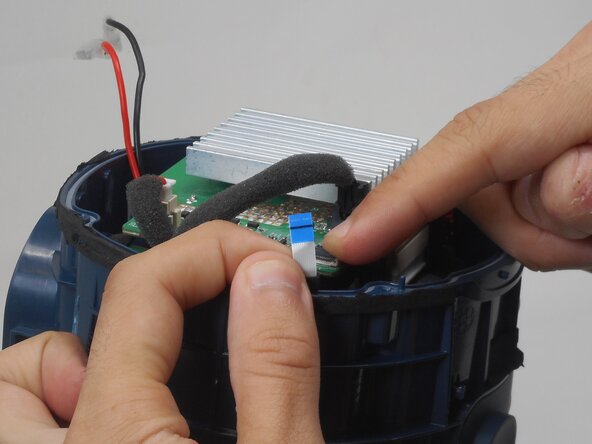
- Lift the black ZIF locking flap that secures the ribbon cable.
- Pull the ribbon cable directly out of its socket.
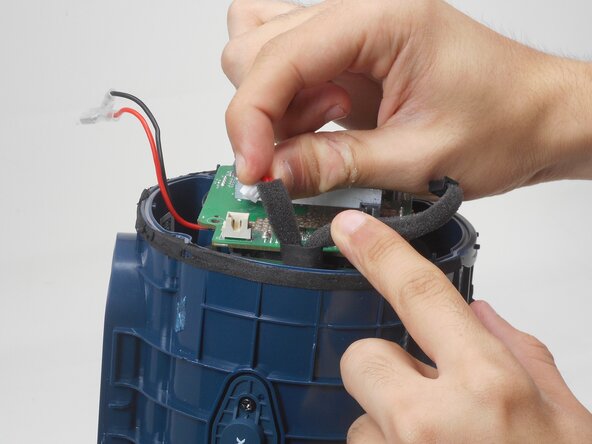
- Unplug the two cable connectors from the power supply board by pulling them straight up and out of their sockets.
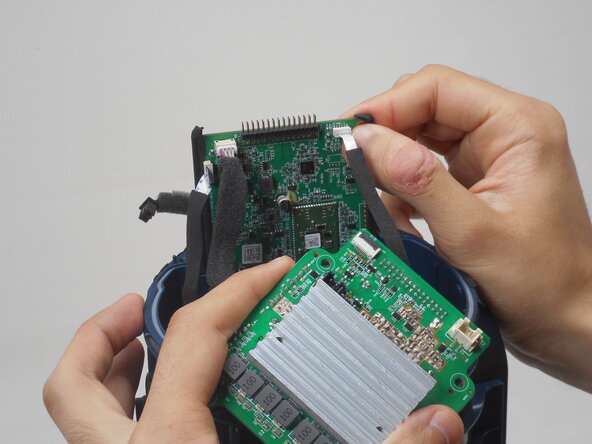
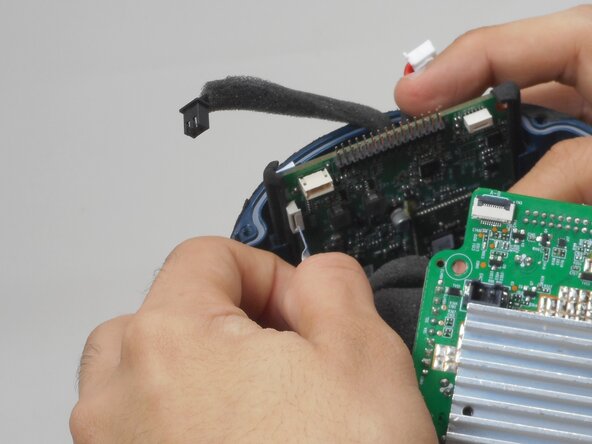
- Carefully lift the power supply board and move it to the side to access the motherboard.
- Disconnect the two ribbon cables attached to the motherboard.
- Detach the remaining cable connector from the motherboard.
- Use angled tweezers to lift and disconnect the coaxial cable.
- Lift the motherboard out of the speaker housing to remove it completely.