Asus ROG G20CB Graphics Card Replacement
ID: 186421
Description: The Asus ROG G20CB is a compact gaming desktop...
Steps:
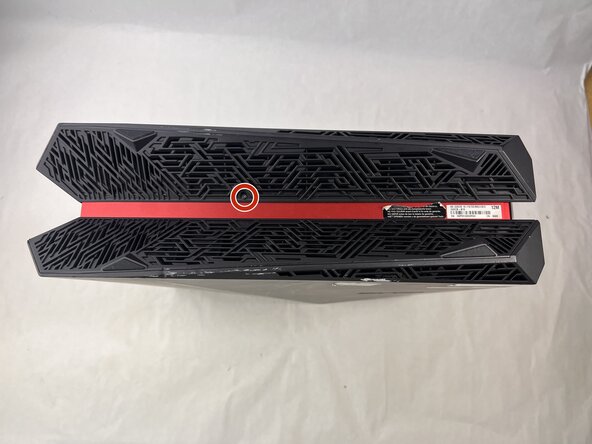
- Remove each of the two 4.6 mm Phillips screws on the top and bottom of the tower.
- Slide the front panel to the left and lift gently.
- There is a cable connecting the panel to the computer. Handle it gently and avoid straining the connected panel.
- Disconnect the cable carefully by pulling gently on both sides of the connector.
- Remove the five 4.6 mm Phillips screws holding down the fan tray and then pull the fan tray out of the system.
- The fans are connected by a thin cable, be gentle when removing tray.
- Carefully unplug the two fan cables from the motherboard by pulling straight up from the base of the connector.
- Remove the six 4.6 mm Phillips screws connecting the fans to the fan tray.
- Remove the three 4.6 mm Phillips screws from the graphics card housing.
- Pull the graphics card housing out of the case.
- Be mindful of the 8-pin power cable connected to the graphics card.
- Push down the clip on the red cable connector and firmly pull the cable from the graphics card.
- Remove the 3.7 mm Phillips screw from the graphics card and its housing.
- Slide the graphics card out of the housing.
- Use one hand to bend up the PCIE riser clip, then with the other hand push it off the graphics card.
- This riser will need to be used with the new graphics card in order to be installed in this system.