Framework Laptop 12 Audio Board Replacement
ID: 186440
Description: Follow this guide to remove and replace the...
Steps:
- Before you begin repairs, unplug your laptop and shut it down from the operating system. This ensures that the laptop isn't in standby/suspend mode.
- The indicator LEDs along the edges should be unlit. The laptop should be silent.
- If you accidentally turn on the laptop during repair, hold the power button down for 10 seconds to shut it down.
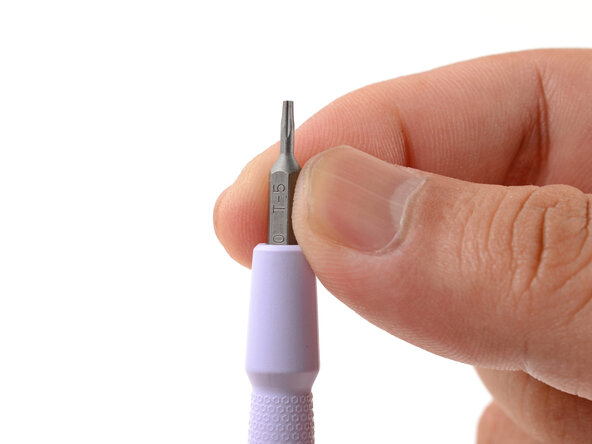
- Make sure your Framework Screwdriver has the T5 Torx bit (labeled as T-5) facing outwards. If it's not, pull the bit out and flip it.
- Set your Framework Laptop face-down on a clean work surface.
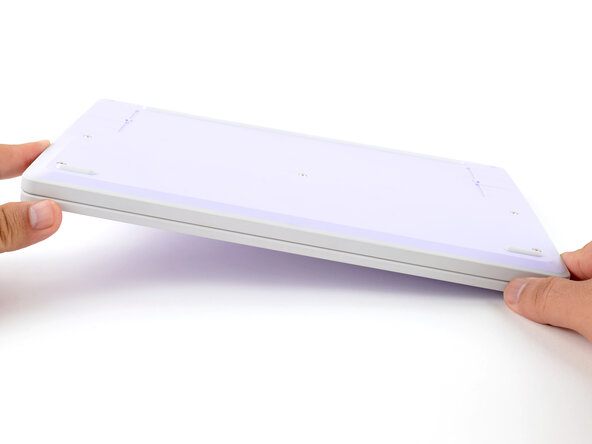
- Use your Framework Screwdriver to fully loosen the eight captive T5 Torx screws on the bottom of your laptop.
- Most screws in your Framework Laptop (including these) are captive—they're designed to stay in place after you loosen them.
- Flip your laptop over so it's face-up on your work surface.
- Open the laptop lid so that both the screen and the base lie flat on your work surface.
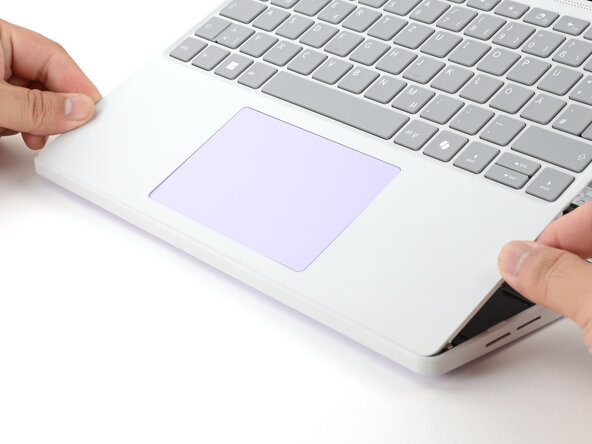
- Use your fingers to grip the Input Cover in the hinge cutouts.
- Lift upwards to swing the Input Cover up from the base of the laptop.
- Magnets hold the Input Cover down, so you'll feel some resistance. If it feels stuck, check that you've fully loosened all the screws on the bottom of your laptop.
- Remove the Input Cover.
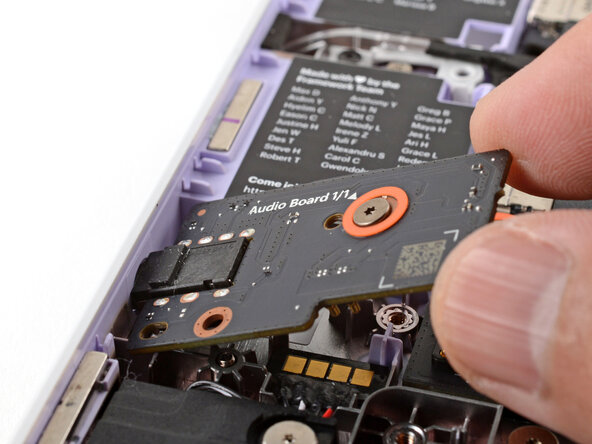
- Use your Framework Screwdriver to loosen the captive T5 Torx screw securing the Audio Board along the left edge of the laptop.
- Use your fingers to lift the right edge of the Audio Board and pull it out of its recess.
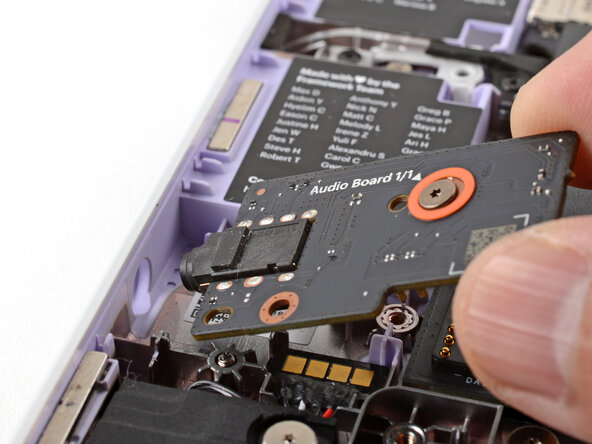
- Remove the Audio Board.
- Congratulations on completing disassembly! The remaining steps will show how to reassemble your Framework Laptop.
- Insert the Audio Board into the laptop at an angle to help align the headphone jack.
- Use the two plastic alignment pins on the laptop to help with final alignment.
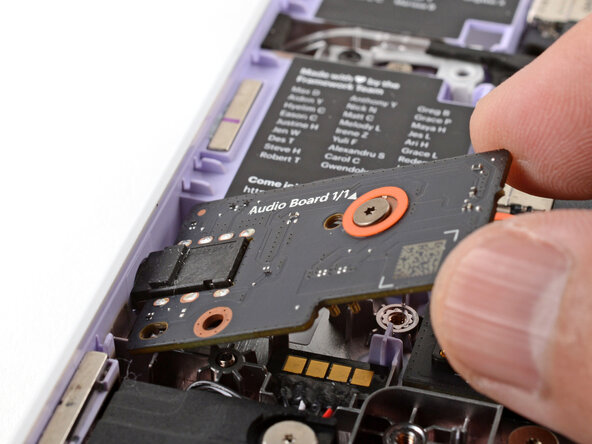
- Use your Framework Screwdriver to tighten the captive T5 Torx screw to secure the Audio Board.
- Tighten the screw until it's snug. Don't over-tighten it, or you may strip the screw.
- Angle the bottom edge of the Input Cover towards the base of the laptop.
- Align and insert the bottom edge of the Input Cover into the base of the laptop.
- Make sure the slots along the bottom edge of the Input Cover slide into the tabs in the base.
- Lower the Input Cover's top edge onto the laptop until the magnets snap it in place.
- Make sure the Input Cover sits neatly within the laptop frame and no corners are popping up.
- Close the laptop lid.
- Flip your laptop face-down on a clean work surface.
- Use your Framework Screwdriver to tighten the eight captive T5 Torx screws on the bottom of your laptop.
- Tighten the screws until they're snug. Don't over-tighten them, or you may strip the screws.