Rienok S1 Mini Buttons Panel Replacement
ID: 186445
Description: If the blue button panel on your Rienok S1 Mini...
Steps:
- Start with the buttons panel up and facing you.
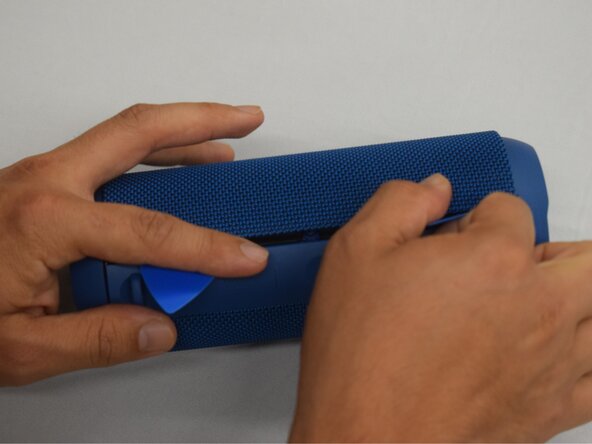
- Wedge in one iFixit opening pick, and apply outward pressure to pop out one side of the grille.
- Using a second pick, slide from the first pick towards the opposite end until one whole side is popped out.
- While holding the other side open so it doesn't snap closed, wedge in one opening pick into one corner of the closed side.
- Apply outward pressure until that side also pops out.
- Using a second opening pick, slide from the first one until both sides have popped out.
- Pull outward on one end, while holding the other open.
- Pull in the opposite direction on the top or bottom rings while slightly rotating the center until the whole grille is removed.
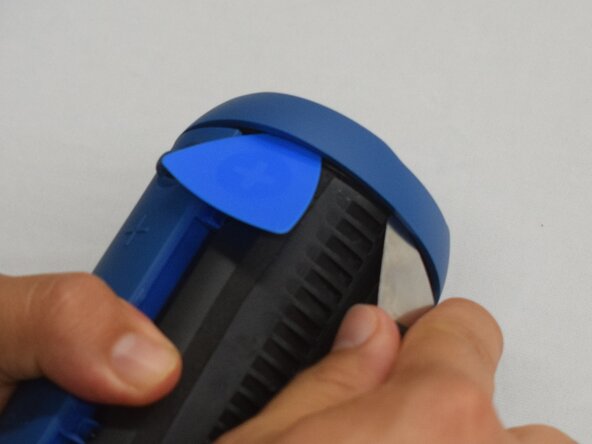
- Wedge an iFixit opening pick into the space between the ring and the housing.
- Insert a Jimmy into the gap created.
- Apply an out-and-upward pressure with the Jimmy to disconnect the plastic clips surrounding the ring.
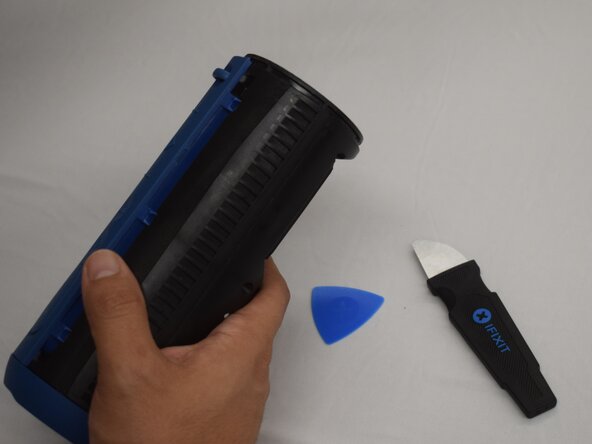
- Work the Jimmy around the ring, disconnecting the clips along the way until they are all disconnected.
- It may help to insert additional opening picks as you go to keep the previous clips from reconnecting.
- After removing the first ring, turn the device to the other side.
- Repeat the previous step to remove the second ring.
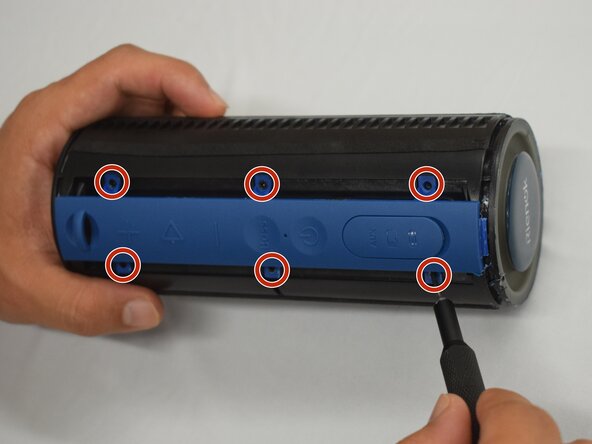
- Remove the six 8 mm black screws using a Phillips #000 screwdriver.
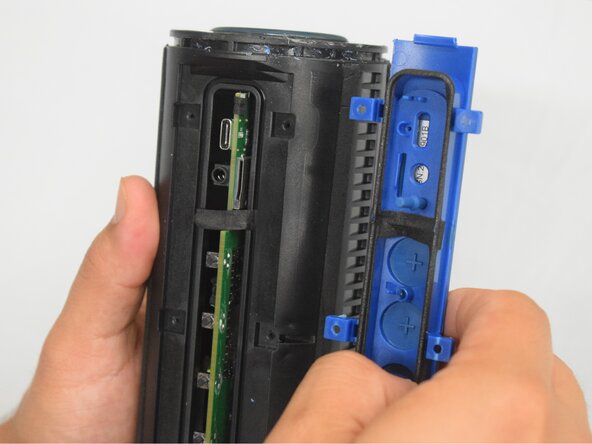
- With the screws removed, grasp the buttons panel and pull it off.