Canon ImageCLASS MF4350d Scanner light Replacement
ID: 18771
Description: If for some reason your scanner light does not...
Steps:
- If at any point you see glass that seems cracked or broken, handle with care. Broken glass is sharp and can cause serious damage.
- Lift up the lid. Then be sure to examine the glass. If there are any cracks or broken fragments handle with extreme care.
- Locate the black and white hinges.
- Gently lift out the black and white hinges.
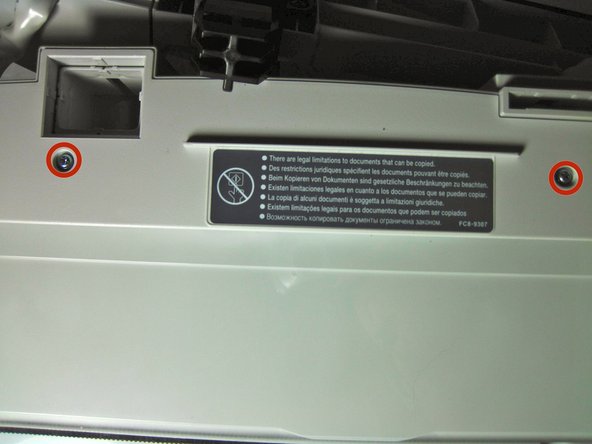
- Next, locate and remove the four 10mm screws.
- Gently, pry off the top plate, starting from the back of the printer.
- After you have taken off the plate, check to make sure that there is no broken glass. If there is broken glass handle it with gloves. Broken glass, if handled improperly, can cause physical injury.
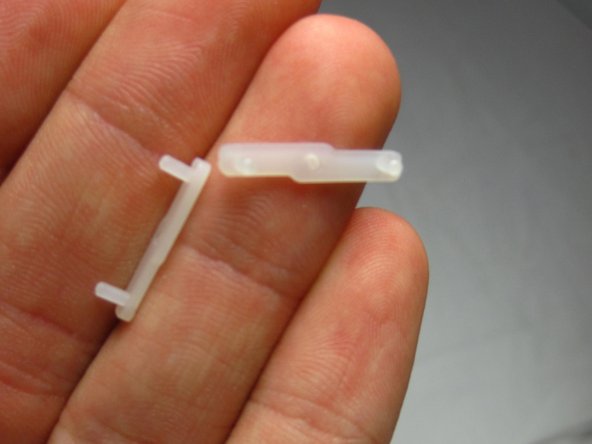
- Two white tabs are located on the sides of the black component that houses the scanner light. Pull these tabs out, and set them aside.
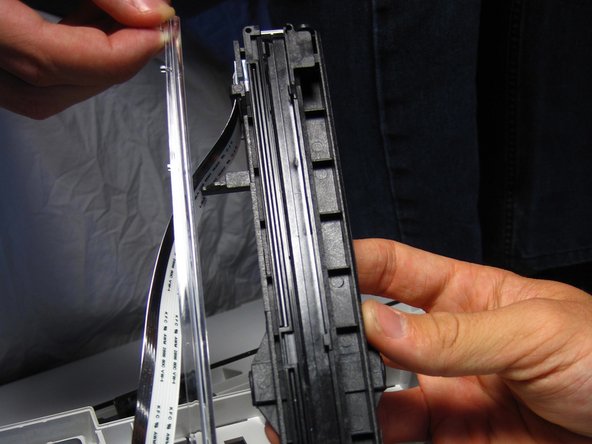
- Remove black component by gently pulling it up from the black scanner belt.
- When removing the light, you should be careful not to snap the plastic. If you do snap the plastic, handle with gloves and use extreme precaution, because the plastic may be sharp.
- The light is in the middle of the black component. Remove the light by prying up one side with the plastic opening tool and working your way to the other side of the light.
- You may hear a snapping sound as the light detaches from the component.
- Once you have taken out the damaged light, replace it with a new light.