Disassembling NEC LCD1770NX Monitor Enclosure
ID: 18998
Description:
Steps:
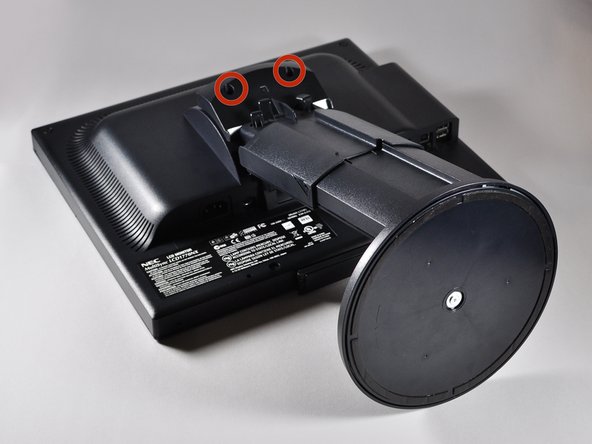
- Place the monitor face down on a clean, flat surface.
- Firmly remove the back panel of the stand by pulling it up and away from the monitor.
- Unscrew the two 6mm Phillips PH2 screws to detach the stand enclosure from the stand.
- Firmly grasp the stand enclosure with your hand and slide it to base of stand.
- Unscrew the two 14.5mm Phillips PH2 screws holding the stand to the monitor.
- Lift the the stand straight up to remove it.
- Place the monitor screen face up.
- Pull the frame off by placing your fingers on the inside of the frame and pulling out and up, the frame should snap off.
- Continue your way around the screen.
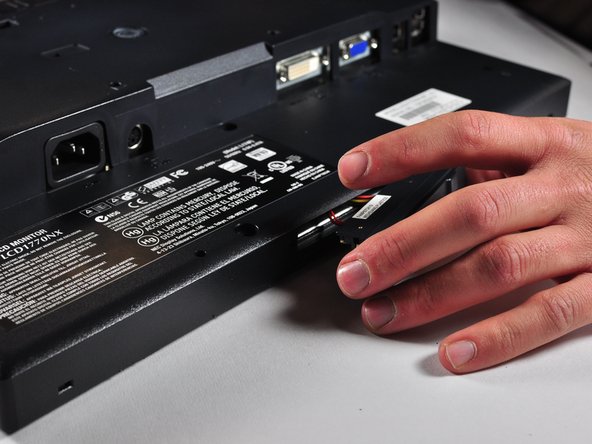
- Unscrew the two 7mm screws from the bottom of the button assembly.
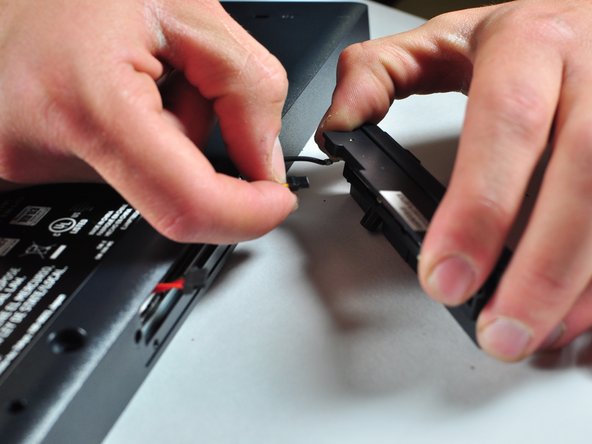
- Do not pull the button assembly out too quickly or with too much force! Damage to the wires can occur.
- Pull the button assembly out a few inches and unplug the colored cables.
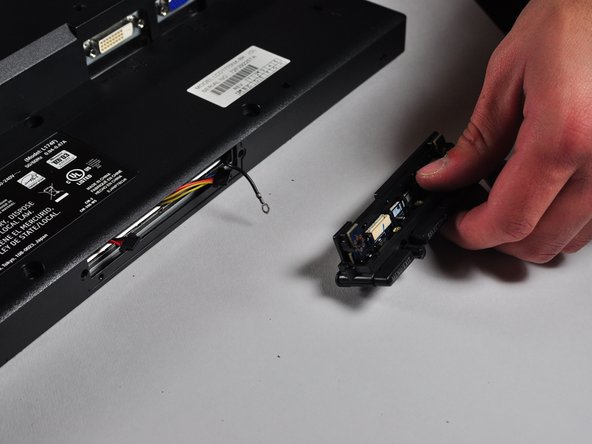
- Unscrew the gold colored 7mm Phillips PH000 screw holding the button assembly to the monitor.
- Remove the button assembly from the monitor.
- With the monitor face-down, unscrew the 5 7mm Phillips PH2 screws around the outside of the enclosure.
- Unscrew the 2 14.5mm Phillips PH2 screws located on the raised center of the enclosure.
- Carefully pull the enclosure off the monitor.
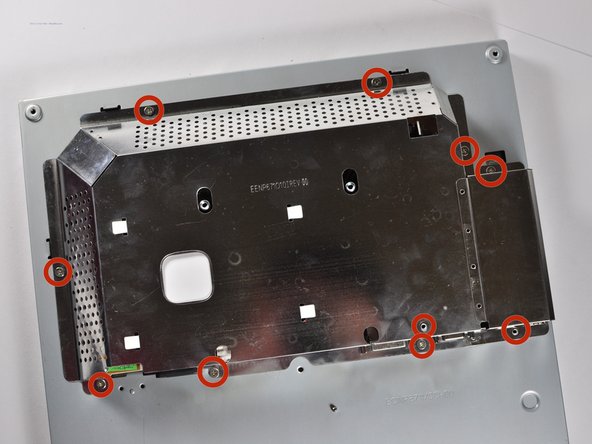
- Unscrew the 10 5mm Philips PH2 screws holding the metal casing to the monitor.
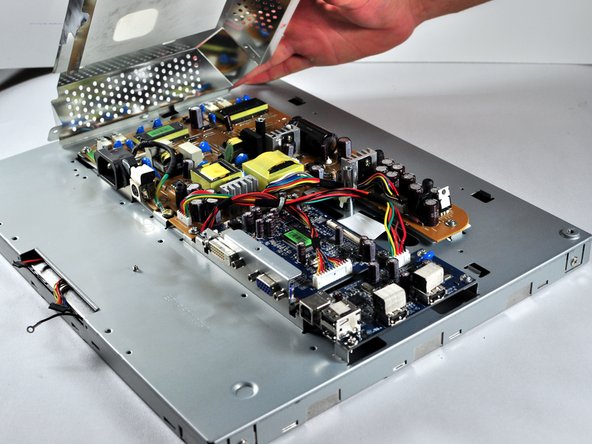
- Pull the the metal casing off of the monitor to reveal the motherboards.