LG Cosmos 2 Front Keyboard Replacement
ID: 19053
Description:
Steps:
- Insert the plastic opener into the slot at the top of the device.
- Apply gentle pressure with the plastic tool to pop the back case off.
- Use the plastic opener to lift, and remove, the device battery.
- Use a screwdriver and corresponding bit to remove the six 2mm screws that are located along the edge of the rear case. Set the screws aside.
- Use the plastic opener to pry the rear case loose.
- This can be difficult. You will need to pry around the entire edge of the rear case, not just in one place.
- Use a screwdriver and corresponding bit to remove the two 3mm screws that attach the motherboard to the front case. Set the screws aside
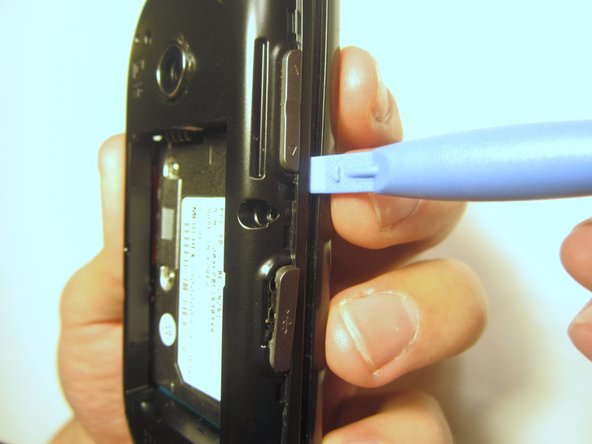
- Rotate the phone 180 degrees and use the plastic opener to lift the metal piece that covers the ribbon cable.
- Use the plastic opener to disconnect the ribbon cable.
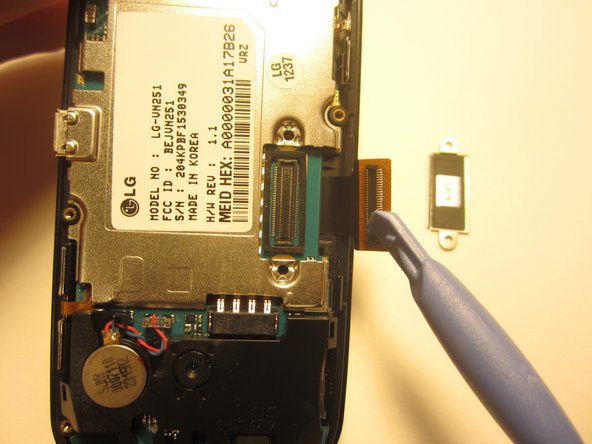
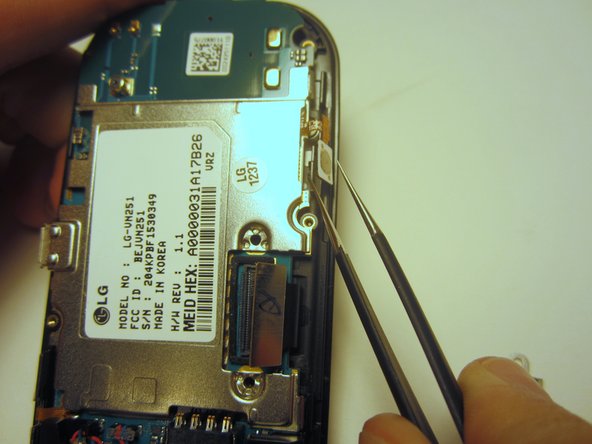
- Use tweezers to disconnect the two cables that attach the motherboard to the case.
- Note: Pull on the cables gently to prevent damage for future use.
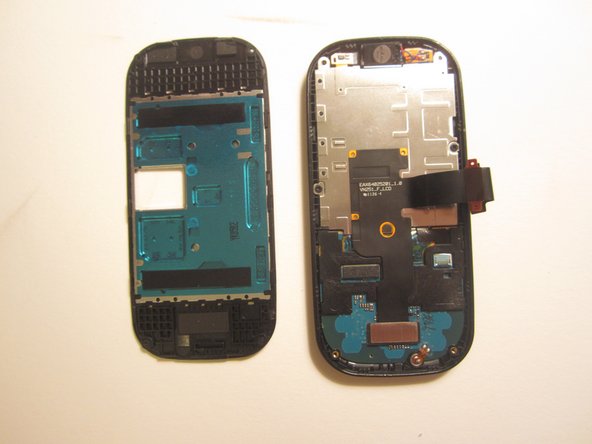
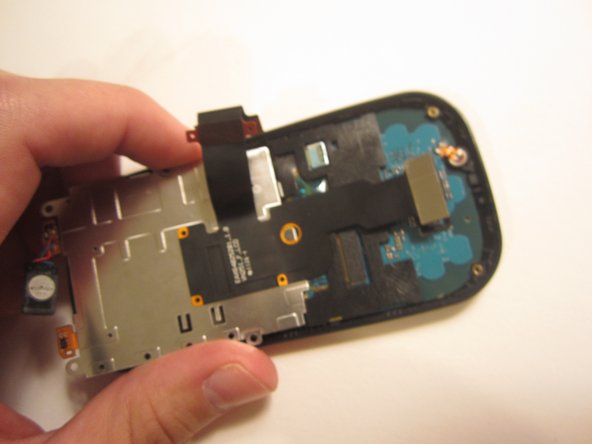
- Remove the motherboard from the front case.
- Use a screwdriver and corresponding bit to remove the four 1mm screws. Set the screws aside.
- Pull the ribbon cable through the slit in the keyboard case to separate it from the sliding mechanism.
- Use a screwdriver and corresponding bit to remove the four 3mm screws. Set the screws aside.
- Note: Two of the screws may be hidden underneath a black rubber film. Pull off this film if necessary.
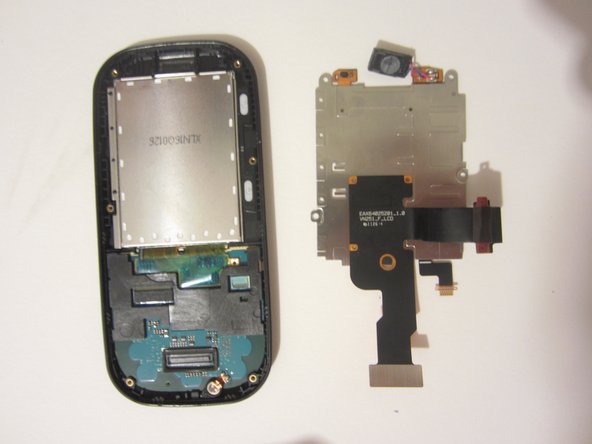
- Use the plastic opener to pry open the front of the phone.
- Slip the ribbon cable through the slit to fully separate the two pieces.
- Use a screwdriver and corresponding bit to remove the two 1mm screws. Set the screws aside.
- Detach the ribbon cable with the plastic opener.
- Use the spudger to pry the metal piece loose.
- Remove the metal piece along with the two ribbon cables.
- Flip the front of the phone over and the old option buttons will fall out.
- Insert new option buttons.
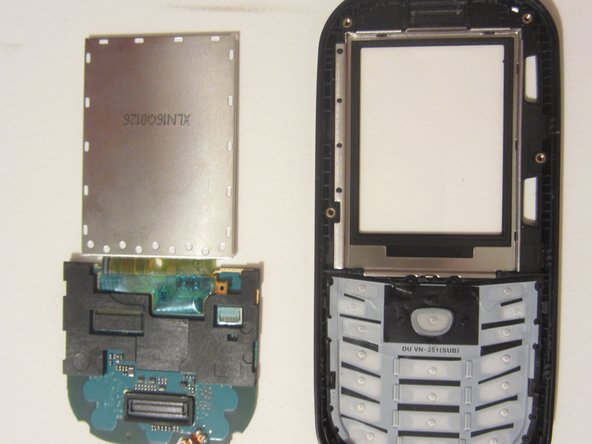
- Use a tool to pry open the LCD display. Remove the display and the motherboard-looking device that it's connected to.
- Rotate and remove the keypad from the front case.