How to Replace the Rivets in a Clipboard
ID: 190534
Description: If one or more of the rivets in a clipboard...
Steps:
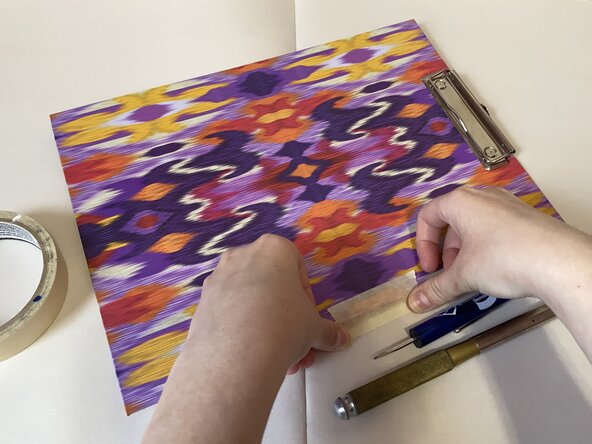
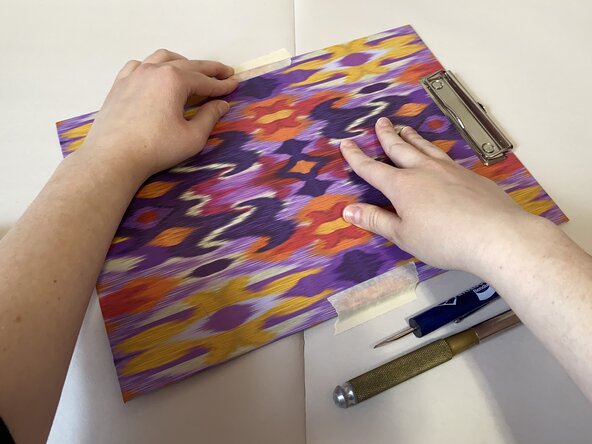
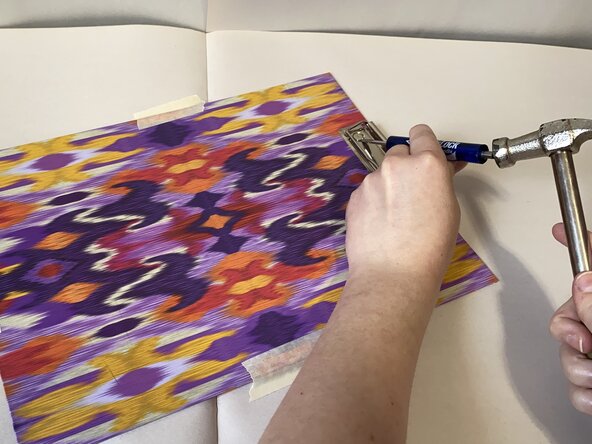
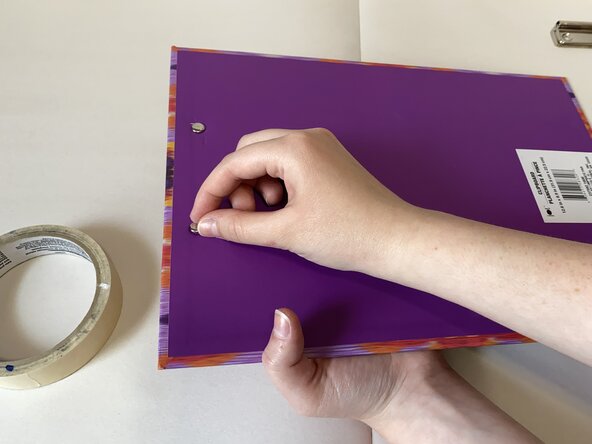
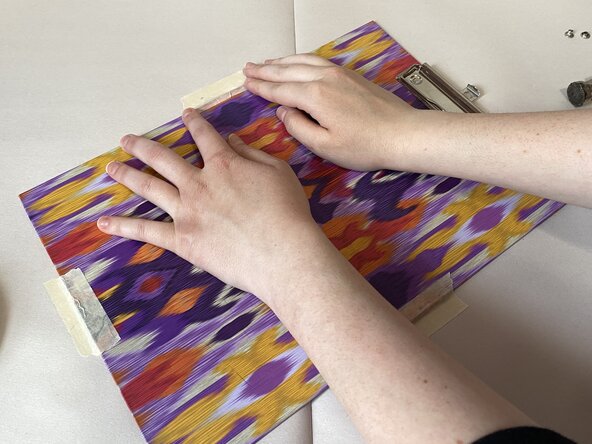
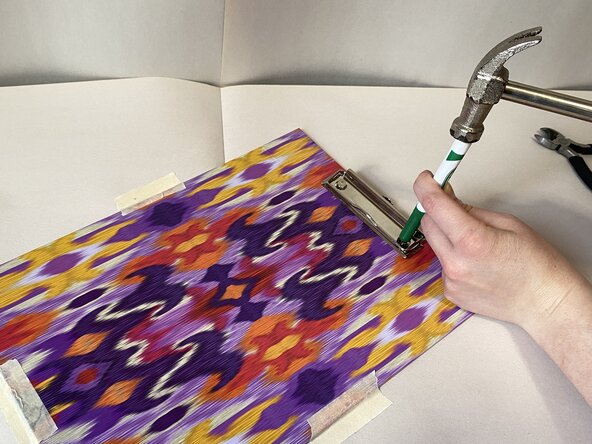
- Use masking tape to secure the clipboard on a hard, flat surface.
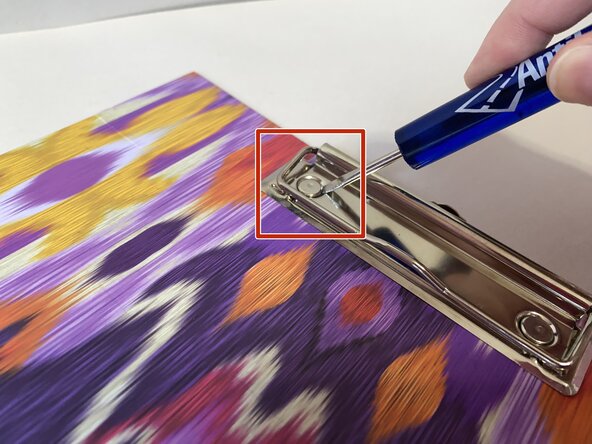
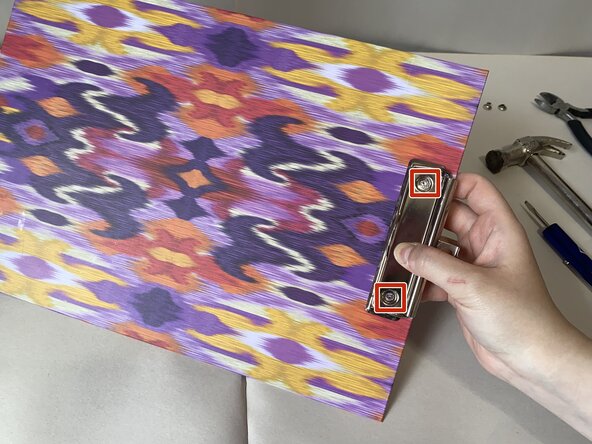
- Wedge a screwdriver head under the rivets that need to be replaced.
- Use a hammer to tap down on the handle of the screwdriver and pop the rivet heads upward and off the rivet backs.
- Caution: Make sure to angle the hammer away from your fingers to avoid injury.
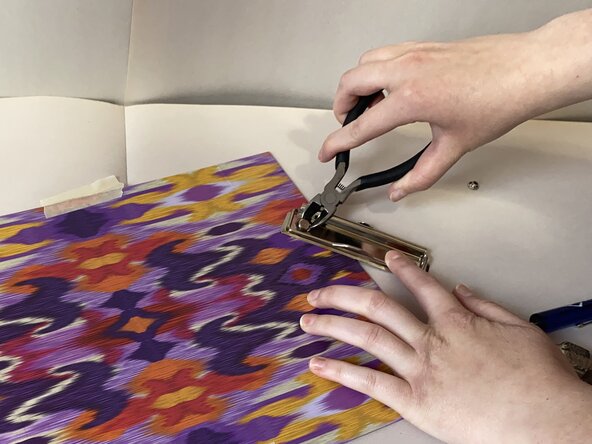
- If necessary, use pliers to remove tricky rivet heads.
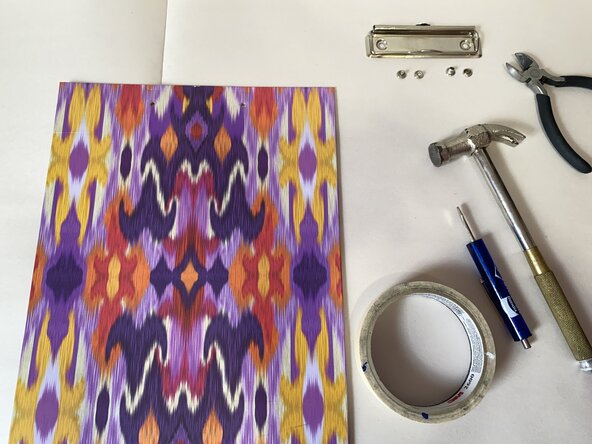
- Remove the tape from the clipboard.
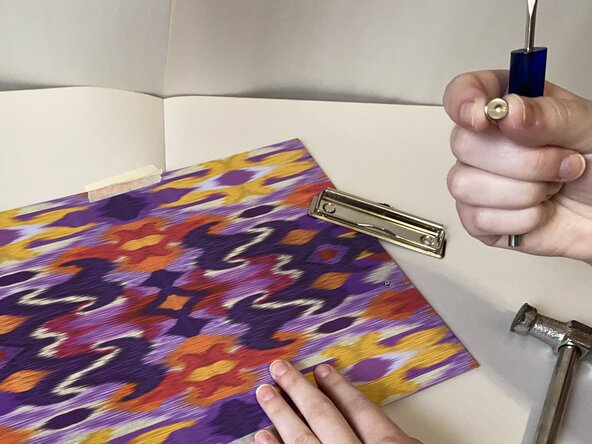
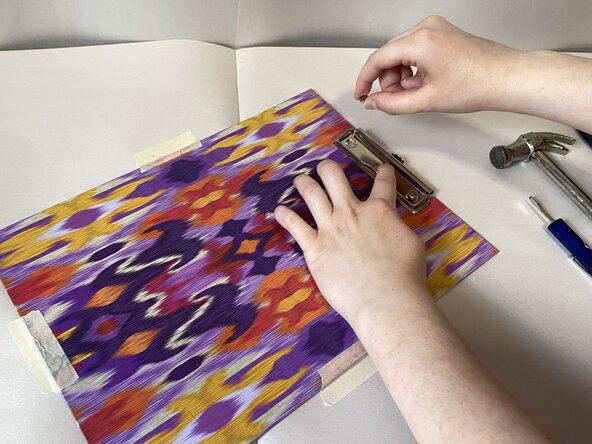
- Pull the backs of the old rivets from the cutout holes in the clipboard.
- Set aside the old rivet pieces and the detached metal clip.
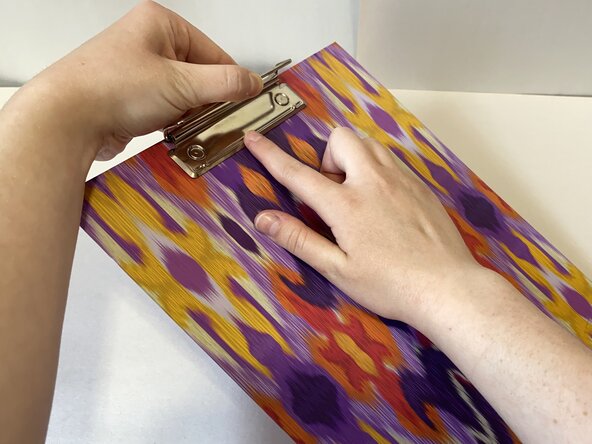
- Place the metal clip on the board, aligning its cutout holes with those in the board.
- Thread the new rivet backs through the cutout holes in the wooden board and those in the metal clip.
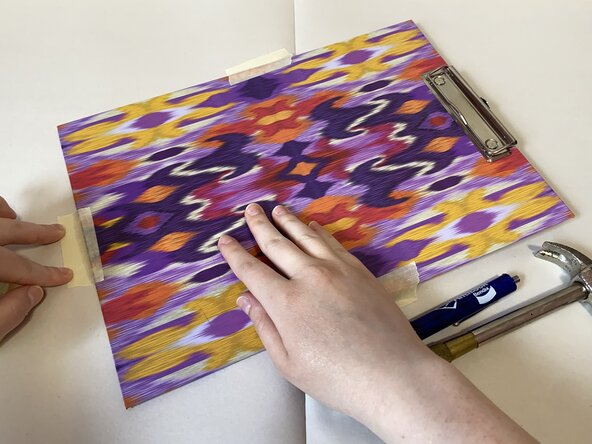
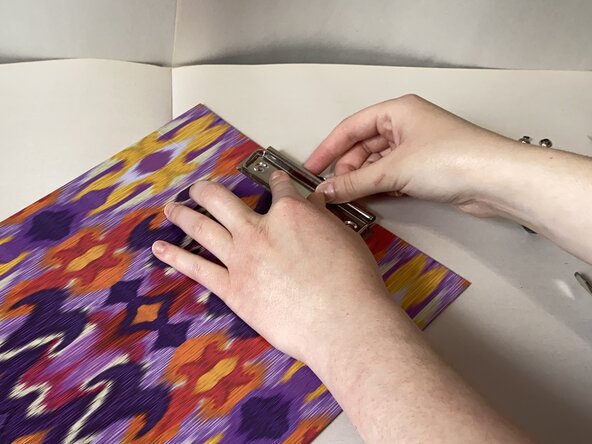
- Use masking tape to secure the clipboard on a flat surface.
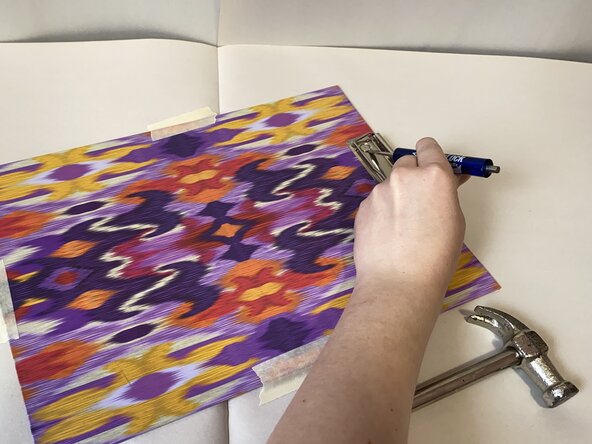
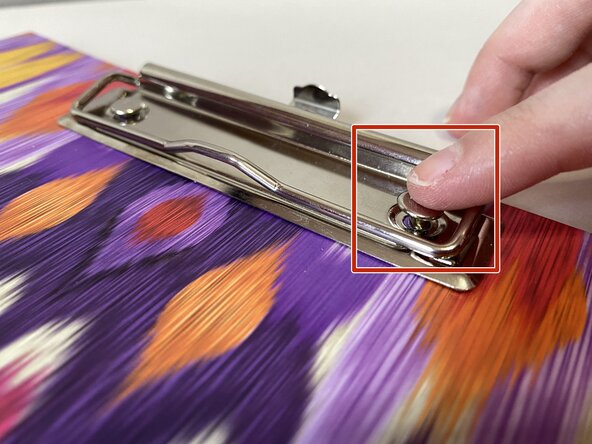
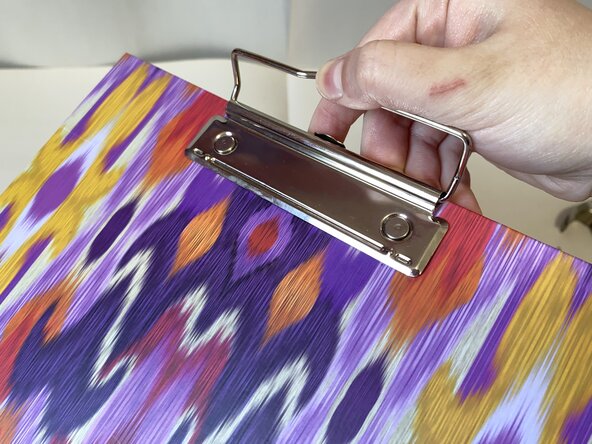
- Align the new rivet heads with the rivet backs.
- Gently push the rivet heads into the rivet backs to temporarily secure them in place.
- Place a marker or pad over the rivet heads to protect them and the clipboard while hammering.
- Hammer the rivet heads into the rivet backs to secure the metal clip to the board.
- Make sure to hold the cylindrical tool at a distance from the hammer to avoid injury.
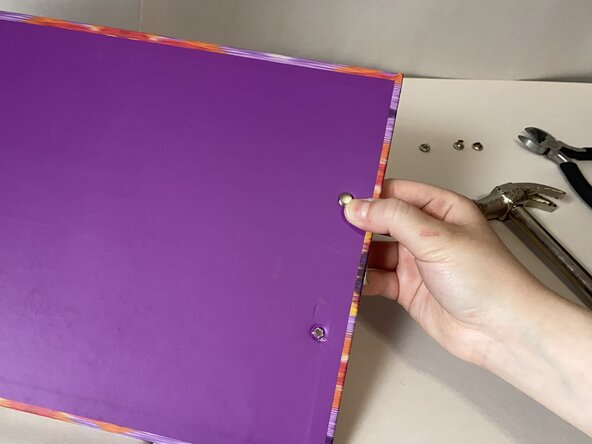
- Remove the tape and check that the rivets have securely fastened the metal clip.
- If the metal clip is still loose, repeat steps 6-8 until it sits securely against the board.