How to Repair a Seam Split in a Winter Glove
ID: 190570
Description: One of the most common problems with winter...
Steps:
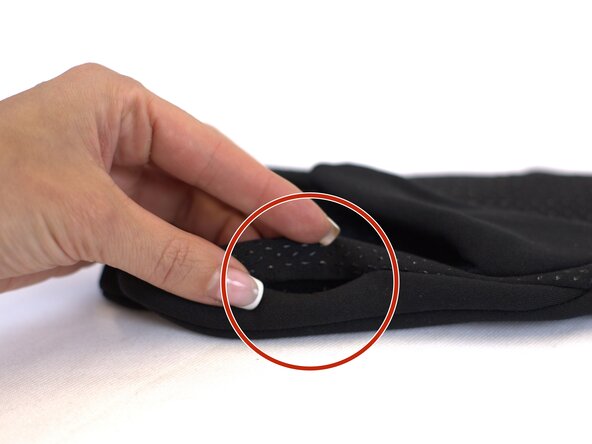
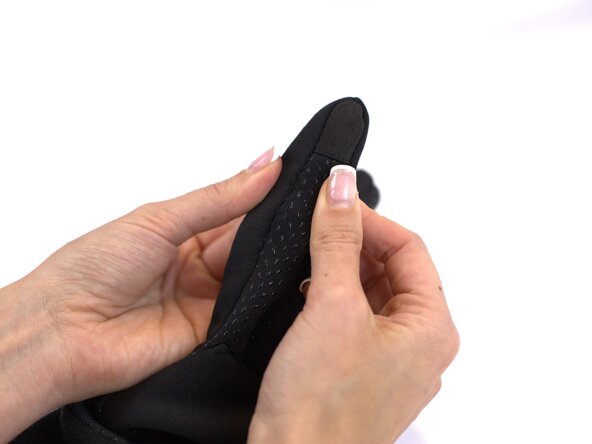
- Locate the seam split that needs to be fixed.
- Collect all the tools needed for the repair.
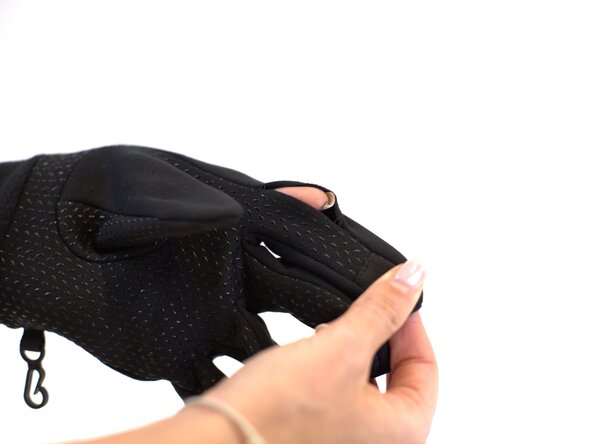
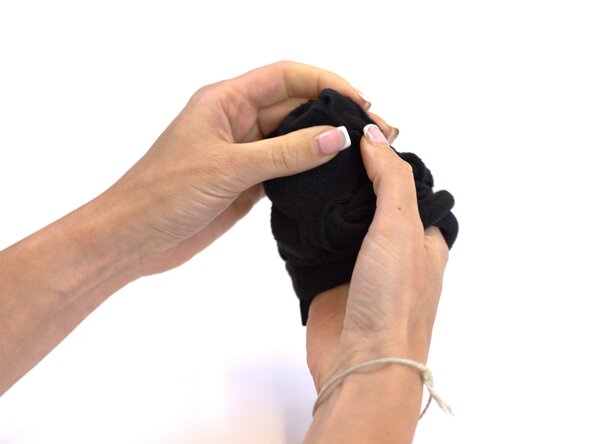
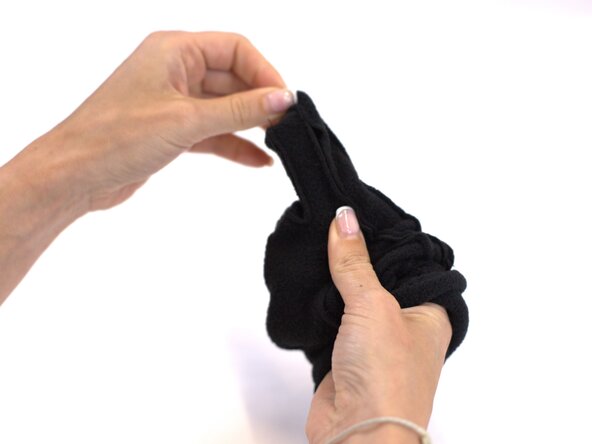
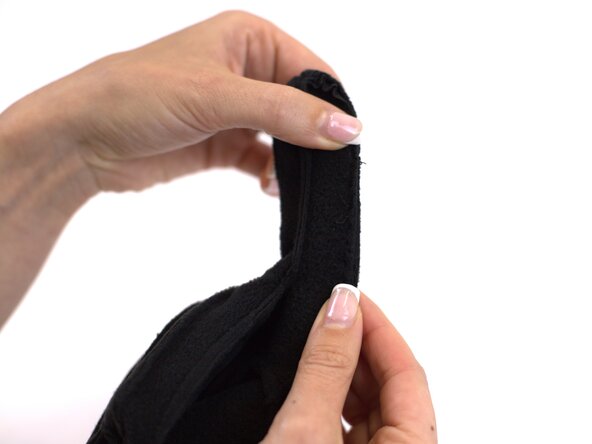
- Turn the glove "inside-out" to make the stitching in the next steps easier.
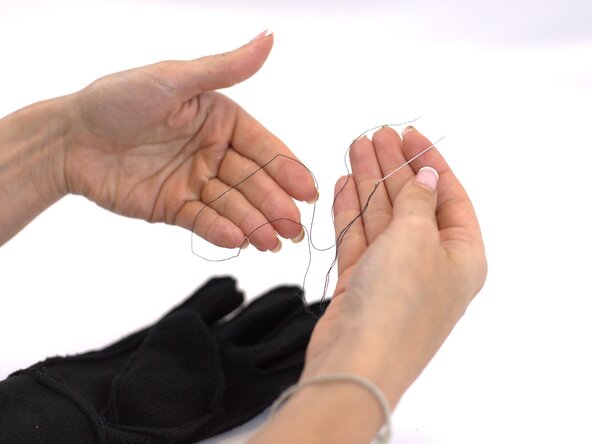
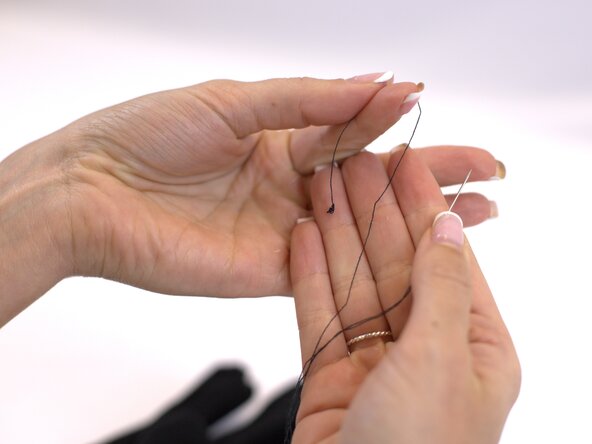
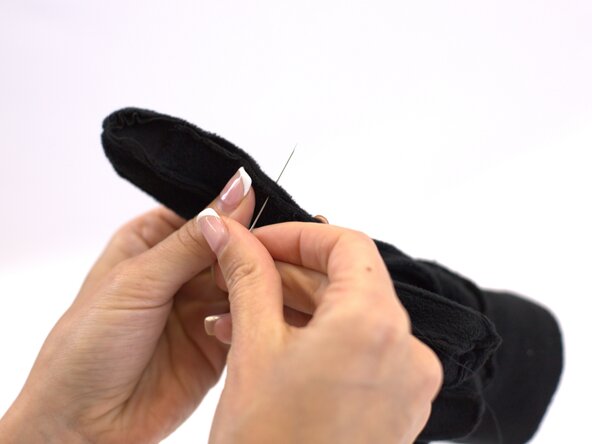
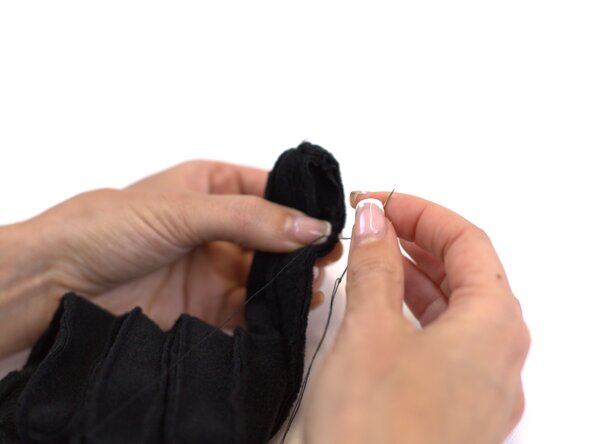
- Insert the thread into the needle and make a small knot in the end.
- Note: For this fix the repair is going to be "invisible" so it does matter the color of thread you choose.
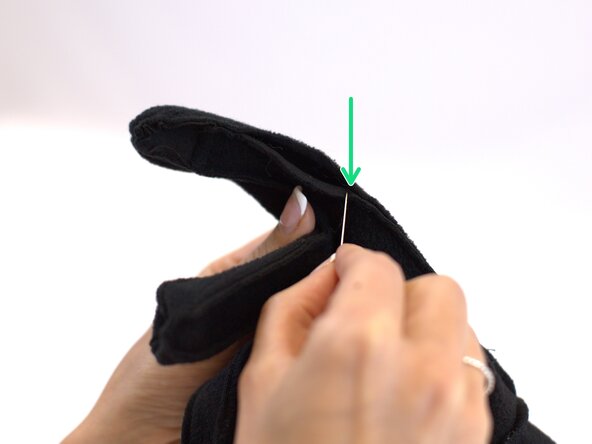
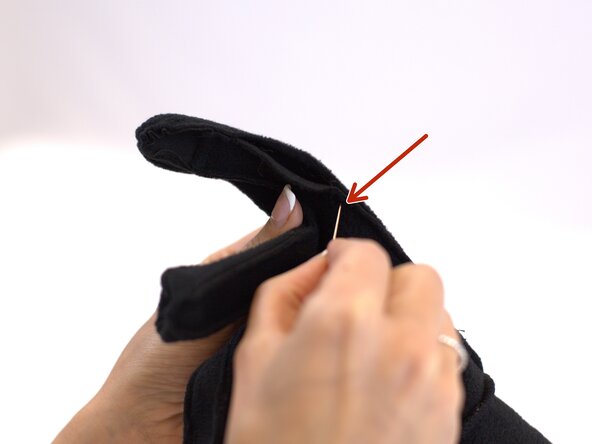
- If the hole starts where the green arrow is, you should start stitching approximately 5 mm away from the start of the hole (red arrow).
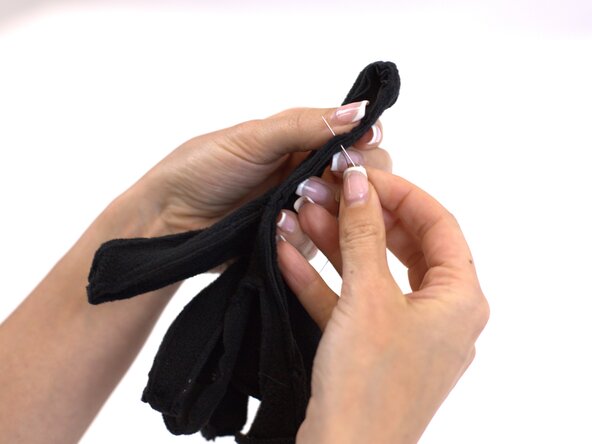
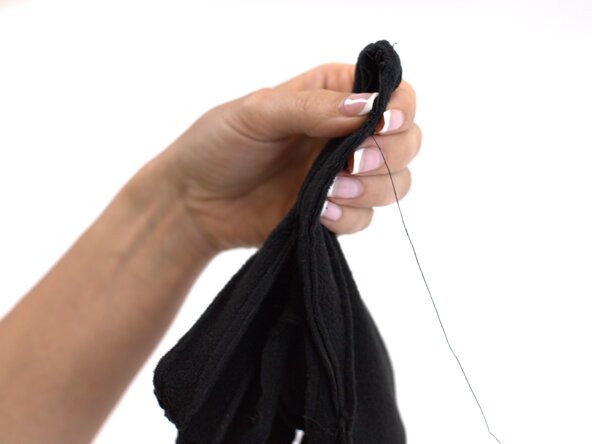
- Continue stitching until you covered the entire whole.
- Tip: Always insert the needle back through the same side it came out from.
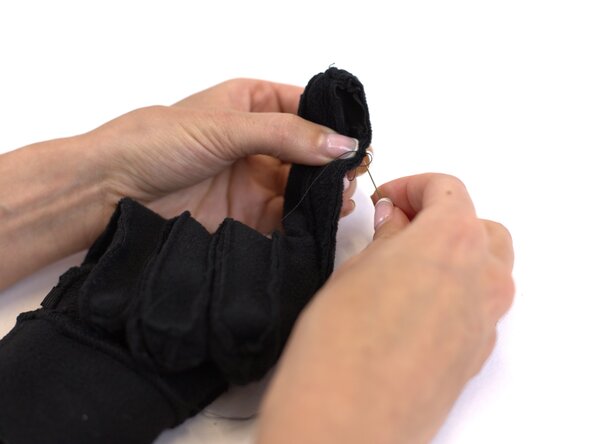
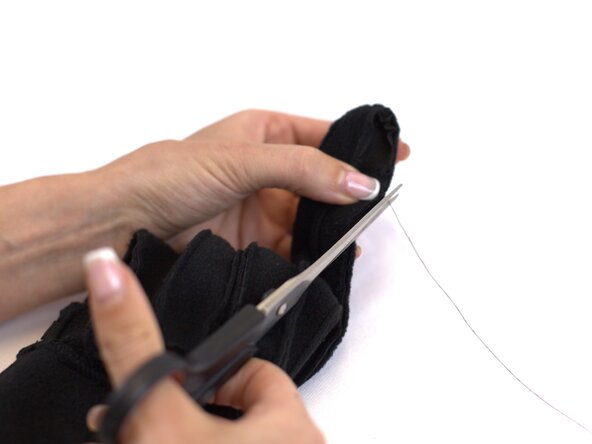
- Finish the fix with a knot at the end and cut excess thread with a pair of scissors.
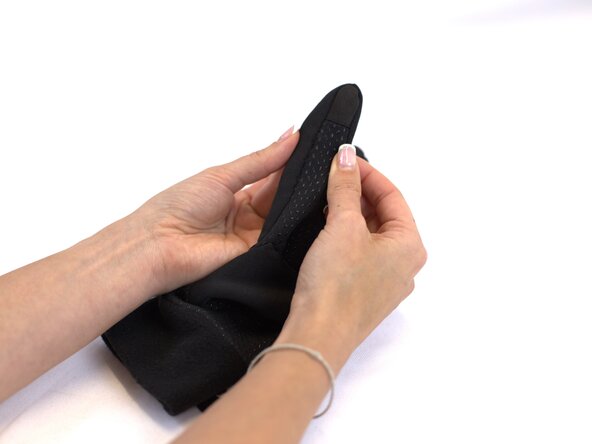
- 🛠️🏆👏 Congratulations! The repair is complete, and you're ready to go!