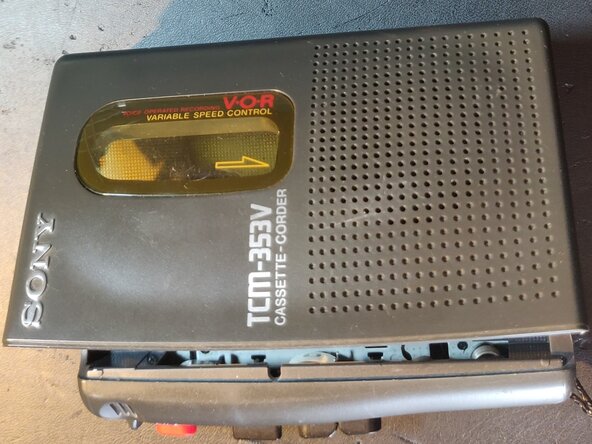
Sony TCM-353V Belts Replacement
ID: 190787
Description: Guide on how to replace the two belts in a Sony...
Steps:
- Remove the 2 AA batteries from the battery compartment before opening up the device.
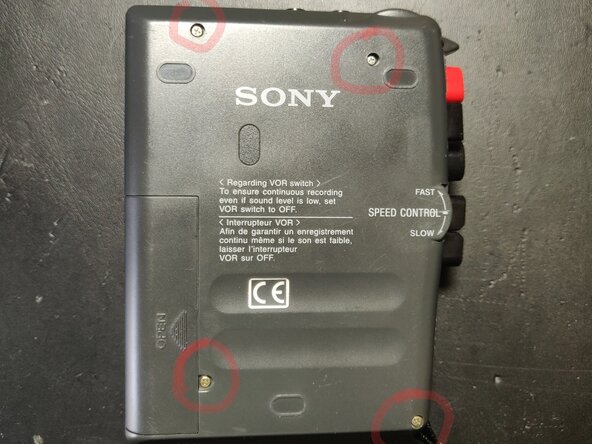
- Unscrew 4 screws from back-cover, a precision Philips 0 (PH0) screwdriver fits well. Next remove the back-cover, mind the buttons that stick out when lifting off the cover.
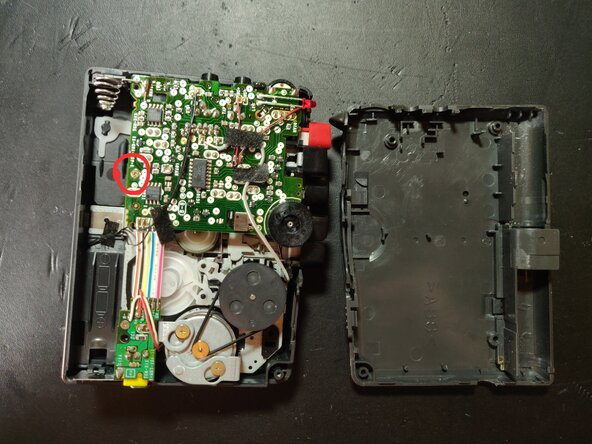
- In my case the longer belt was broken (missing in picture), the shorter belt was still on the capstan/spindle as seen on the picture, but needed replacement too due to wear.
- Unscrew the screw holding the large printed circuit board (PCB), circled in red on the picture, the same PH0 screwdriver fits.
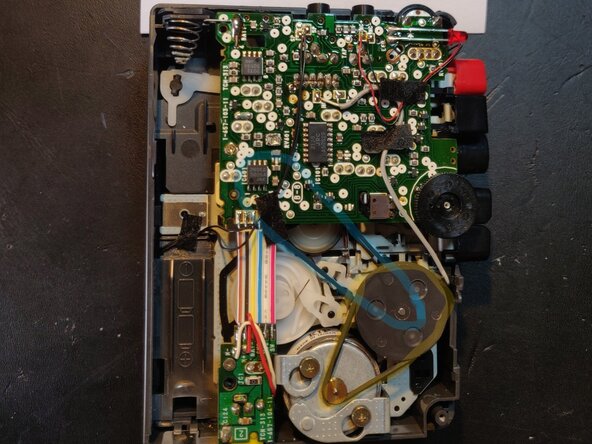
- Gently lift up the PCB. Be careful not to break any wires running to the PCB, replacement of the belts is possible without having to de- and re-solder these wires. Slightly bending the ribbon cable (that runs to the small power PCB) can help to lift up the PCB.
- Replace the lower belt that goes under the PCB (marked in blue on picture) first, then the upper belt(marked in yellow on picture). Tweezers are helpful to put the belts on the capstans.
- The lower belt is longer with 10.16cm=4.0inch inner circumference, while the upper belt is shorter with 8.9cm=3.5inch inner circumference. Both belts are square and 1mm wide, and can be found in larger belt packages online. Mind that other casette-corders might need different belt lengths, consult the service manual from Sony to find part numbers.
- Lower belt part number: 3-924-682-01, upper belt part number: 3-924-681-01, both found in the TCM-353V Sony service manual (https://audiocircuit.dk/downloads/sony/S...), and cross-checked the lengths on https://www.turntableneedles.com