Logitech G515 Lightspeed TKL Battery Replacement
ID: 190923
Description: Follow this guide to replace a worn-out or dead...
Steps:
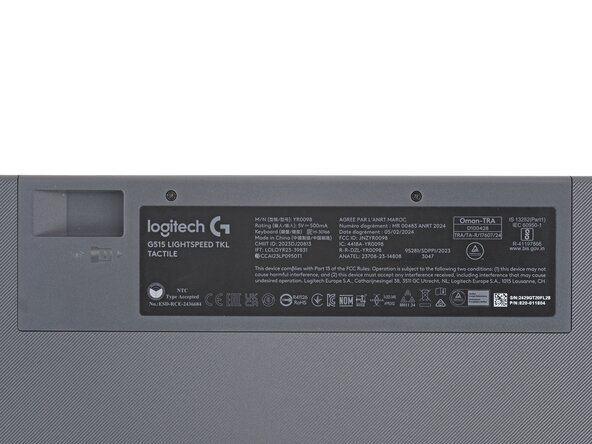
- Slide the power switch on the top edge of the keyboard to the OFF position.
- A red indicator should be visible beneath the switch.
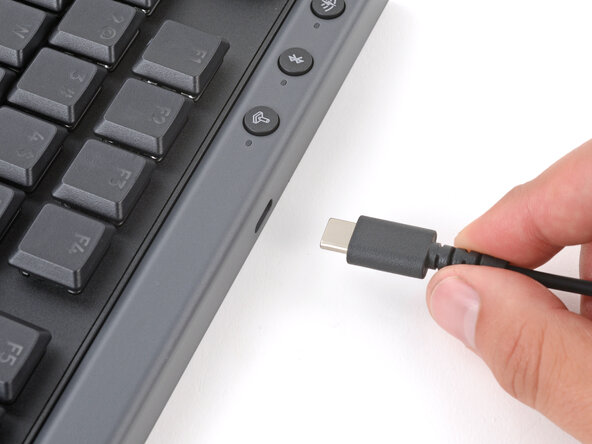
- Unplug all cables from your keyboard.
- Lay your keyboard down with the feet facing up on a clean work surface.
- If your work surface might scratch the keyboard, place a soft towel under it.
- If you have a USB receiver stored in the battery cover compartment, use your finger to slide it out and remove it.
- Use a Phillips screwdriver to remove the two 6.7 mm‑long screws securing the battery cover.
- Insert your finger in the USB receiver compartment on the battery cover and lift to remove it.
- Use a pair of angled tweezers to firmly grip the battery connector.
- Hold the tweezers with your fingers as close to the connector as possible to get a firm grip.
- Gently rock the connector side‑to‑side and slide it straight out of the socket.
- Make sure you push your tool underneath the battery and not into it. Don't bend or deform the battery.
- Slide the flat end of a spudger under the left side of the battery and gently lift to separate the adhesive securing it to the keyboard.
- If the battery is stuck or starts to bend, apply a few drops of high‑concentration isopropyl alcohol (>90%) to its edge and slightly tilt the keyboard so the alcohol flows under the battery. Wait one minute for the alcohol to soften the adhesive and try again.
- Remove the battery.
- During reassembly:
- Remove the old adhesive from the battery recess.
- Apply a strip of thin, double‑sided tape to the battery recess, where the old adhesive was.
- Lay the battery into its recess so the cable is on the side with the connector and press the battery into place.