Samsung TFT Color YP-T7J The Screen Replacement
ID: 19102
Description:
Steps:
- Remove the 2 screws on the back cover using a Phillips head #0 screwdriver.
- Remove the screw on each side of the device using a Phillips head screwdriver.
- Using the plastic opening kit, place the prying end of the kit into the opening created by removing the screws.
- Gently pry open the back cover. Insert the plastic opening tool in between the cover joints.
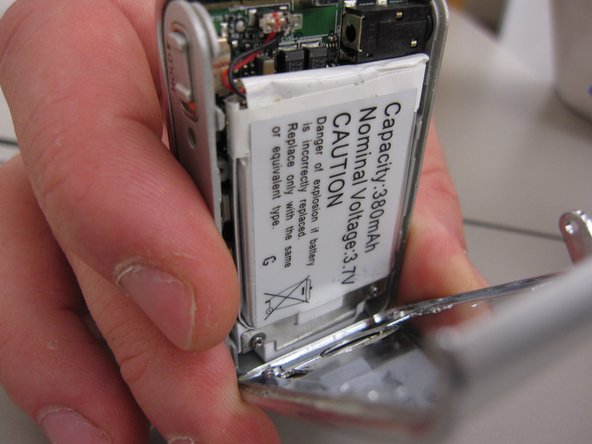
- Once the back cover has been removed the battery will be visible.
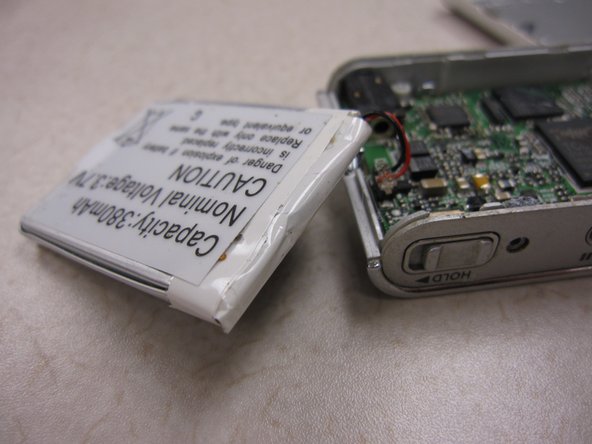
- Pry the battery from the device.
- NOTE: The battery should still be connected to the device
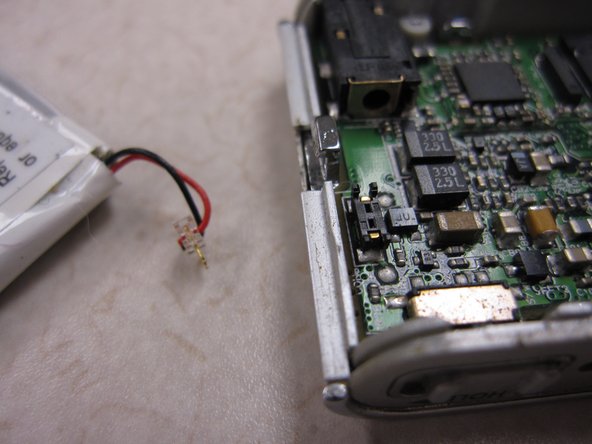
- Unplug the battery connecting cables.
- NOTE: The battery now should be free from all connections to the device.
- Once the battery has been removed you can see the motherboard.
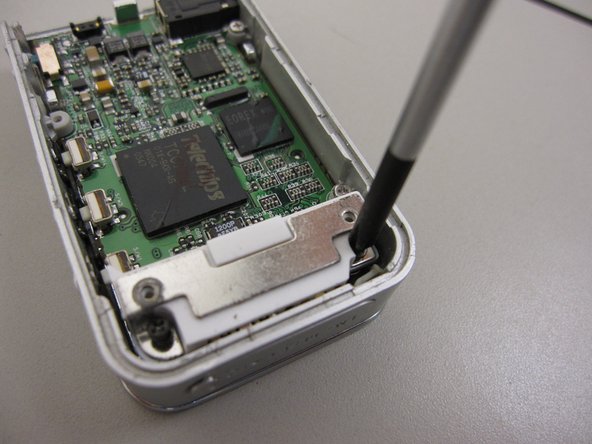
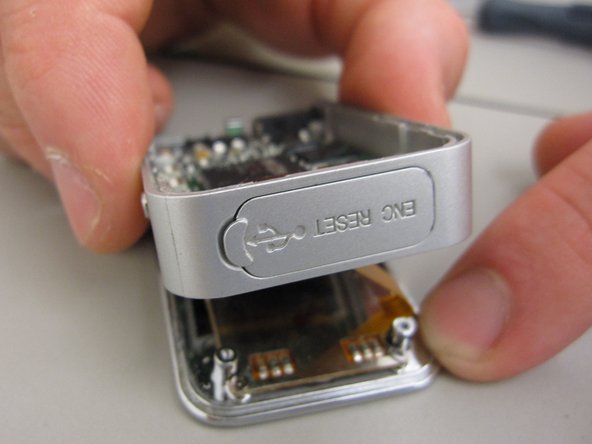
- Unscrew 4 screws on the metal docket using a Phillips head screw driver.
- The USB connector can now be taken off of the device.
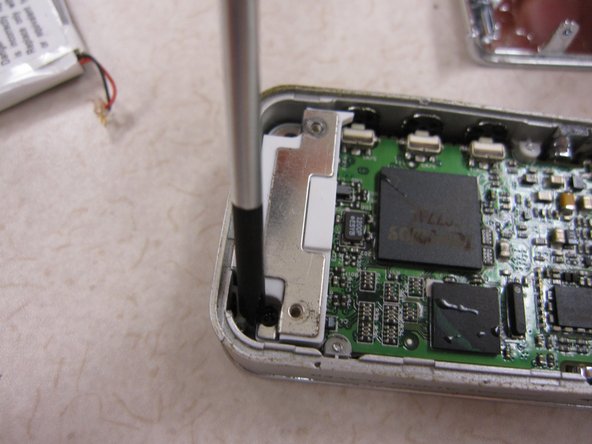
- Using the philips screwdriver, remove the two screws on the mother board.
- Place the pry tool in-between the front cover and mother board.
- Gently separate the front cover.
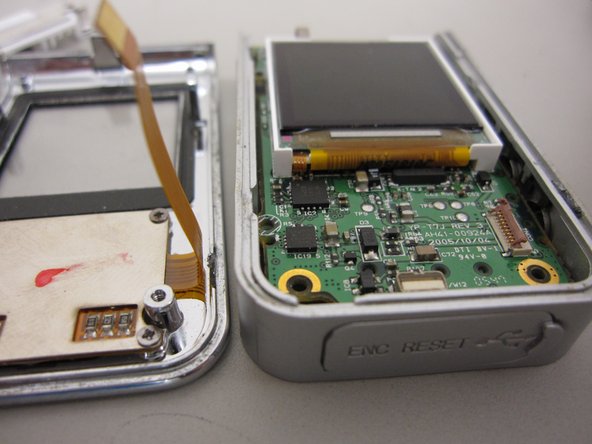
- After opening the front cover you will see and electric ribbon connecting the buttons to the mother board.
- CAUTION: Do not rip the electric ribbon from the mother board.
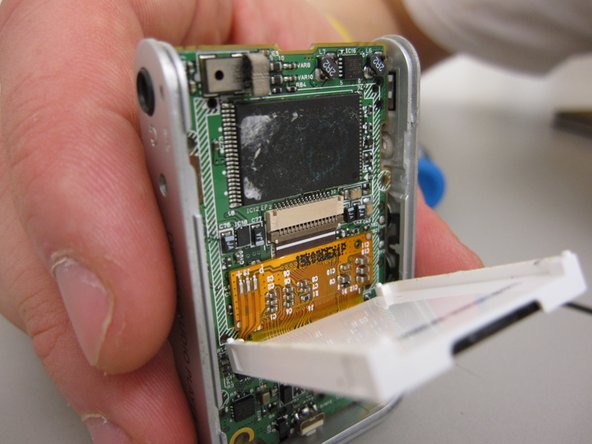
- Carefully flip up the plastic lip that holds the electric ribbon to the board.
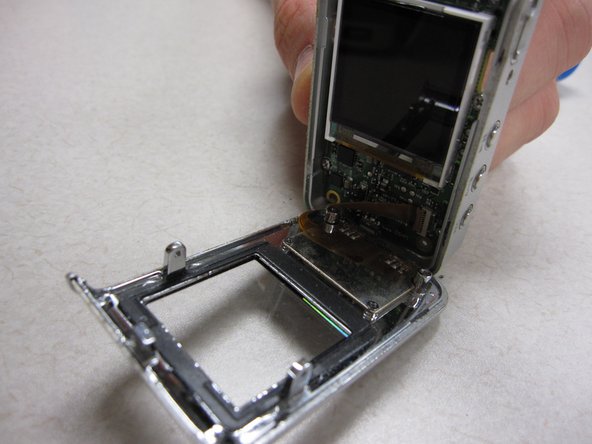
- Place the pry tool between the plastic housing around the LCD screen, and the mother board.
- Gently separate the screen housing from the mother board
- CAUTION: The screen is still attached to the mother board via another electric ribbon.
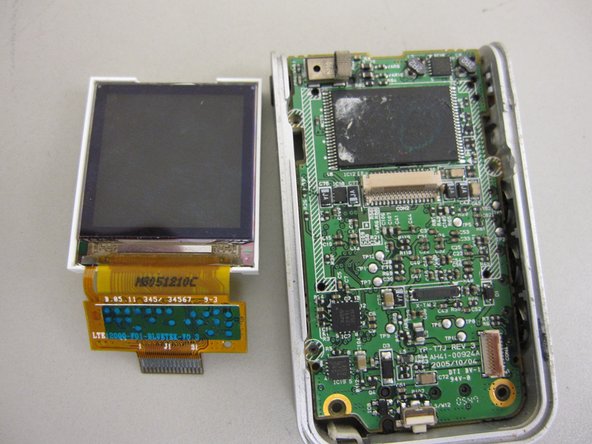
- Using a plastic pry tool to flip up the lip, which connects the electric ribbon to the mother board.
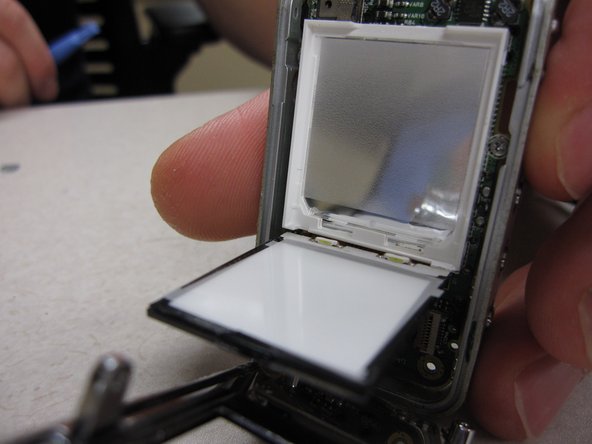
- Place the pry tool between the LCD screen and the white housing unit
- Gently separate the two.
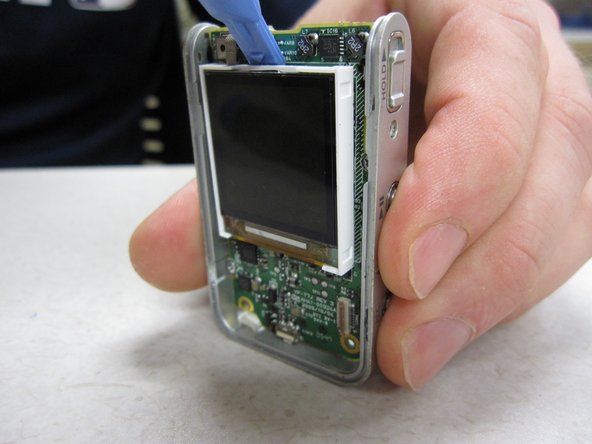
- Insert the new screen into the white unit.
- Connect the LCD screen to the mother board by inserting the electric ribbon into its port, and closing the lip.